If you’re going to have one thing in your makeup bag, it probably should be a concealer. It’s a total must-have that really does a lot—including helping to hide pimples or blemishes. You can use it to highlight, conceal dark circles, and reduce redness with the right one. For my everyday look, I prefer to keep it simple with just concealer and a few swipes of mascara, so the product is always on hand for me.
While concealers can do so much, there are some ways you can actually go wrong with them. The wrong shade can make what you’re trying to hide stand out even more, packing on the product can look cakey, and some concealers can even dry out the skin. And not setting the product might not help its staying power. But really, it all comes down to choosing the right concealer for your skin needs.
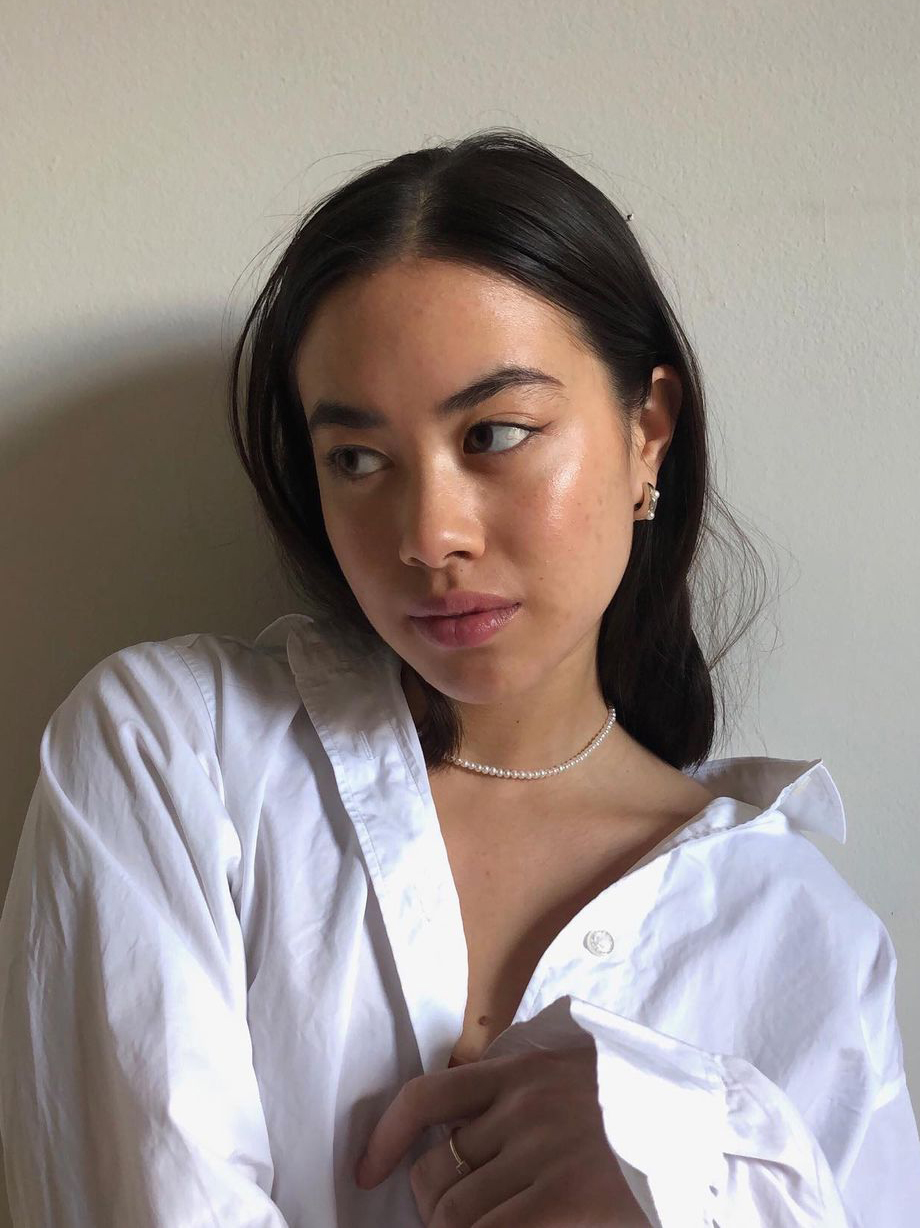
When you choose a concealer, you should think about what you need it for. Is it mostly for dark under-eye circles? For blemishes? To illuminate? There are so many formulas with different textures and finishes now, from lightweight to full coverage to light-reflecting. Celebrity makeup artist Valeria Ferreira, whose clients include Victoria Beckham and Lily James, says that knowing this will determine the texture you need. “Drier and thicker concealers are amazing for camouflaging imperfections and for that undetectable concealer look,” she says. “If you are looking to give some illumination to the under-eye, a liquid concealer that has a slight light reflection does the trick.”
As for shade-matching, this depends on both your skin tone and again, what you are trying to conceal. Ferreira says she is more inclined to use yellower shades and also mixing different shades. “On darker skin tones that have a dark under-eye area, an orange-tone base concealer works wonders. It neutralizes the undertone and lets you cover up with a concealer on top, preventing an ashy result.”
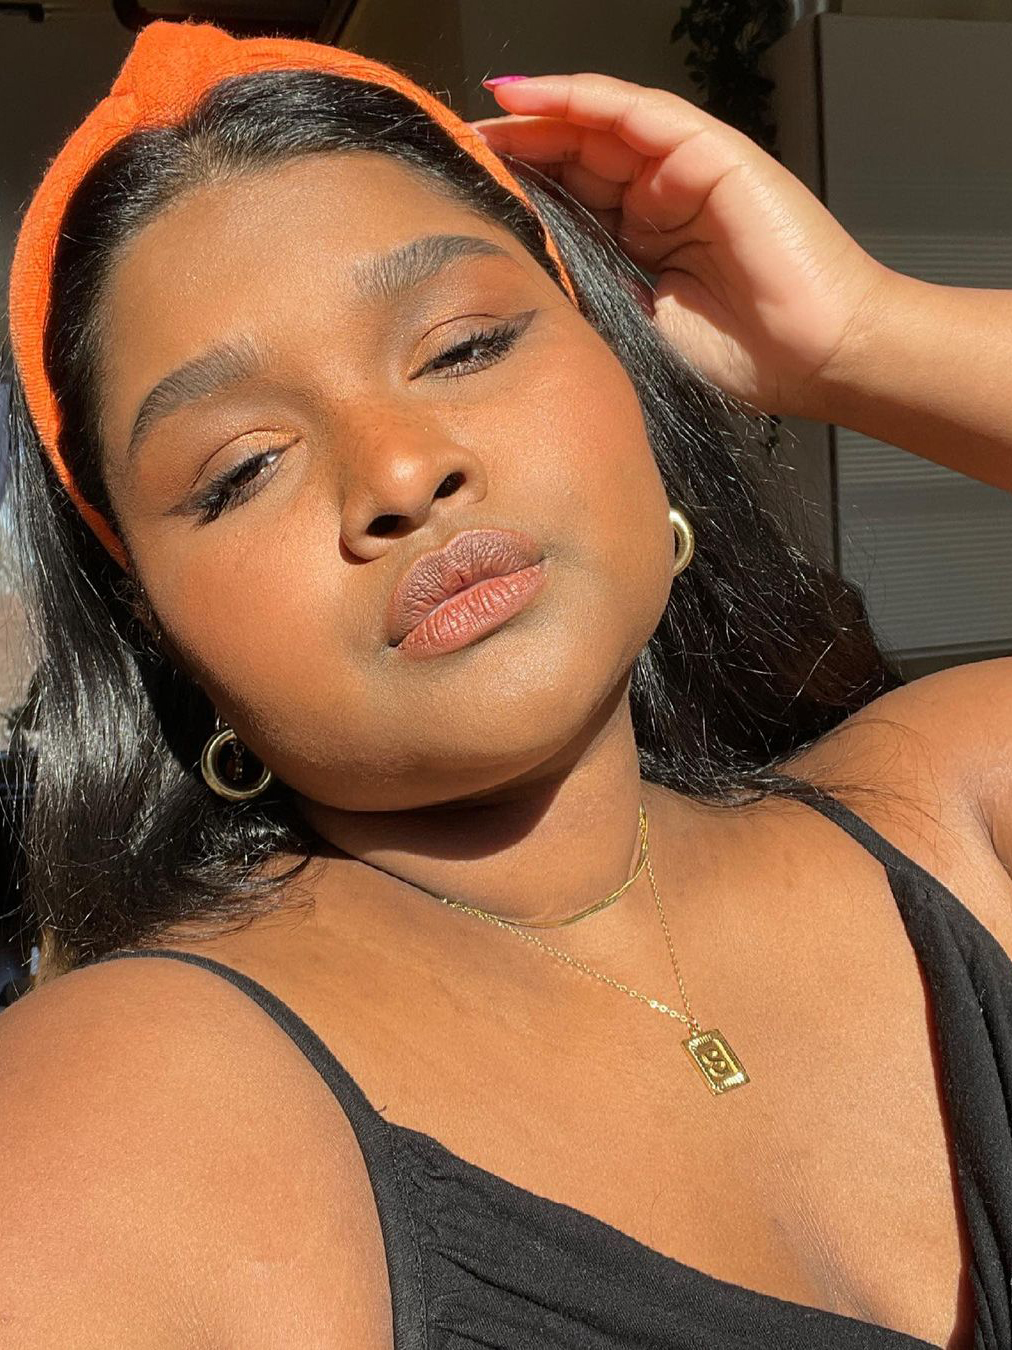
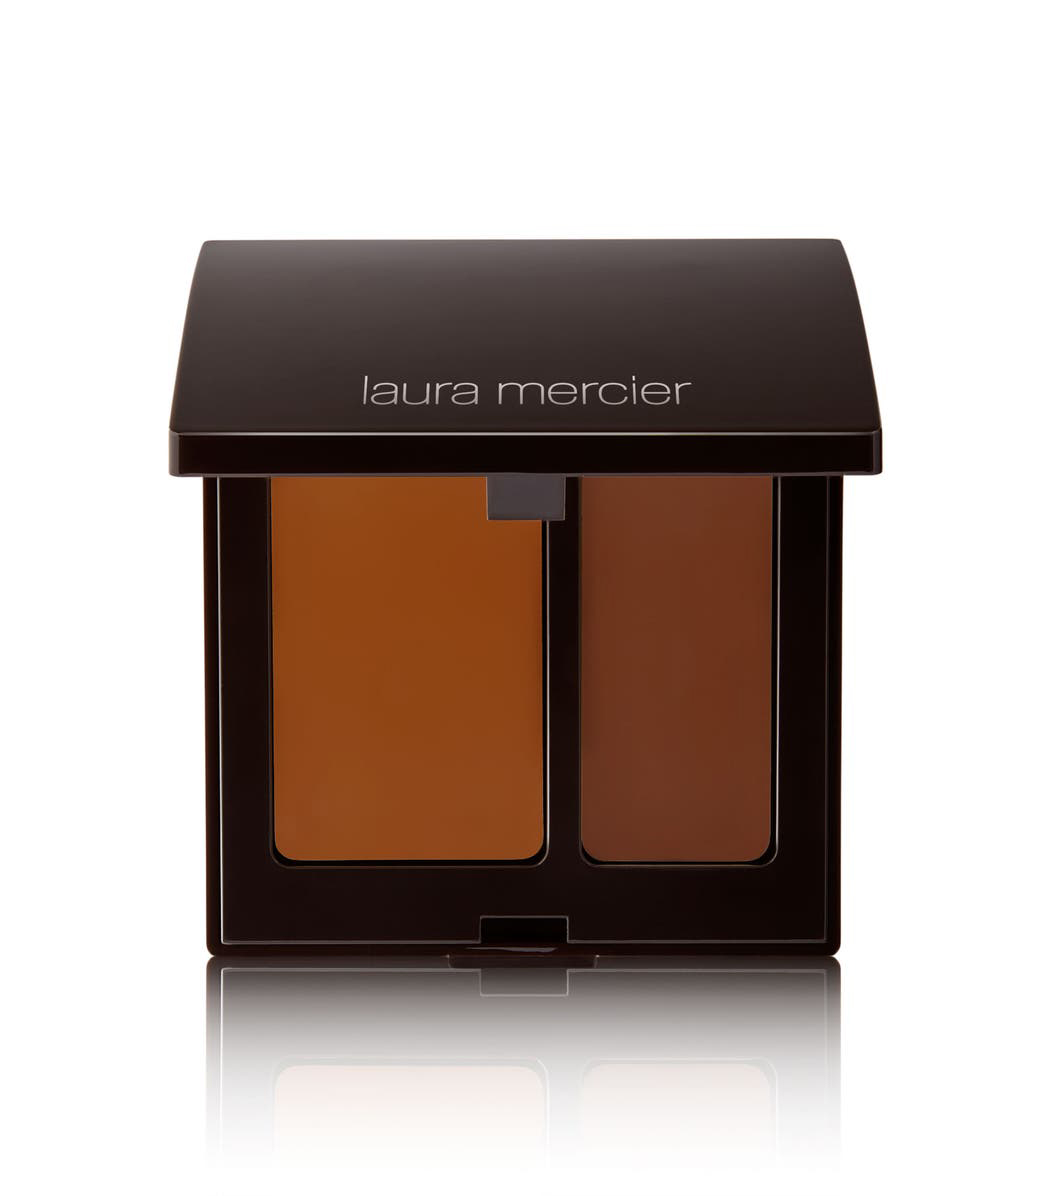
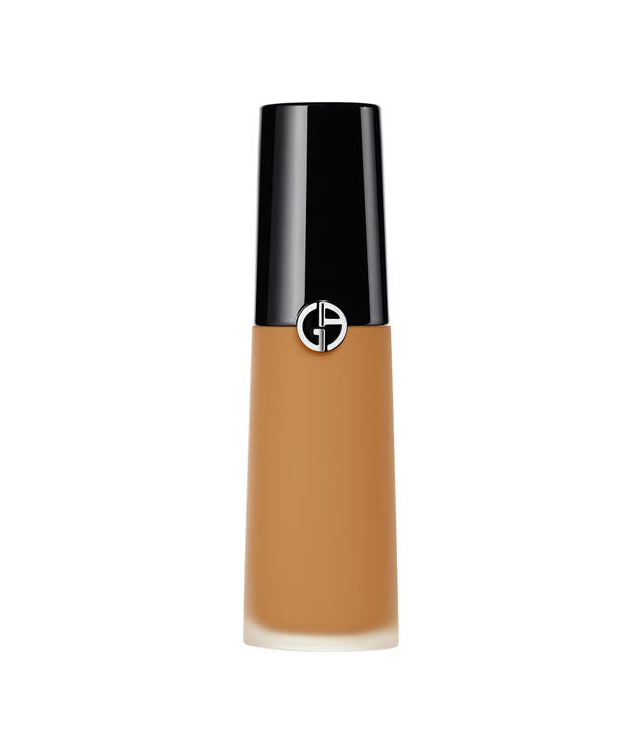
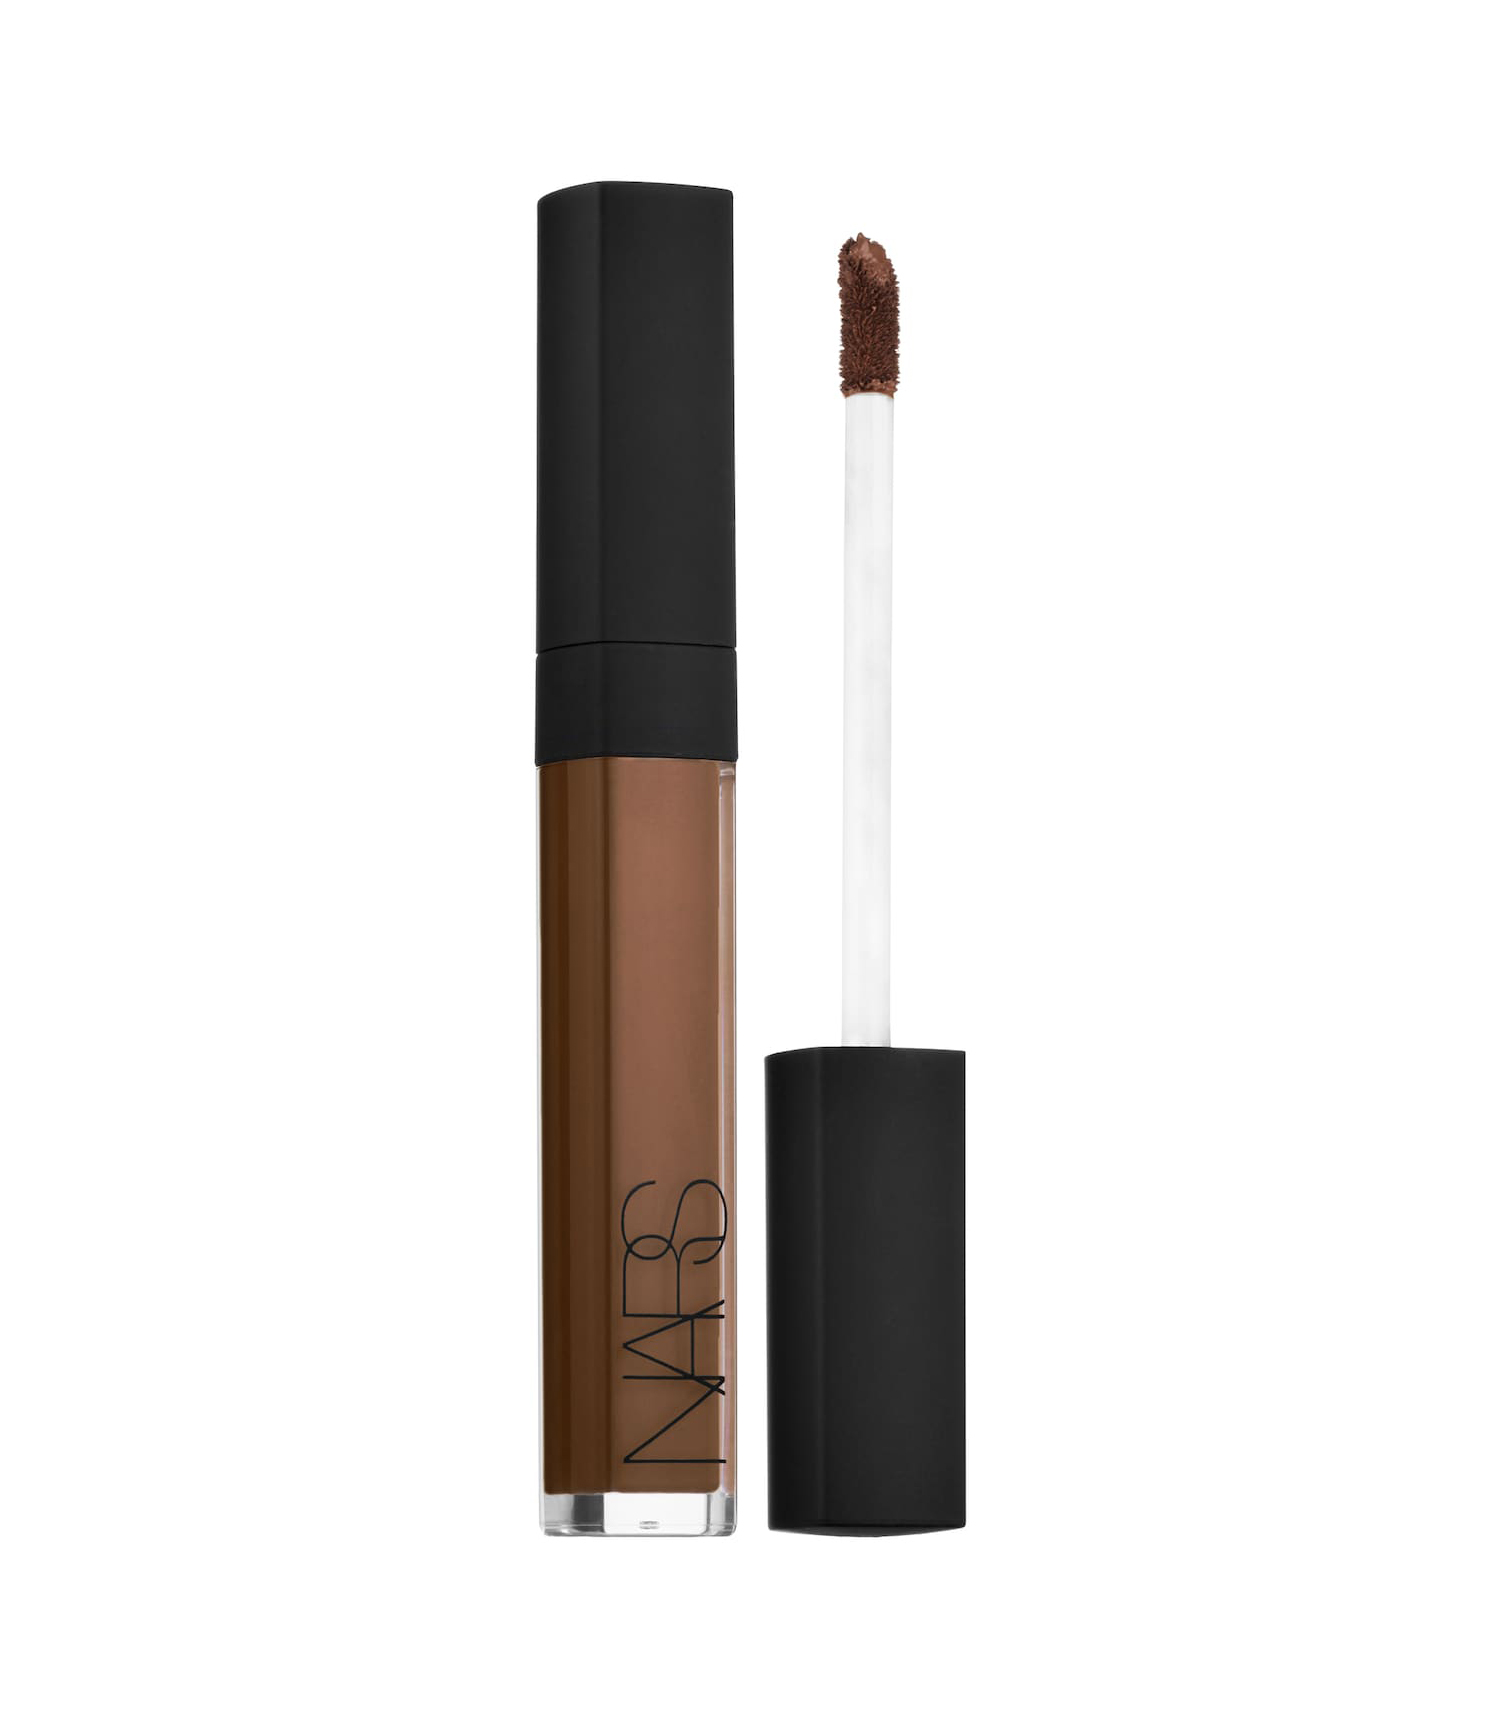
You’ll also want to consider your skin type when shopping for a concealer. Ferreira says she looks at her client’s skin type before choosing which product to apply. “When the skin is super oily, I tend to go for something drier and not so stretchy, like Laura Mercier’s Secret Camouflage or Nars’s Soft Matte Complete Concealer,” she explains. When I need luminosity and something light but still correcting, I will always reach for the Luminous Silk Concealer by Armani. It comes in so many shades.”
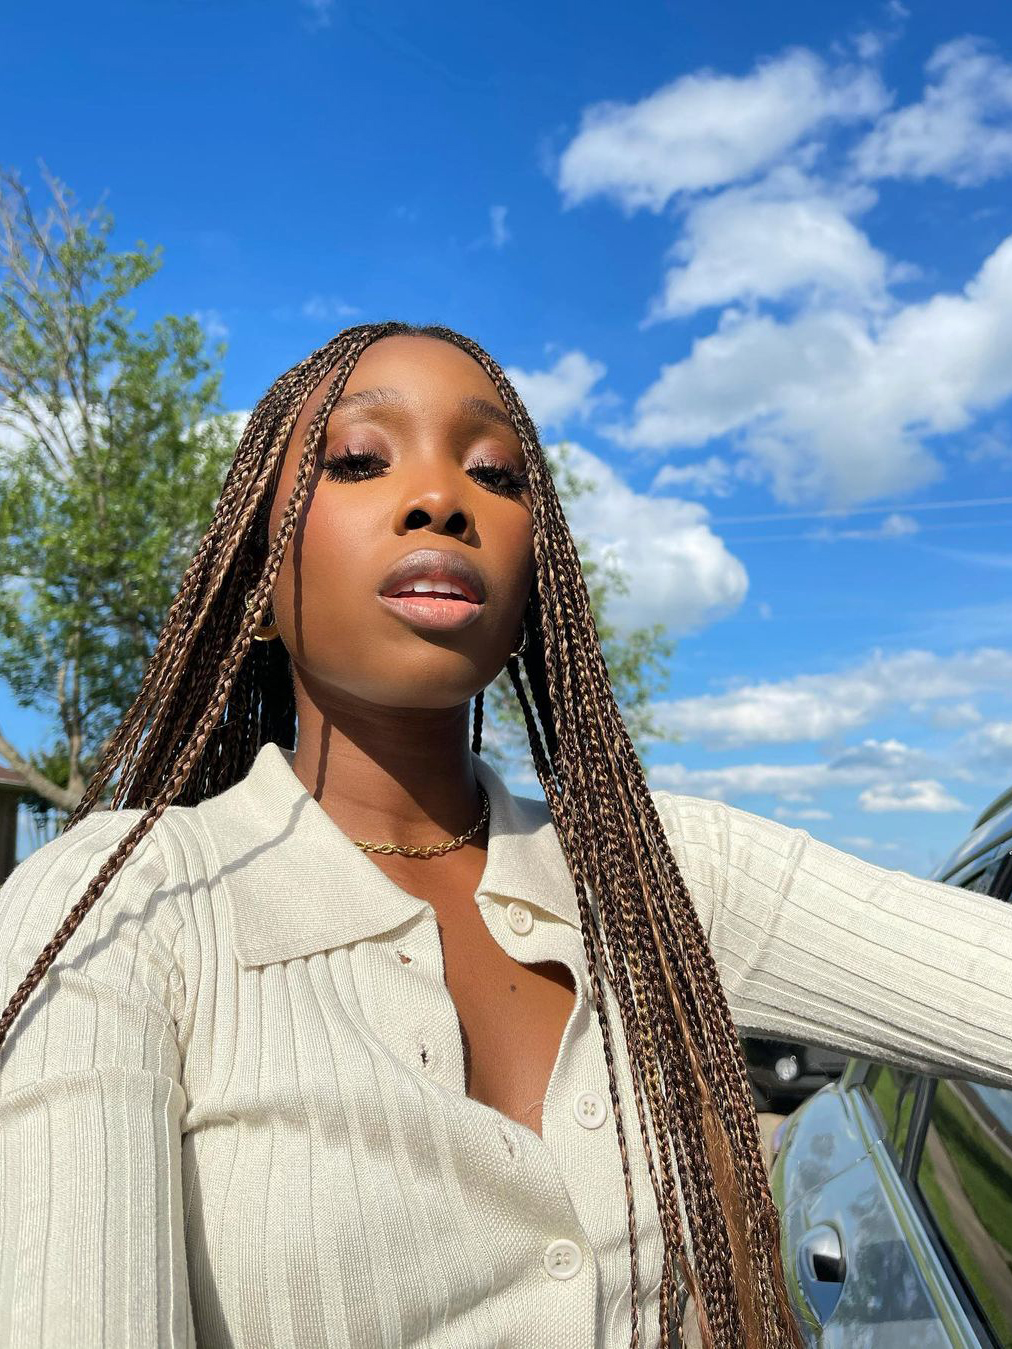
Once you find the right concealer, the next step is to make sure you’re applying it correctly. There are different techniques to try depending on what you are trying to blur or cover-up. Ferreira broke it down for us.
Pimples, acne, or blemishes: “My top tip for covering up acne and pimples is my micro-concealing technique. I have been talking about this for quite some time,” Ferreira says. “This consists of using a very fine brush, like a liquid liner brush, and dotting concealer over an imperfection, then using a sponge or finger to push the product into the skin. The secret is to dot only over the pimple. This will help you camouflage the skin giving you an illusion of a fresh and lightweight makeup look as you are leaving areas with no product at all.” For this, you’ll need a concealer with a drier texture, full coverage, and a matte finish.
Under-eye circles: Ferreira says there is one rule you should know: Do not get too close to the lash line. The eye area gets oily and cream and the product will set into fine lines. “The darkness is in that indented area that separates our cheekbone from our eye area,” she explains. “Right where that hollowness is is where we need light and brightness. The same applies to the inner corner of the eye. These areas are dark and hooded and need opening up. I always go for lightweight concealers—I use a base to neutralize the shade of the darkness and then a color to match the skin tone and make it all look very natural.”
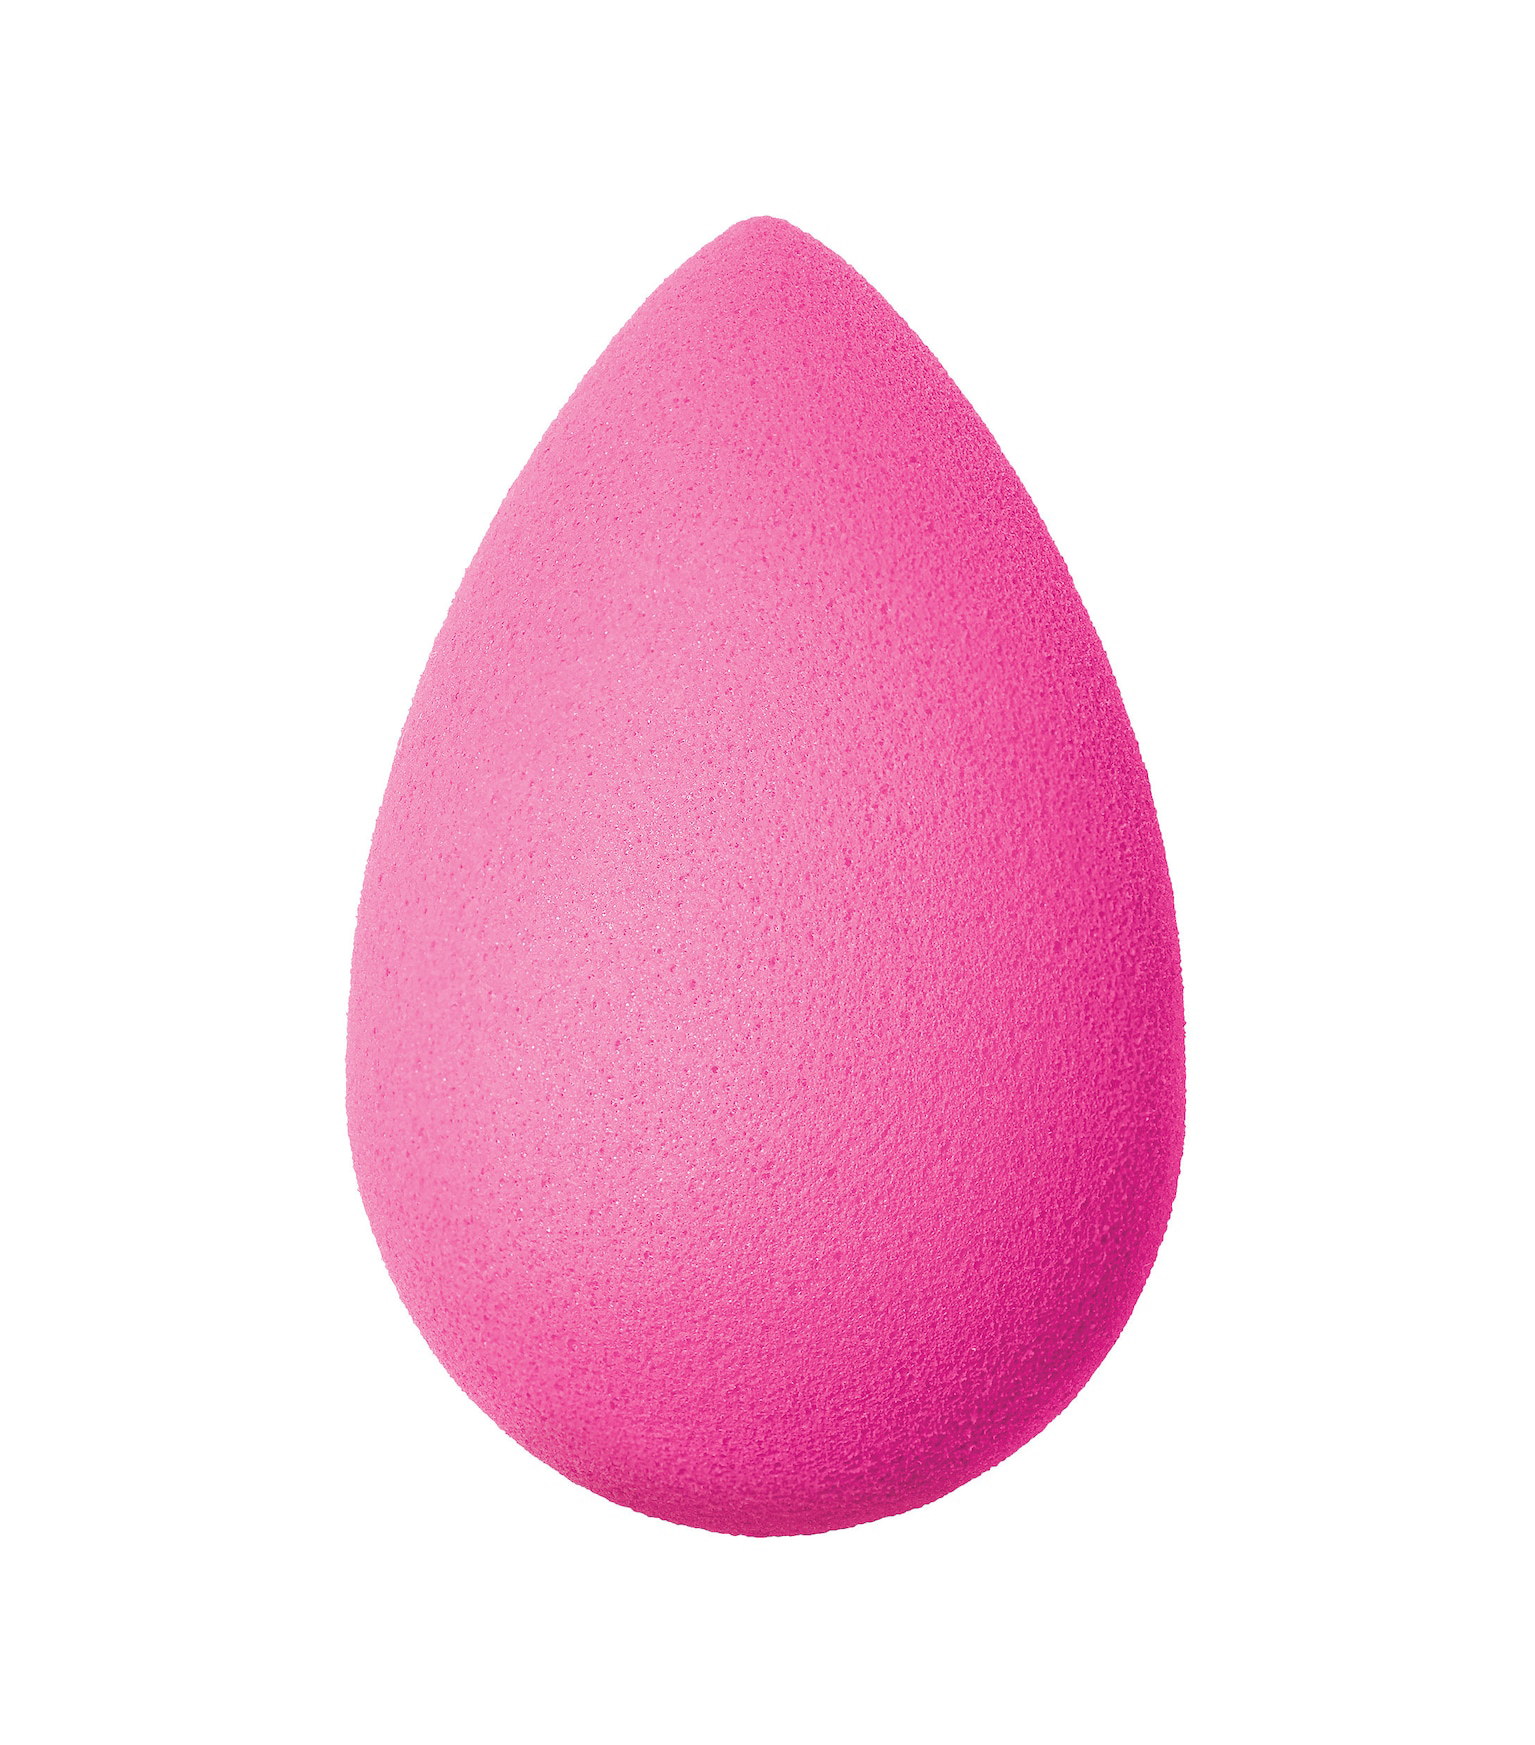
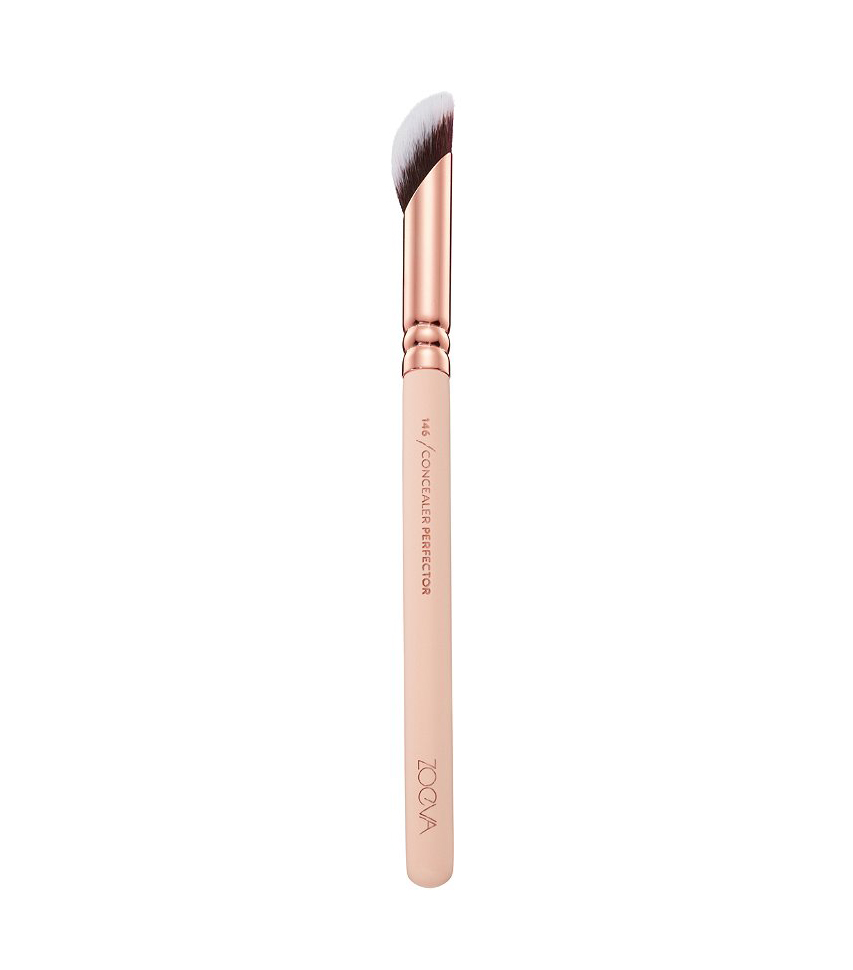
For application, she likes to use a combination of sponges and brushes, like the Beautyblender or the Zoeva Concealer Brush, which is precise and leaves an airbrushing effect. Be strategic when applying the product instead of trying to cover a big area—Ferreira says this will give you room to apply more if needed and helps you avoid a heavy look.
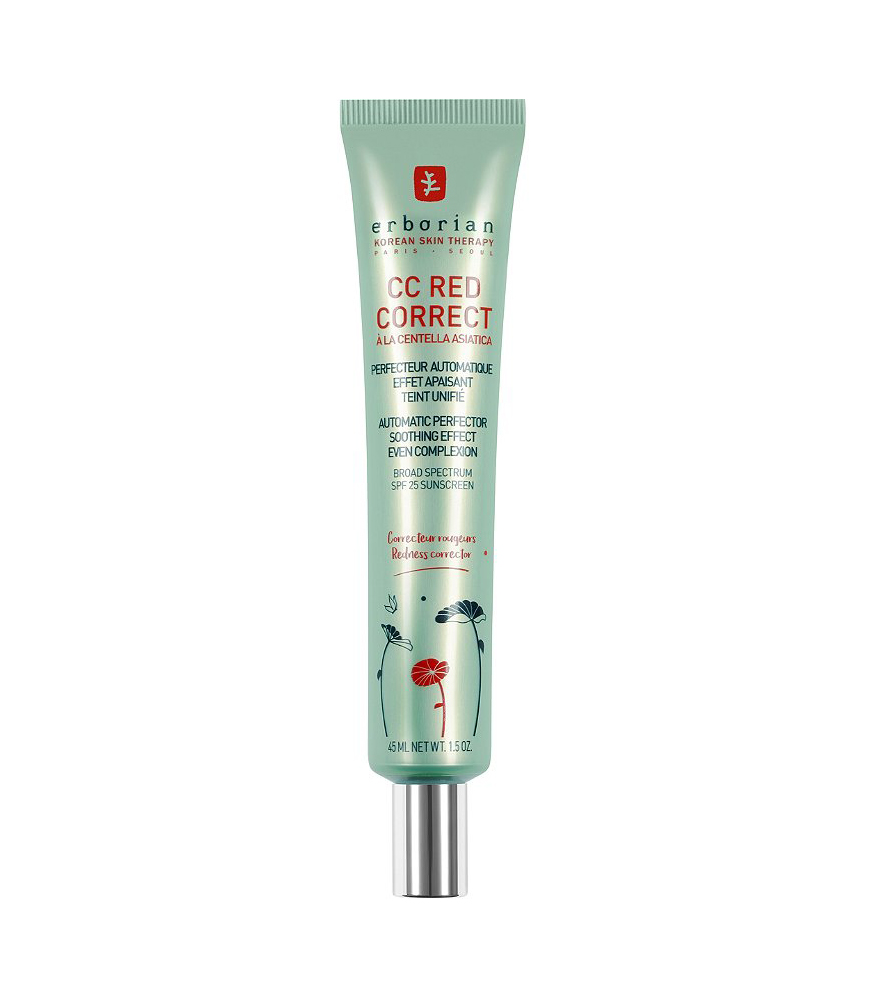
Redness: A green-toned corrector is key here. Ferreira says green and red are opposites on the color wheel. “This will definitely help neutralize the redness and allow you to work with a concealer over it, and achieve a great effortless result,” she says. “It’s super effective! Just apply the green tone concealer over the red areas until they are neutralized. Go over with a Beautyblender sponge with your foundation and then if you can still see some redness coming through, try using a matte concealer in your skin tone to erase it even more. It will work!”
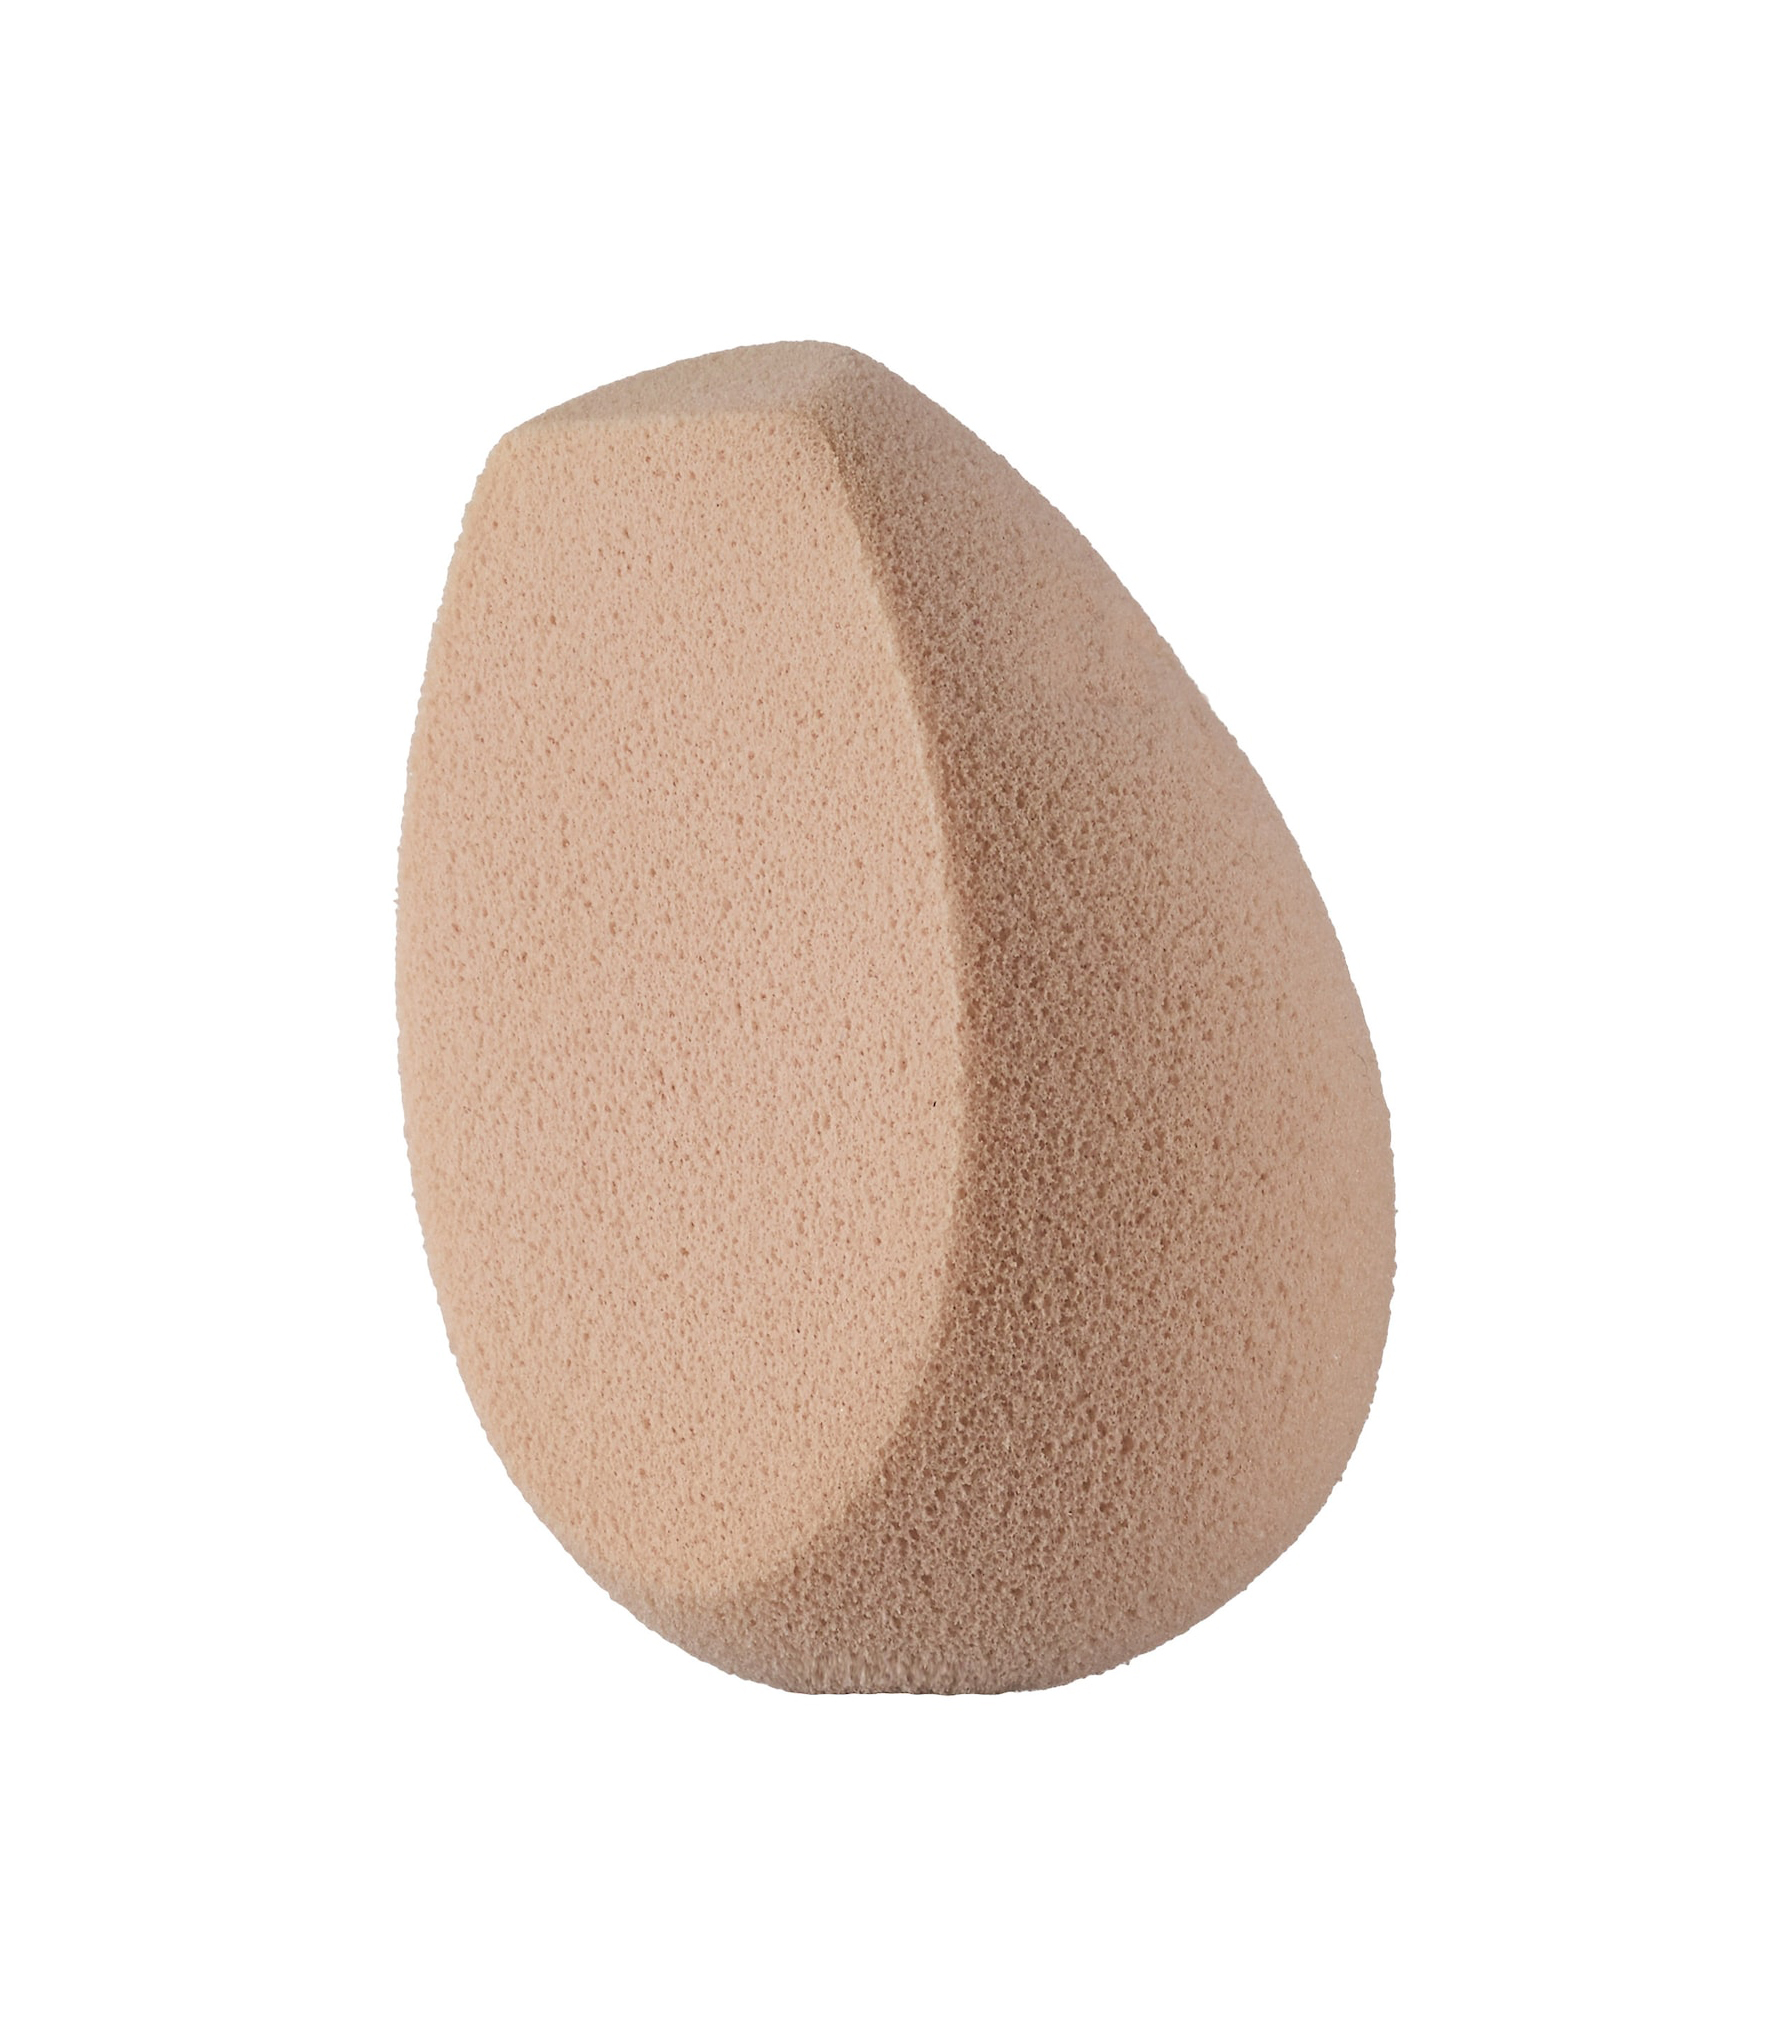
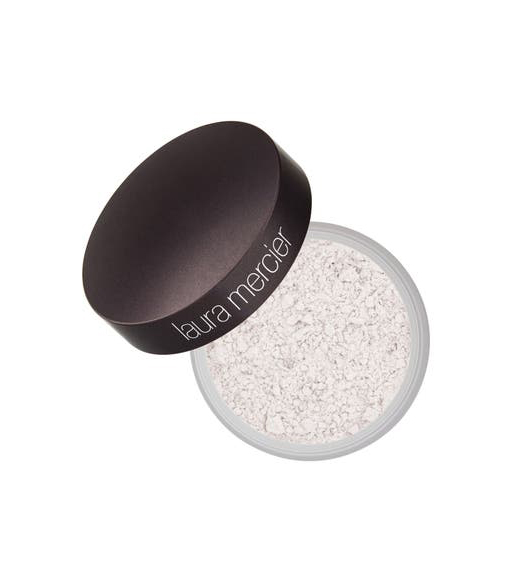
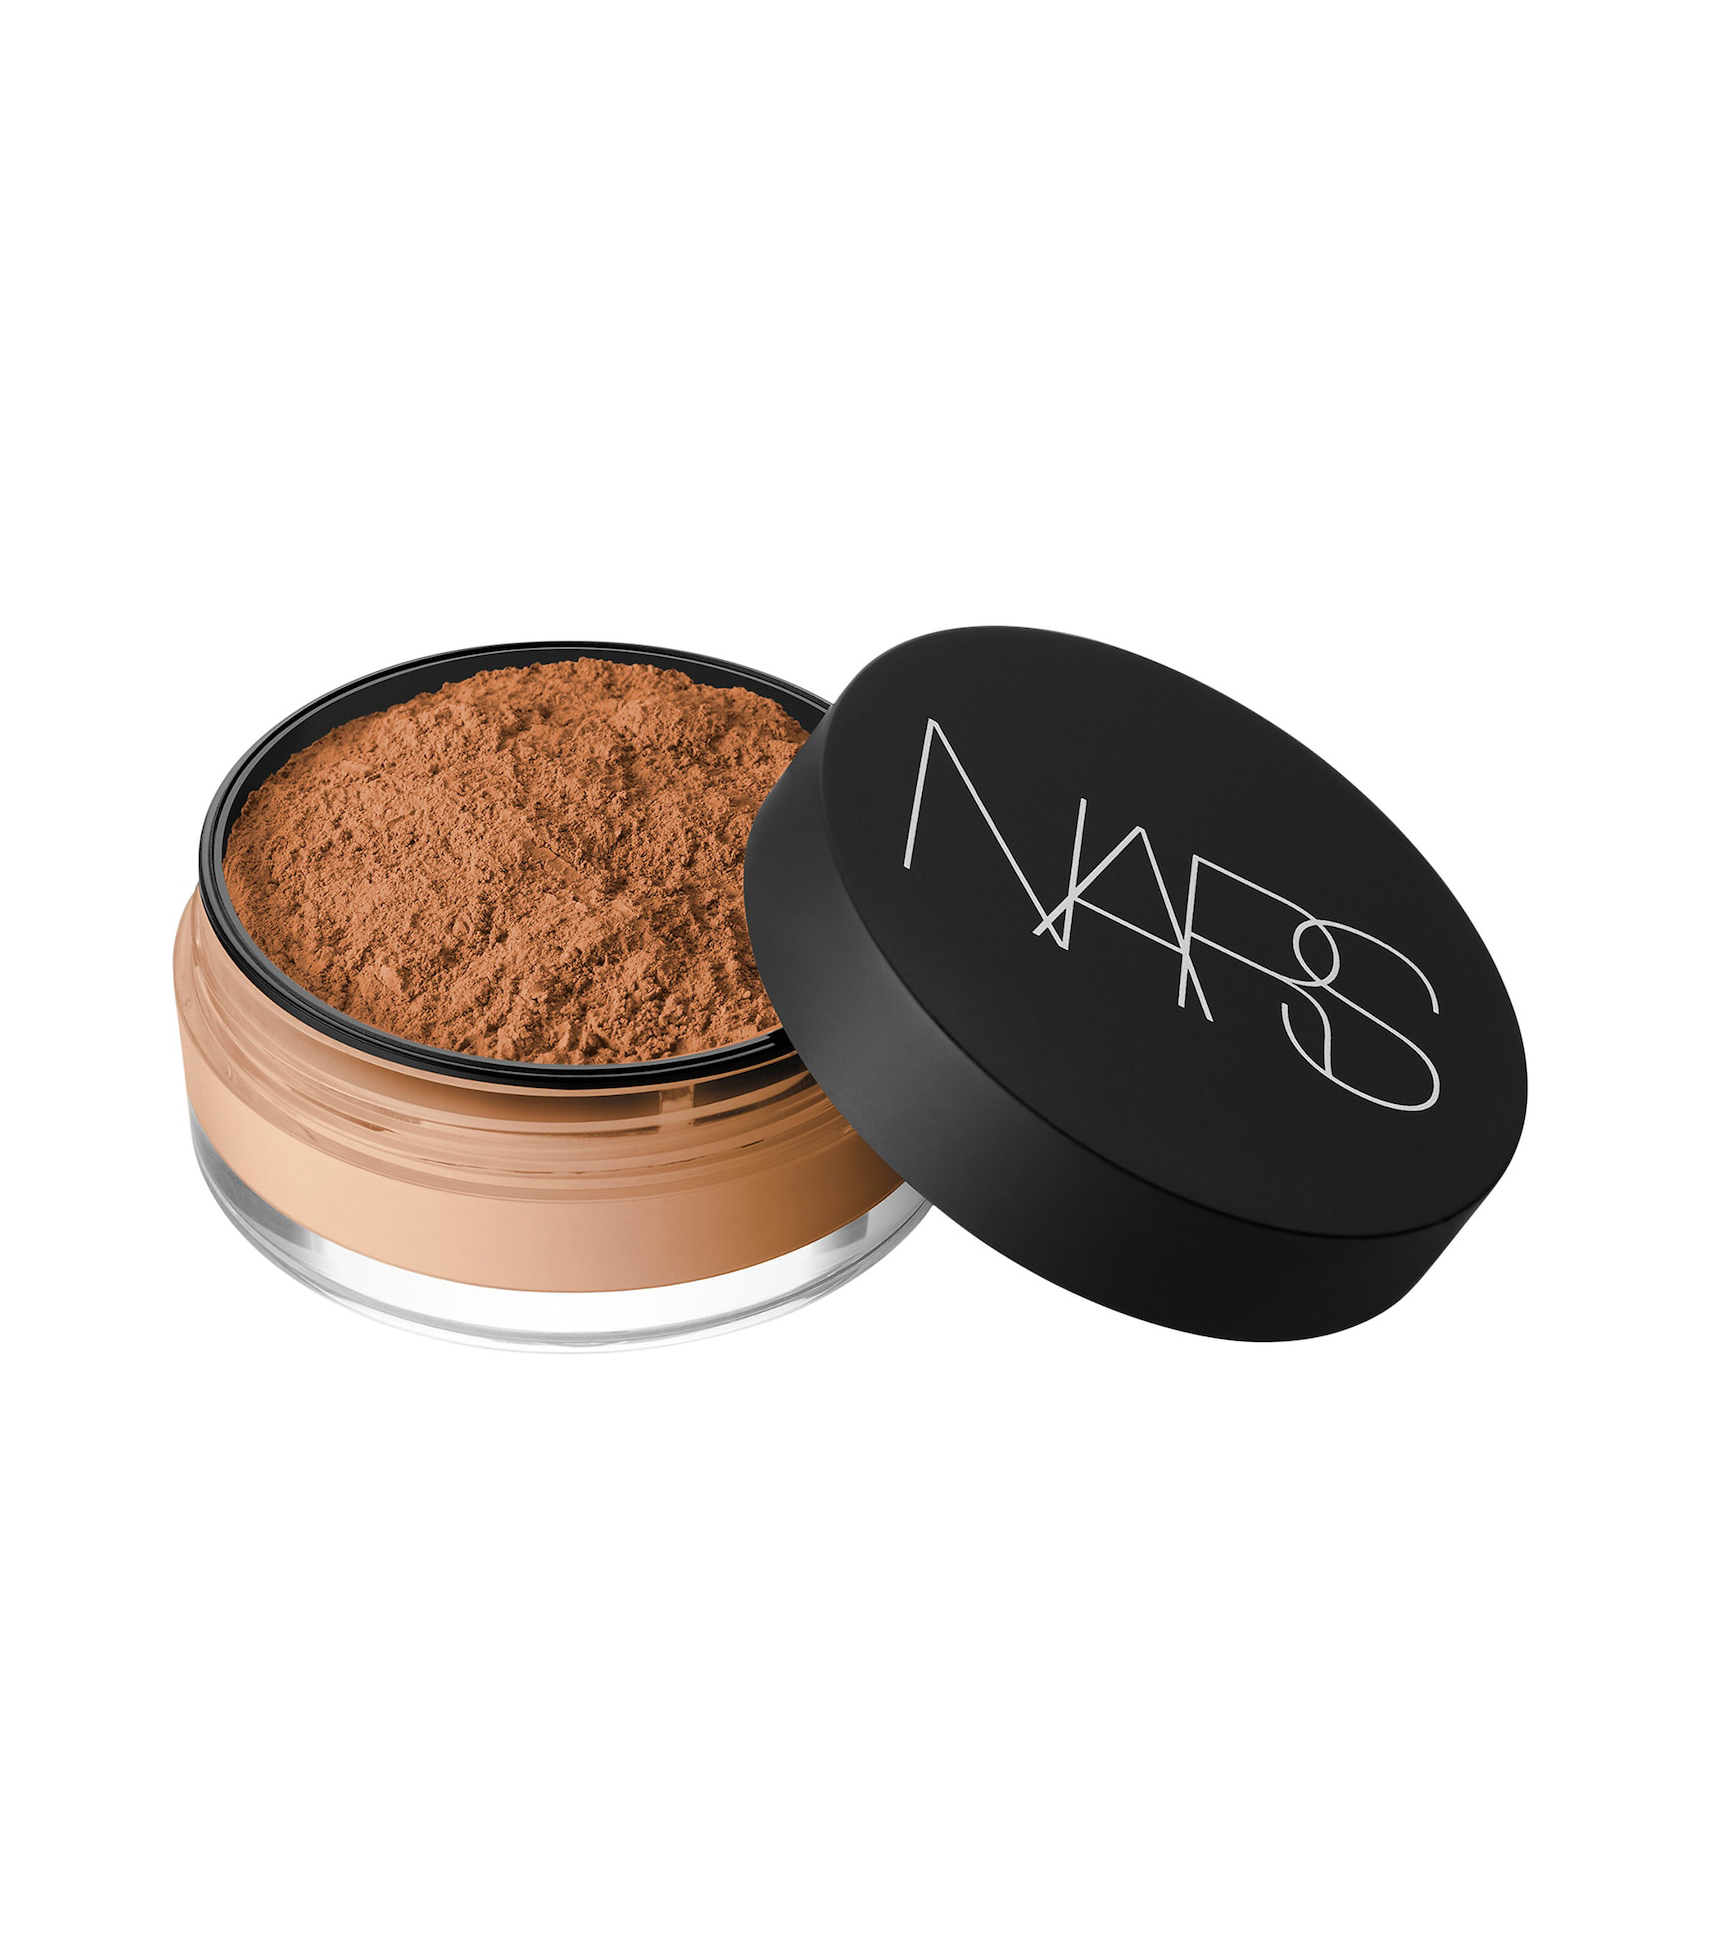
To finish, Ferreira suggests using a powder. “Baking is part of concealing. When you want to really flatten an area or knock it back, you can add a bit of a lighter, finely milled powder with a sponge and really bring forward and brighten up an area,” she explains. “I love the mini Beautyblender sponges or the angled Fenty Beauty sponges to do my baking with. You can add just a little bit of powder and make it look so natural.” Ferreira recommends the Fenty Beauty Pro Filt’r Powder, Laura Mercier’s Secret Brightening Powder, and Nars’s loose powders.
Powered by WPeMatico


