When you’re dealing with redness, the way you apply makeup and which products you choose can make a big difference. You want to conceal, but you don’t want to cake the concealer or foundation on. The ultimate end goal is an effortless, natural look. Like, redness who?
If you deal with this on a regular basis, you might already have your tried-and-true products and shortcuts, but if you’re still trying to figure it out, don’t worry. I turned to the people who know how to mask redness like no other—makeup artists—for their trade secrets.
The most important step is the one at the very beginning: skin prep. Because sensitivity or irritation causes redness, you’re going to want to avoid doing anything to aggravate the skin and prioritize calming and soothing it. This is how each makeup artist would prep the skin before applying makeup:
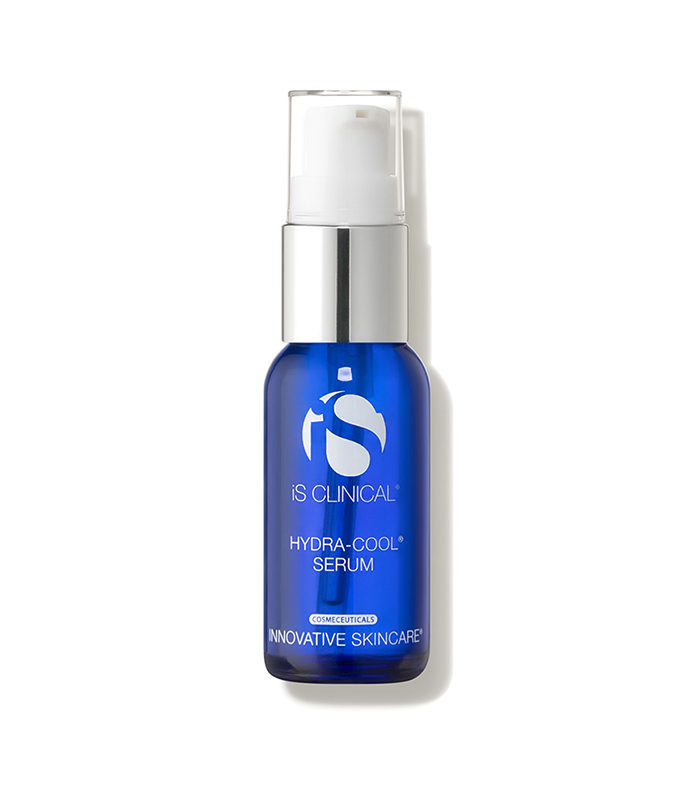
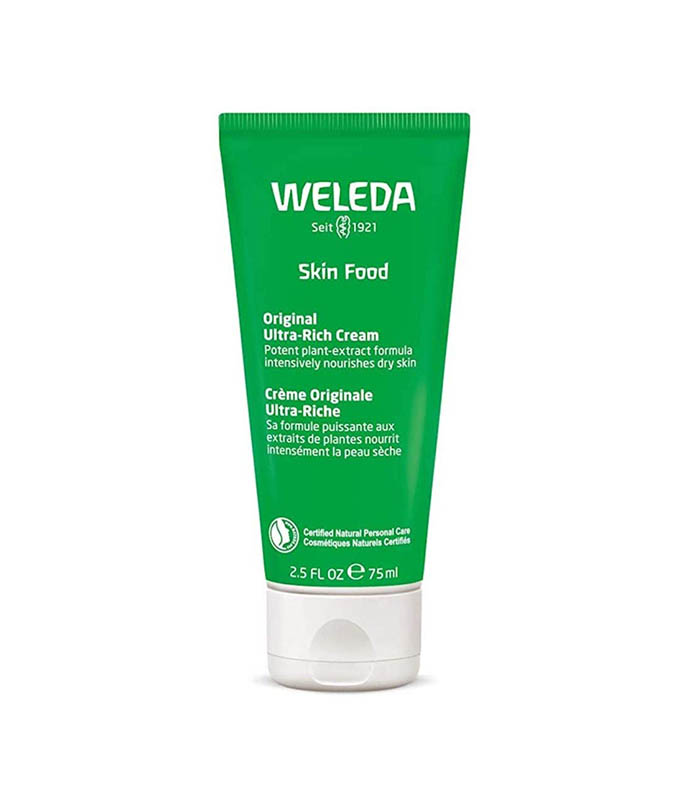
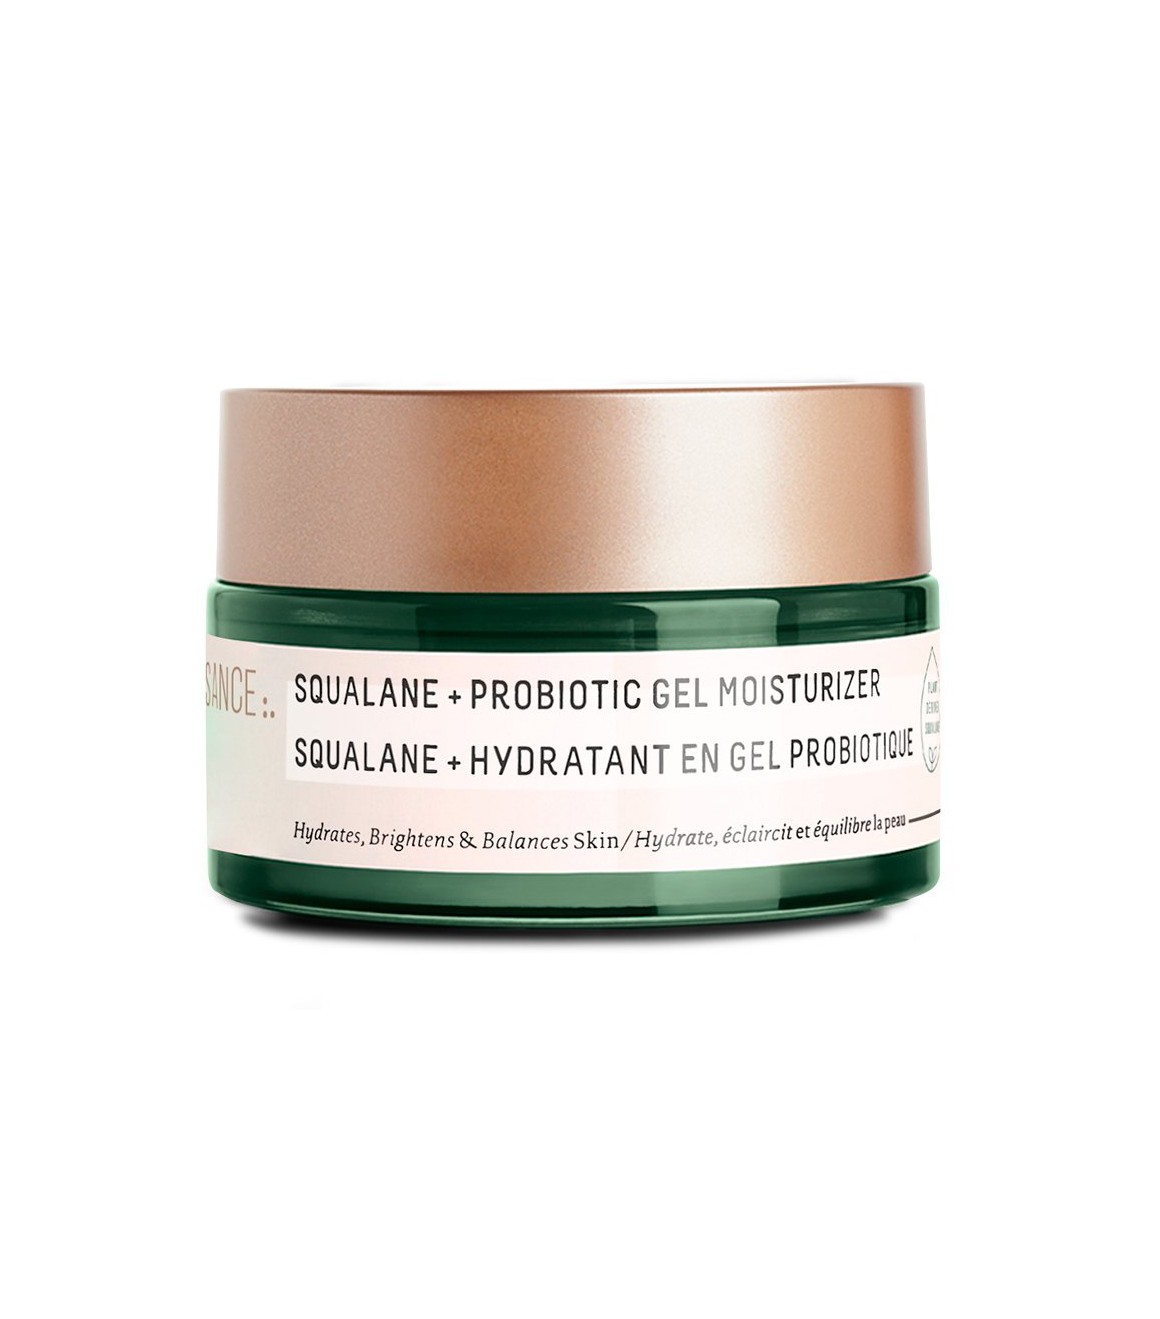
Georgie Eisdell: She recommends using a cream cleanser or a gentle gel cleanser first, like IS Clinical’s Cleansing Complex. To settle any irritation or calm redness, she likes to use IS Clinical’s Hydra-Cool Serum. To finish the prep process, she likes Weleda’s Skin Food or Biossance’s Probiotic Gel Moisturizer to reduce the redness and balance out the skin.

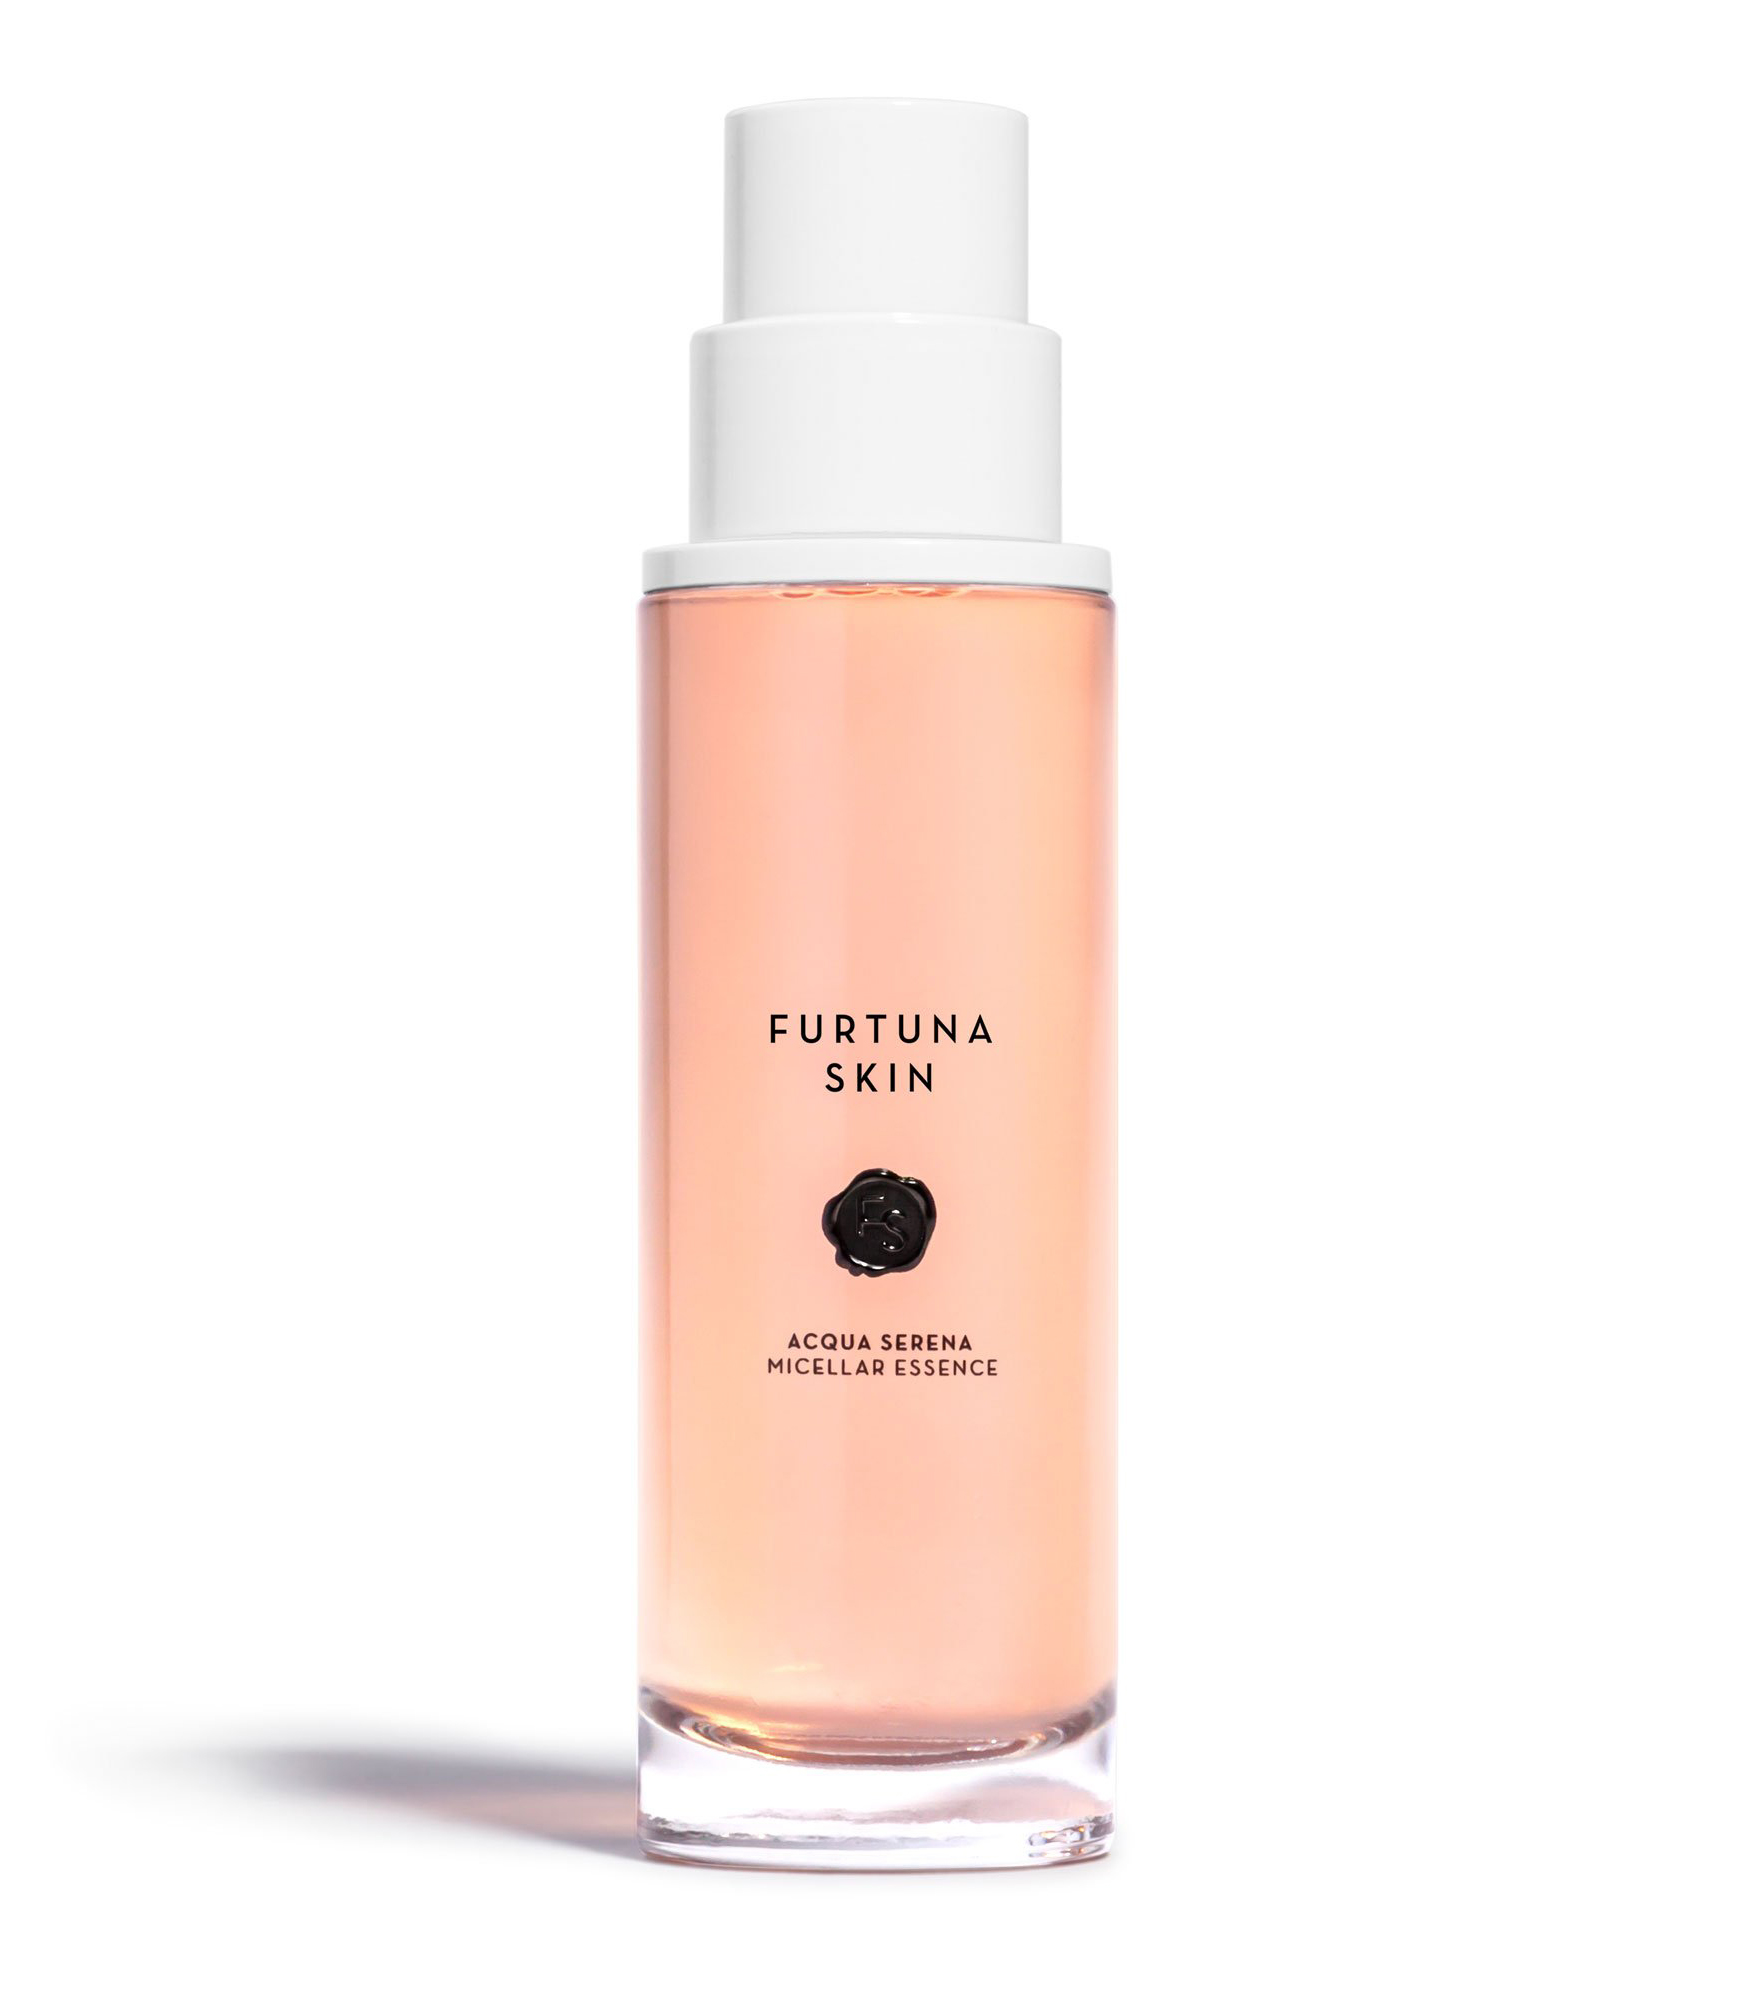
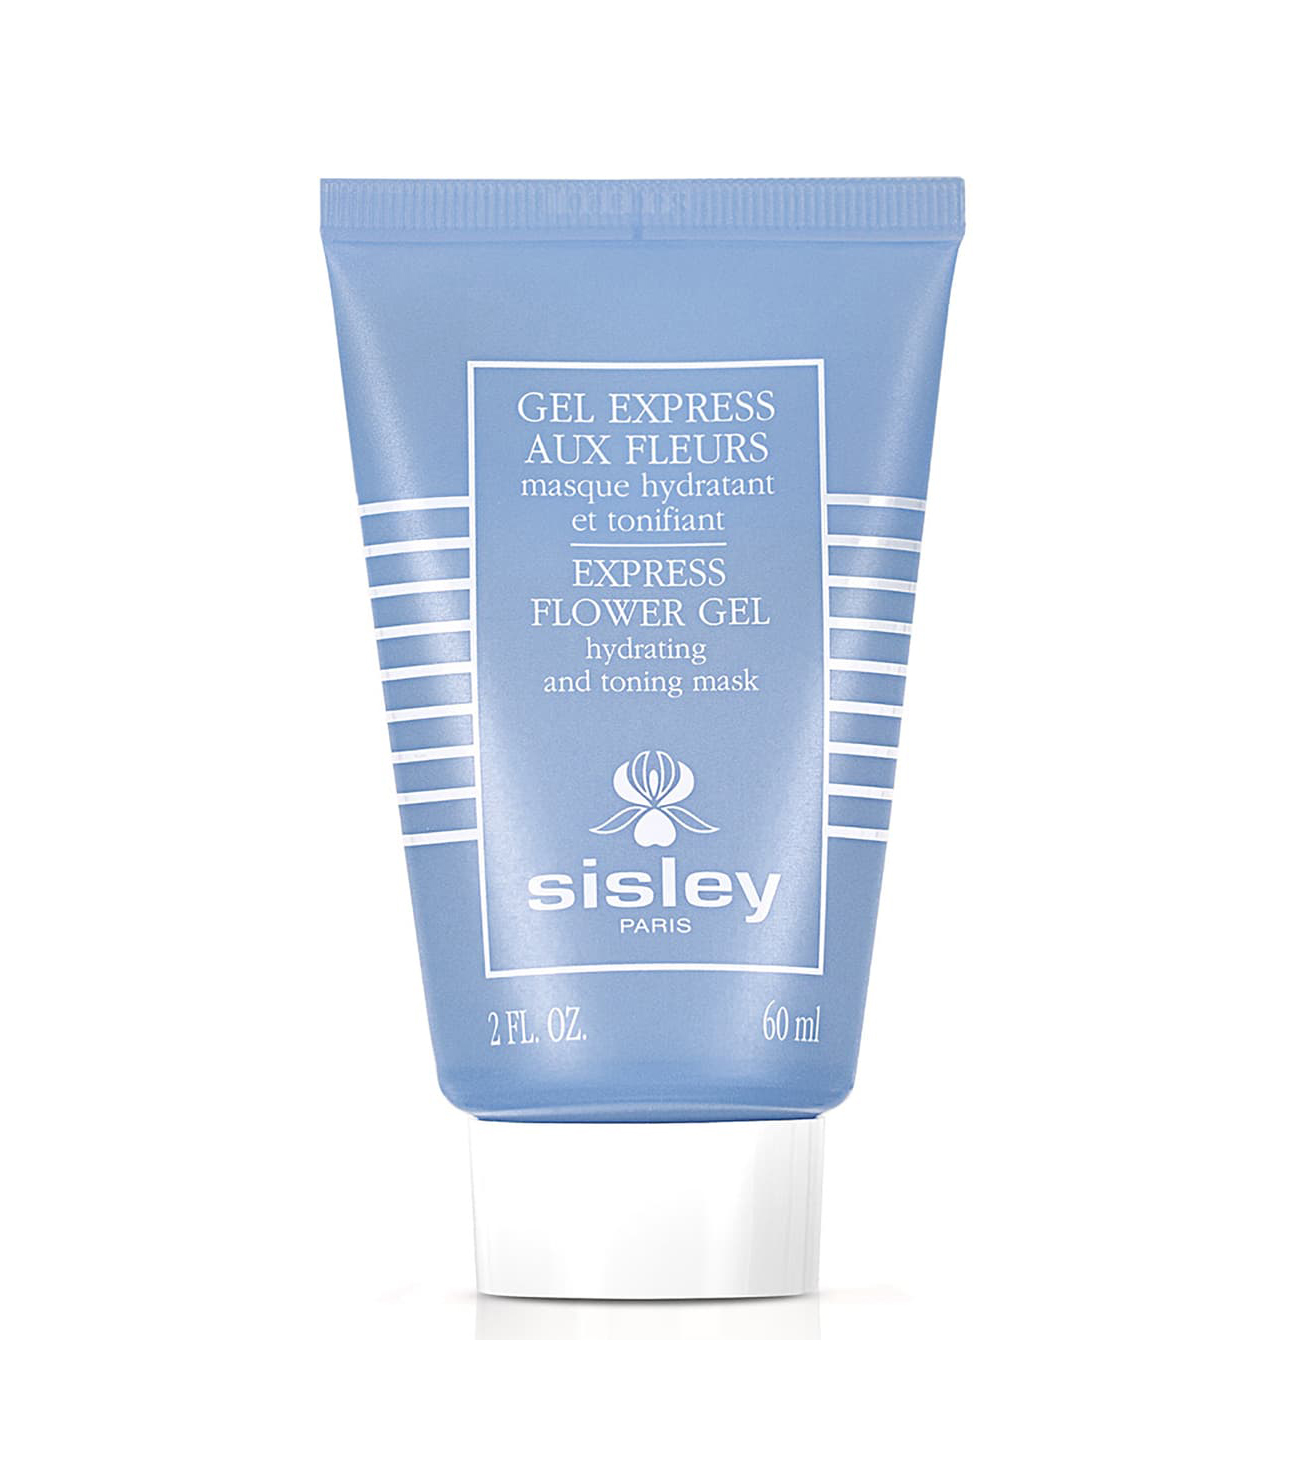
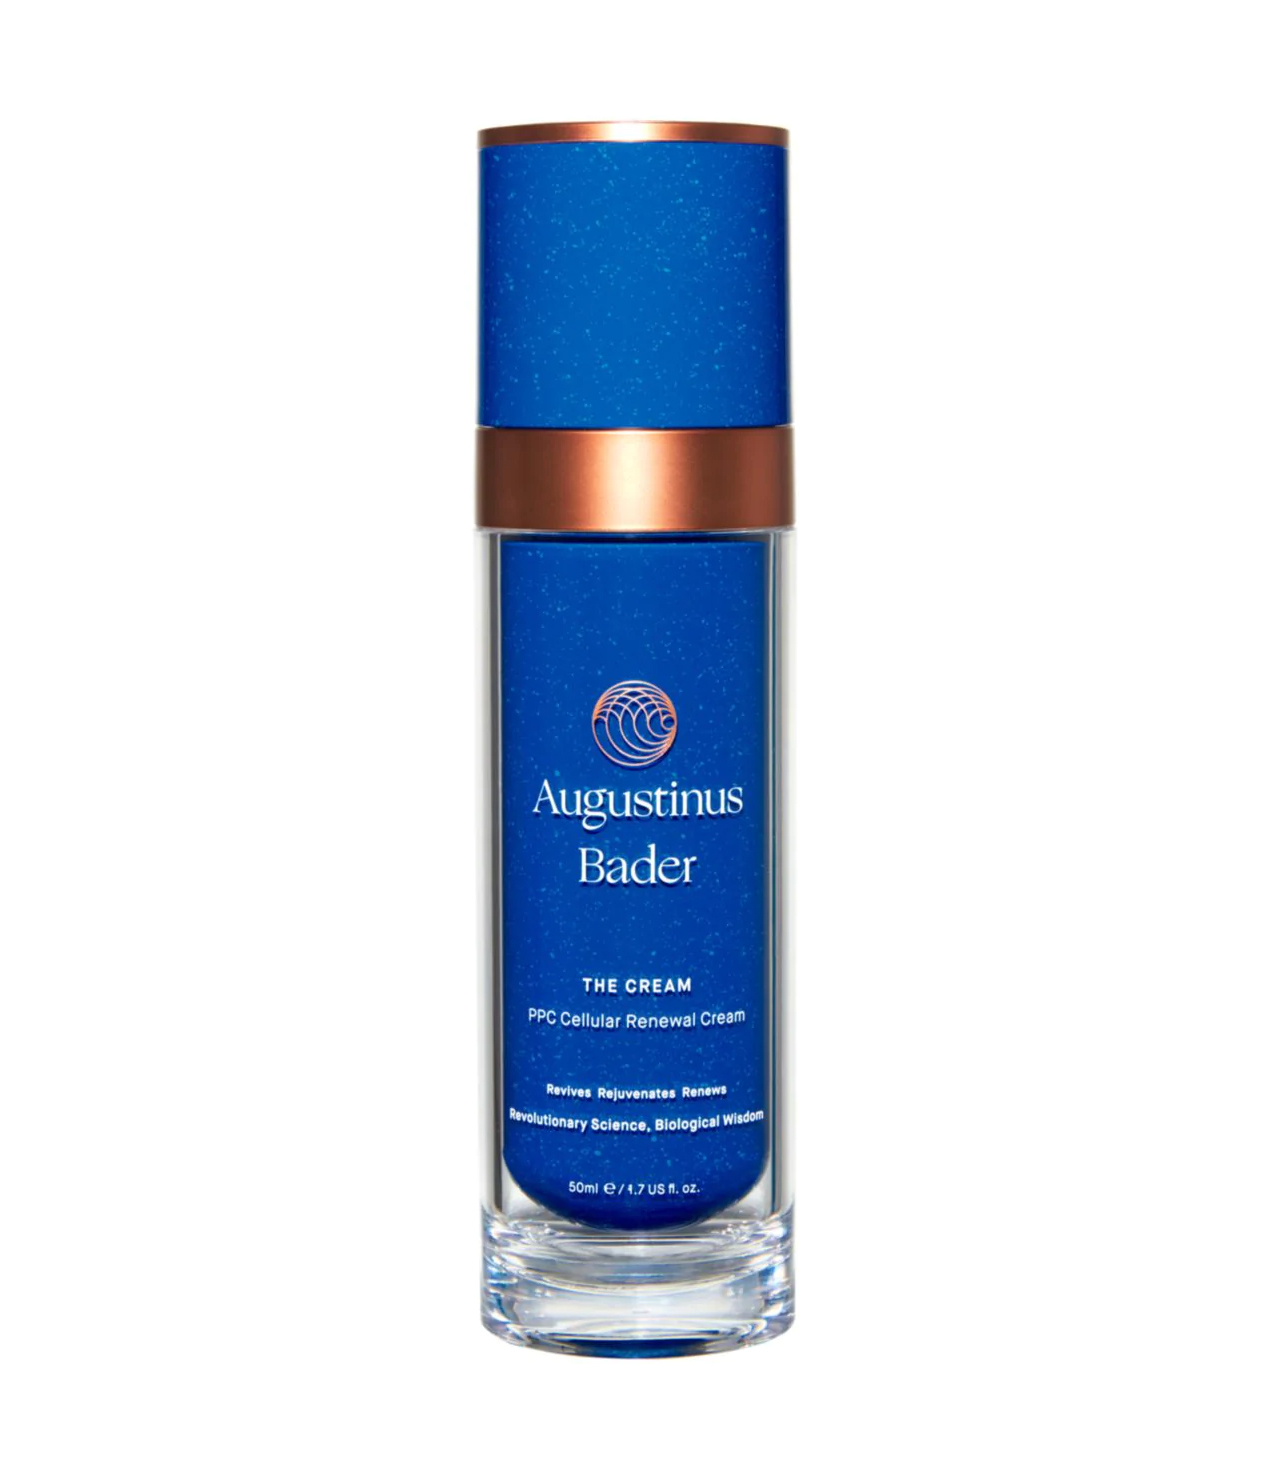
Emily Cheng: For prep, Cheng likes Furtuna’s Micellar Essence, Sisley Paris’s Flower Gel Express Mask, and Augustinus Bader’s The Cream. She says all are very gentle and soothing. Use a light touch to massage in products.
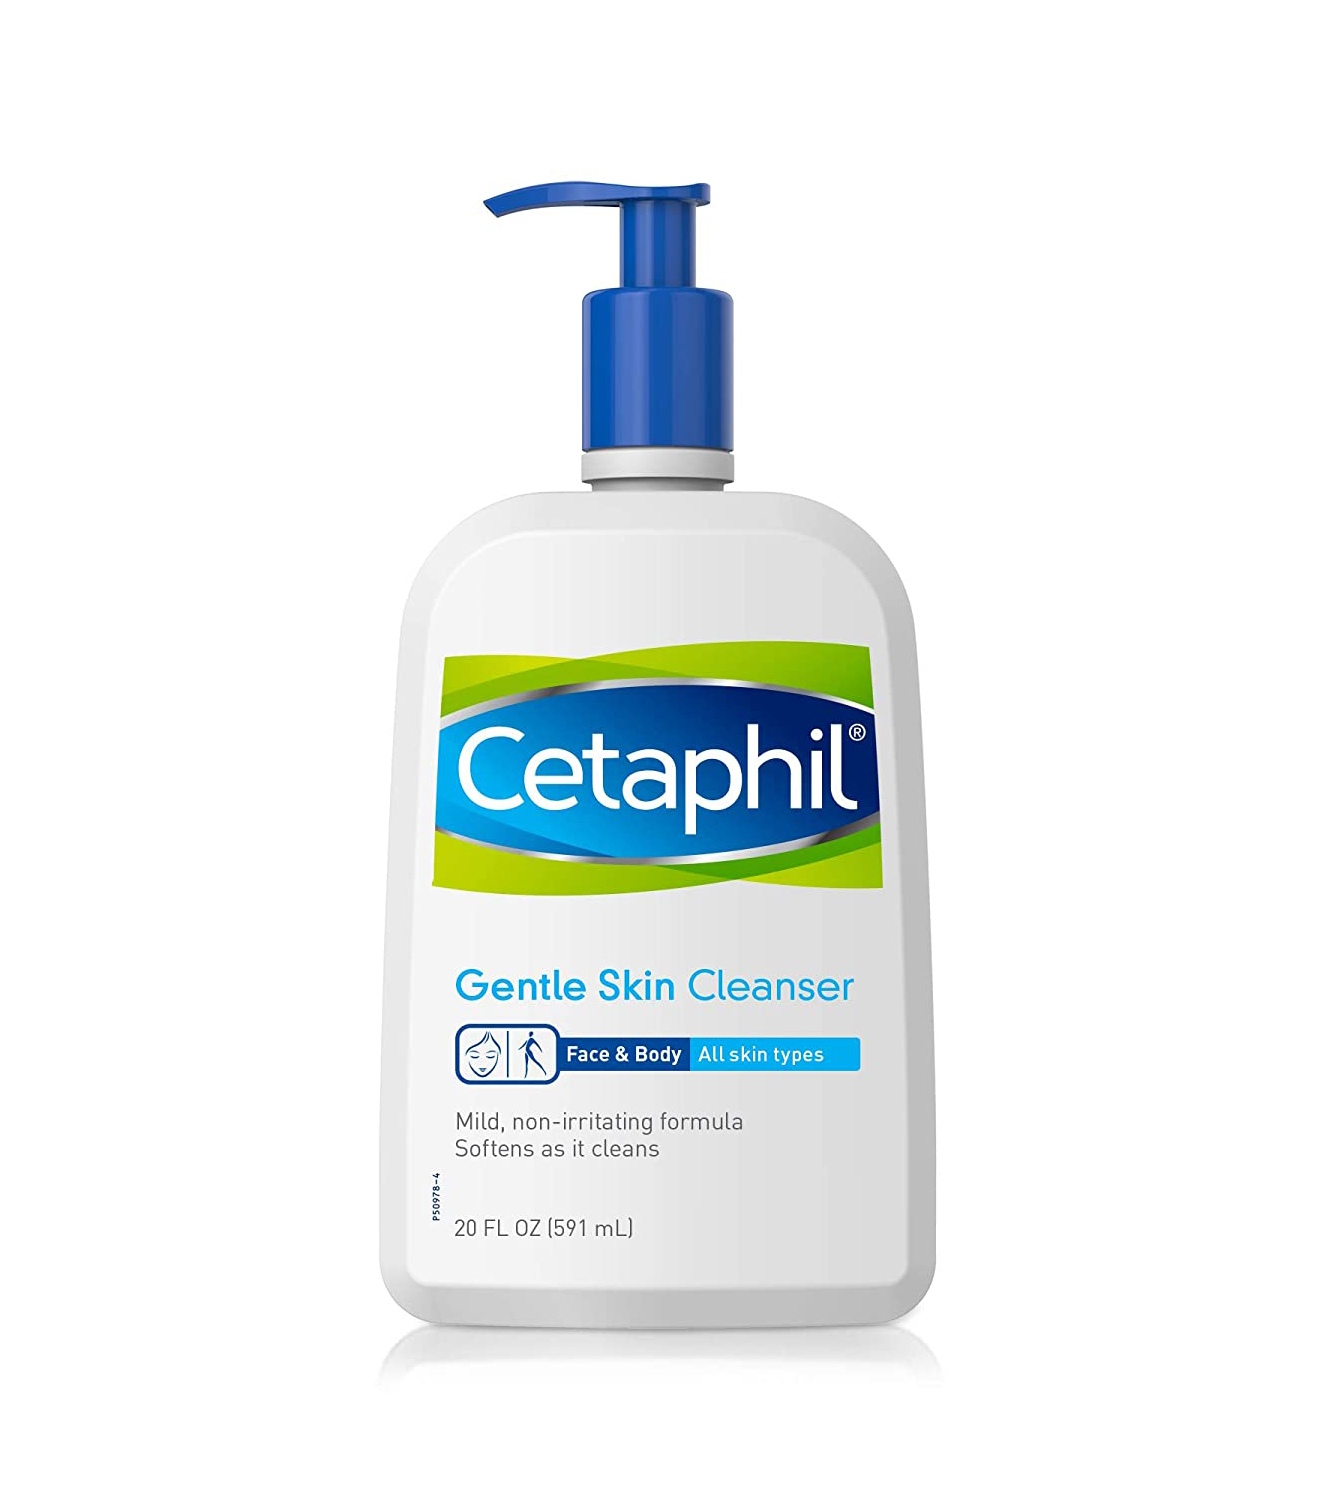
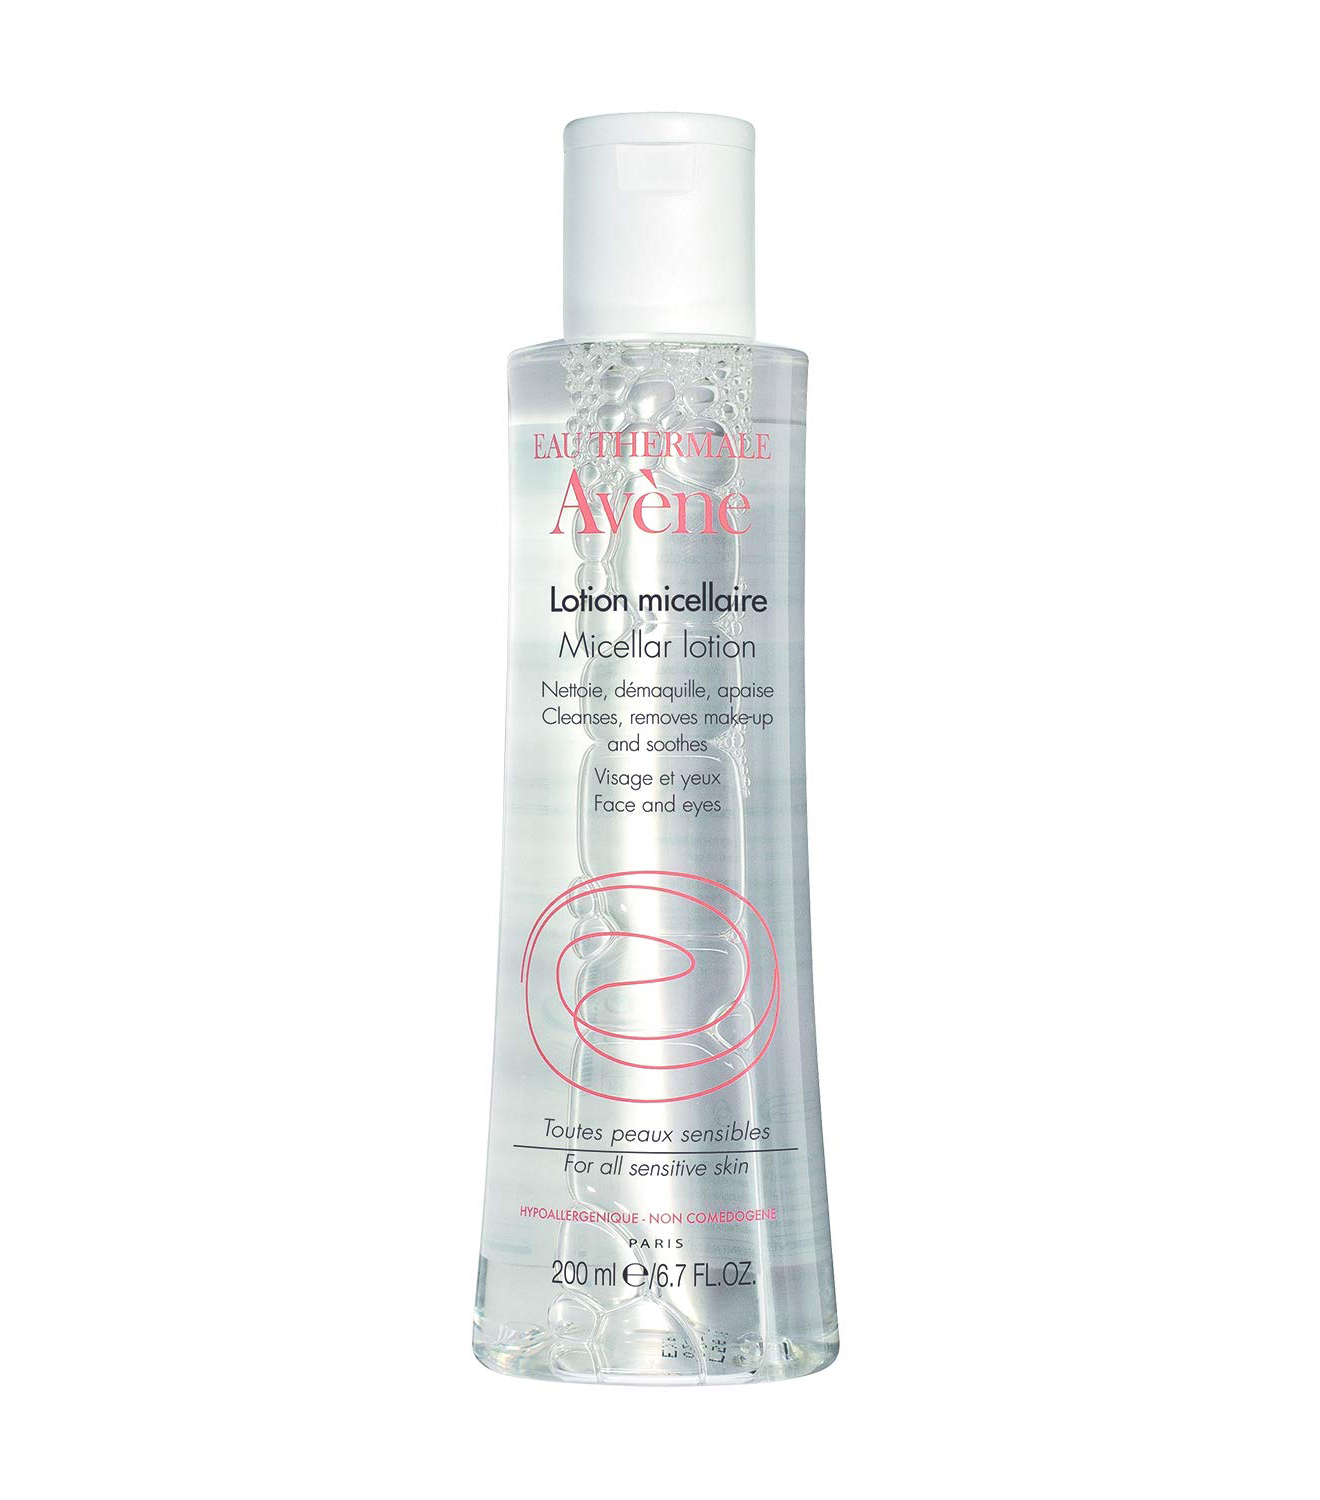
Lisa Aharon: She likes to use gentle, fragrance-free products with minimal friction, like Cetaphil’s Gentle Cleanser or Avène’s Micellar Lotion, for cleansing. For color correction and soothing, she recommends the Cicapair line from Dr. Jart+. “A green- or blue-tinted moisturizer for a little color correction is always an option,” she adds. “But a simple moisturizer that restores the skin’s natural skin barrier, calms, and has soothing properties would be my next and only step. Keeping things minimal so as not to aggravate the skin is key here!”
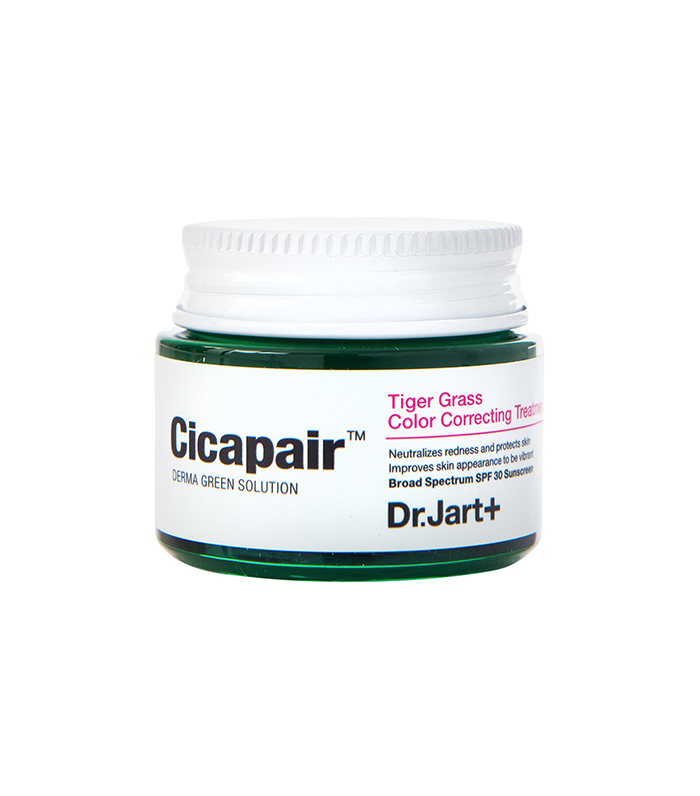
When it’s time for the big moment—concealing the redness—there are a couple of options. You can go with a concealer or color corrector to spot treat, or you can opt for a foundation if you have a larger area to cover. A primer can work as a base to deal with redness and smooth skin before you apply the rest of your makeup. Take a look at some product recs.
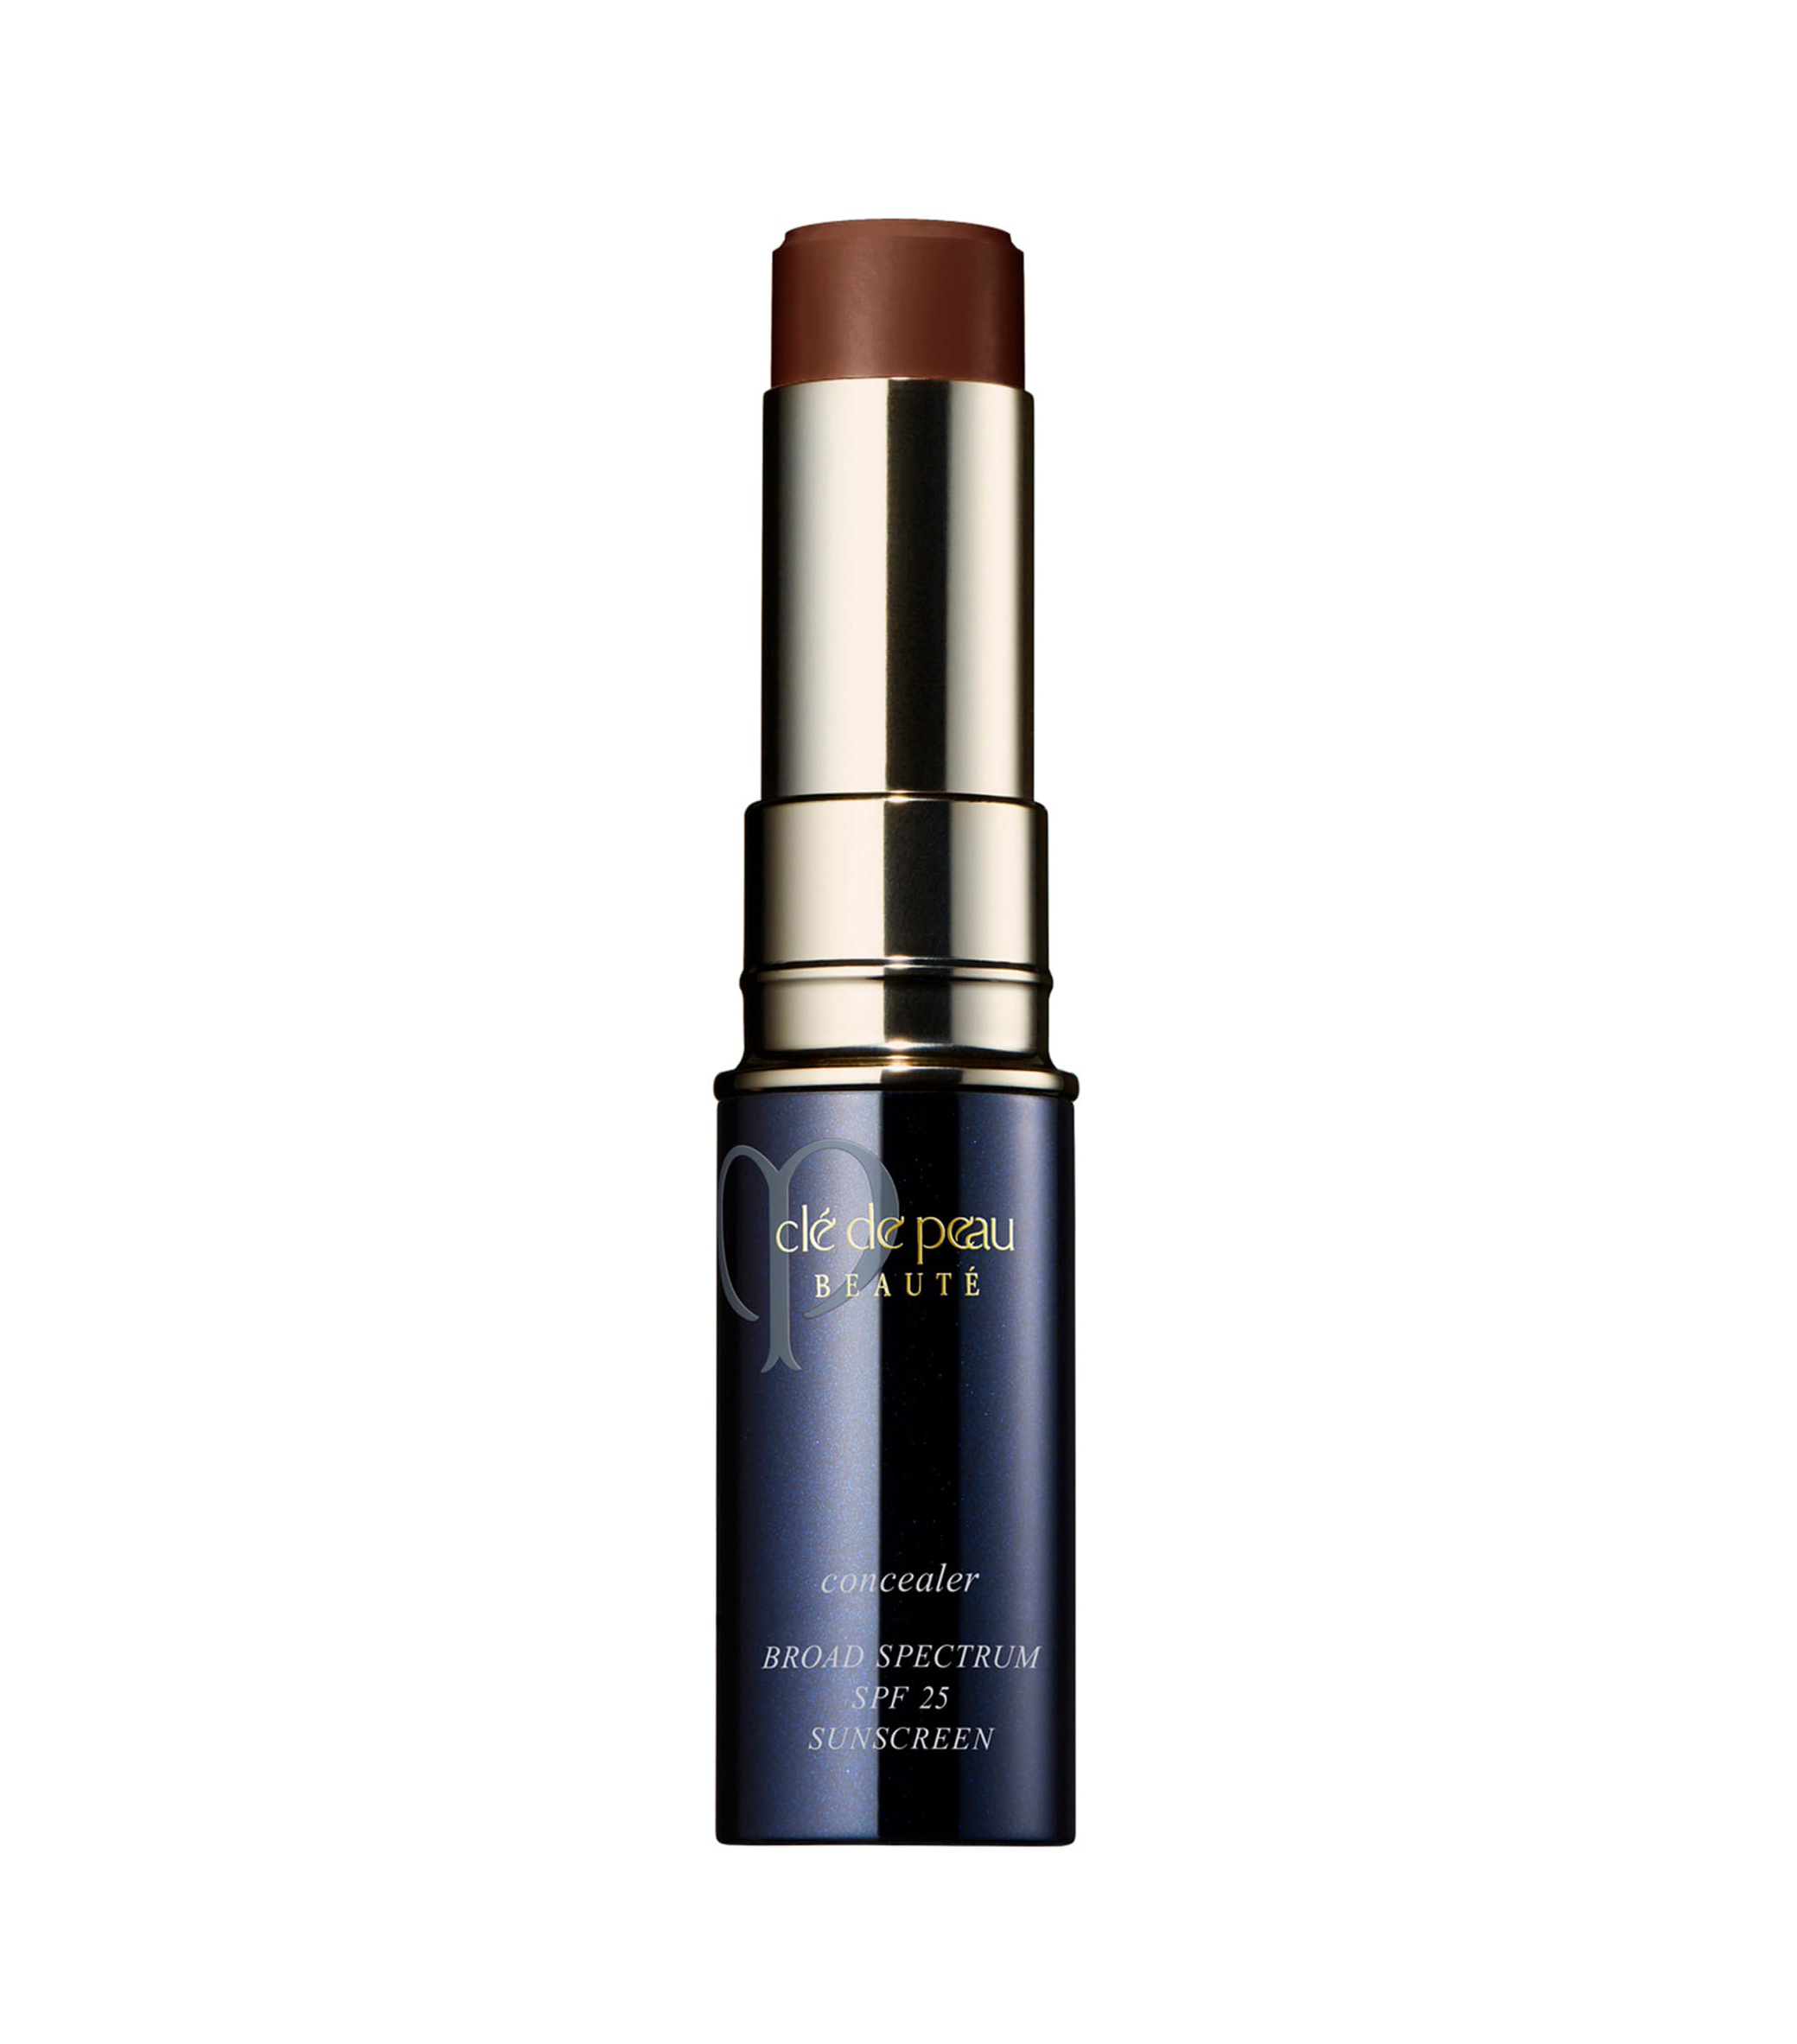
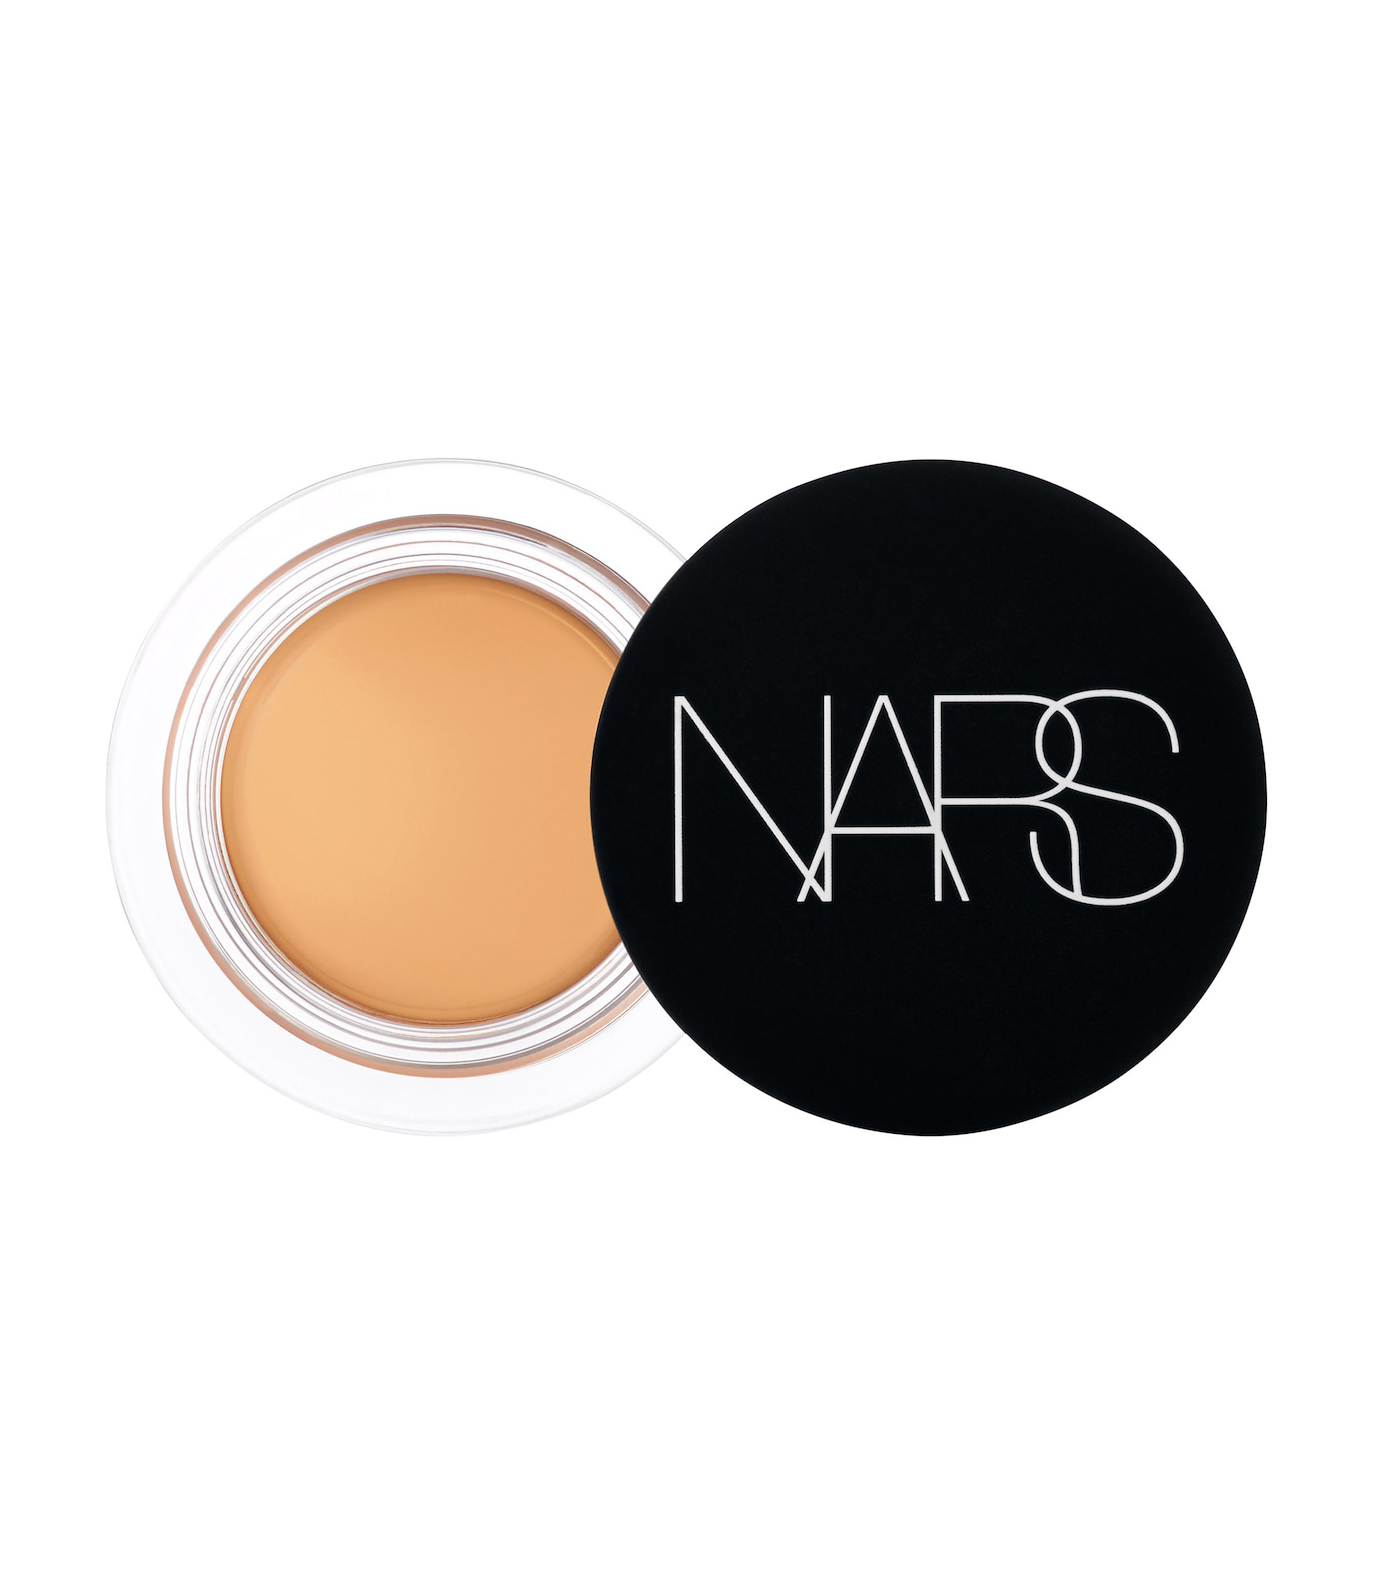
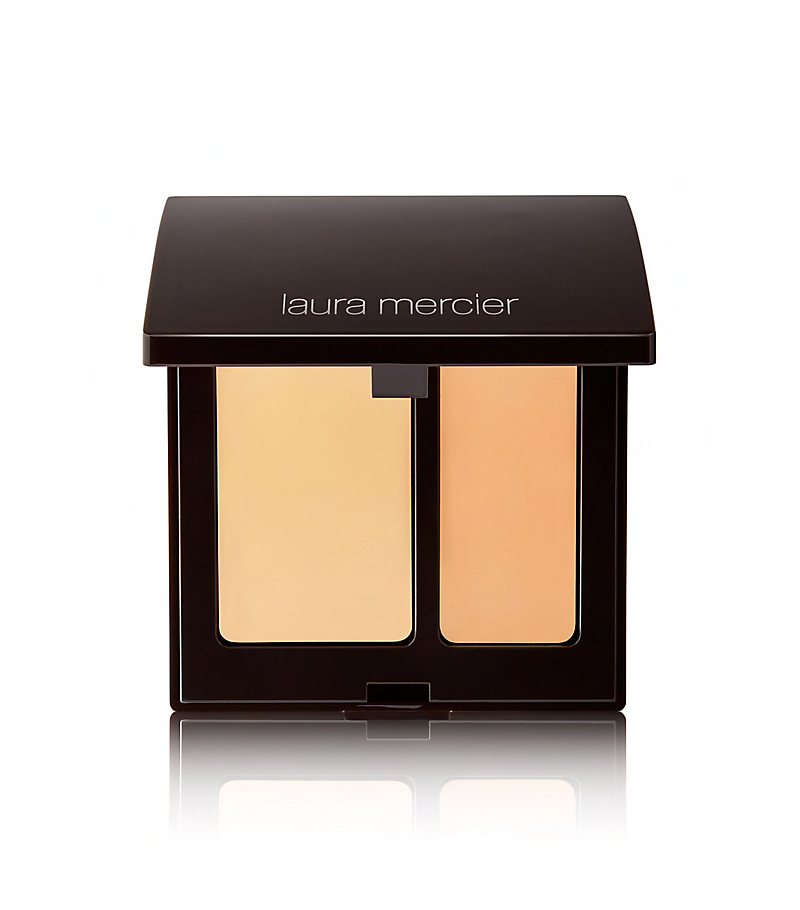
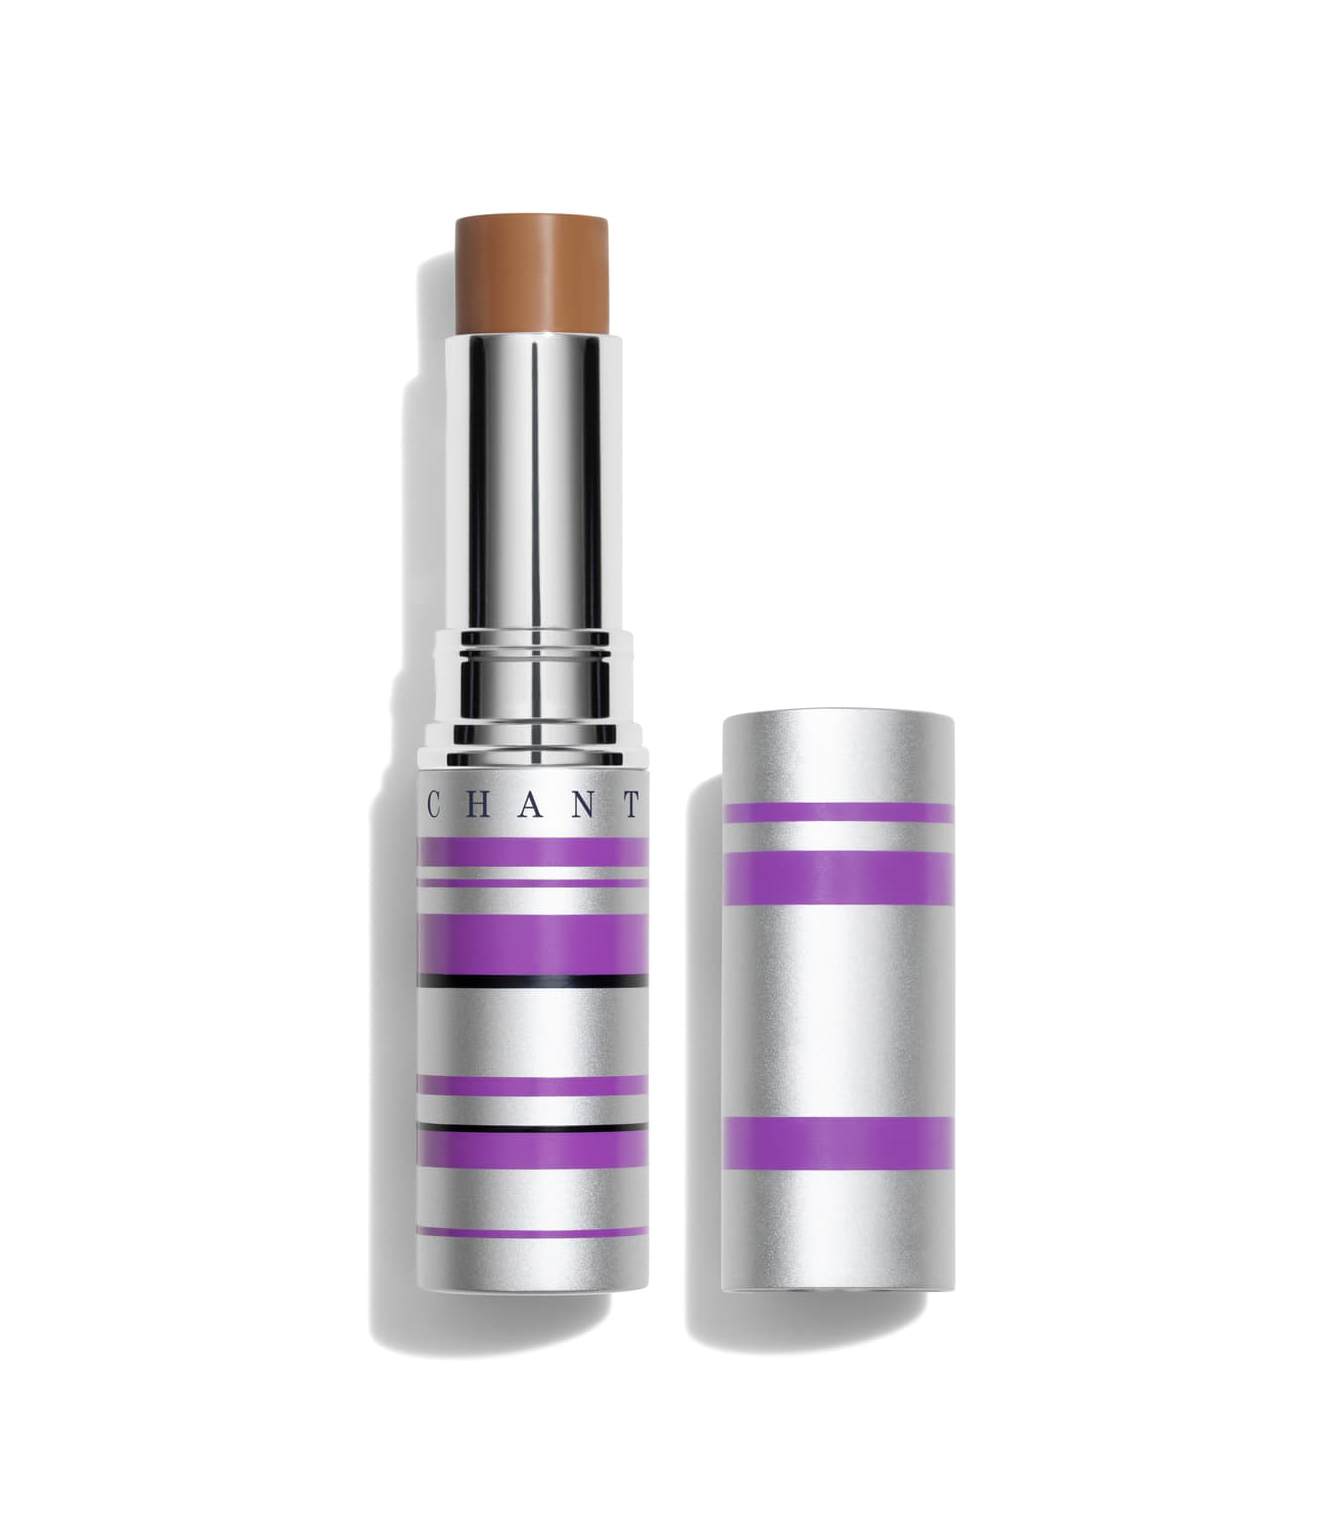
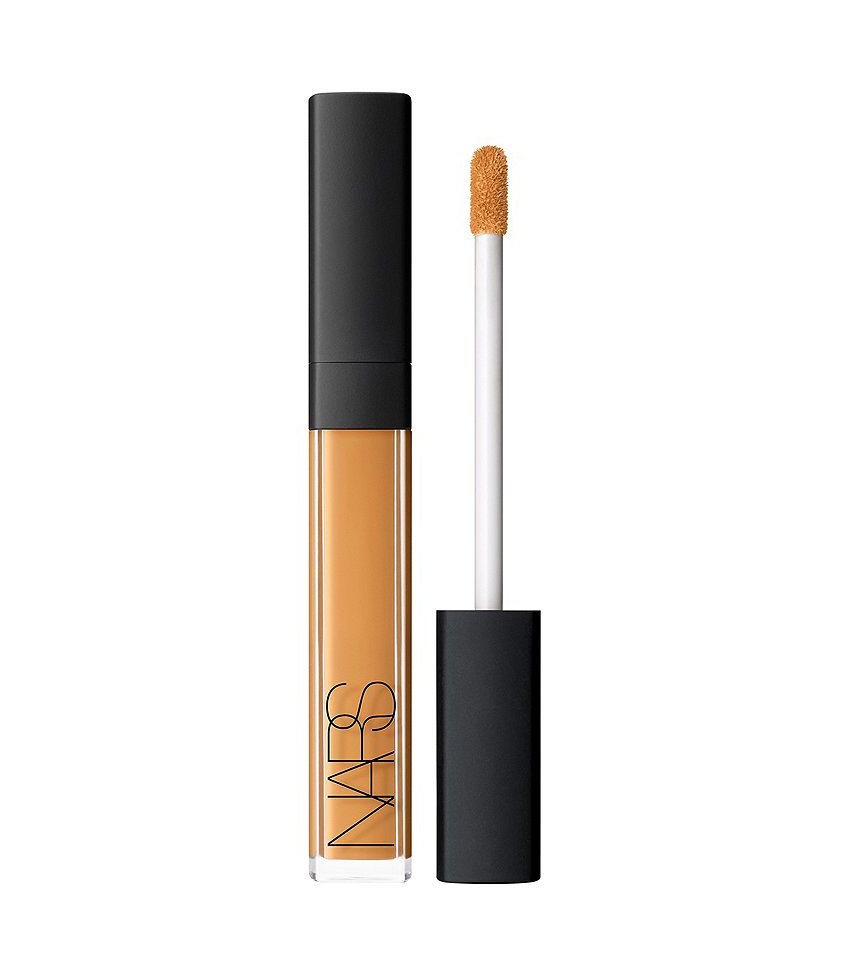
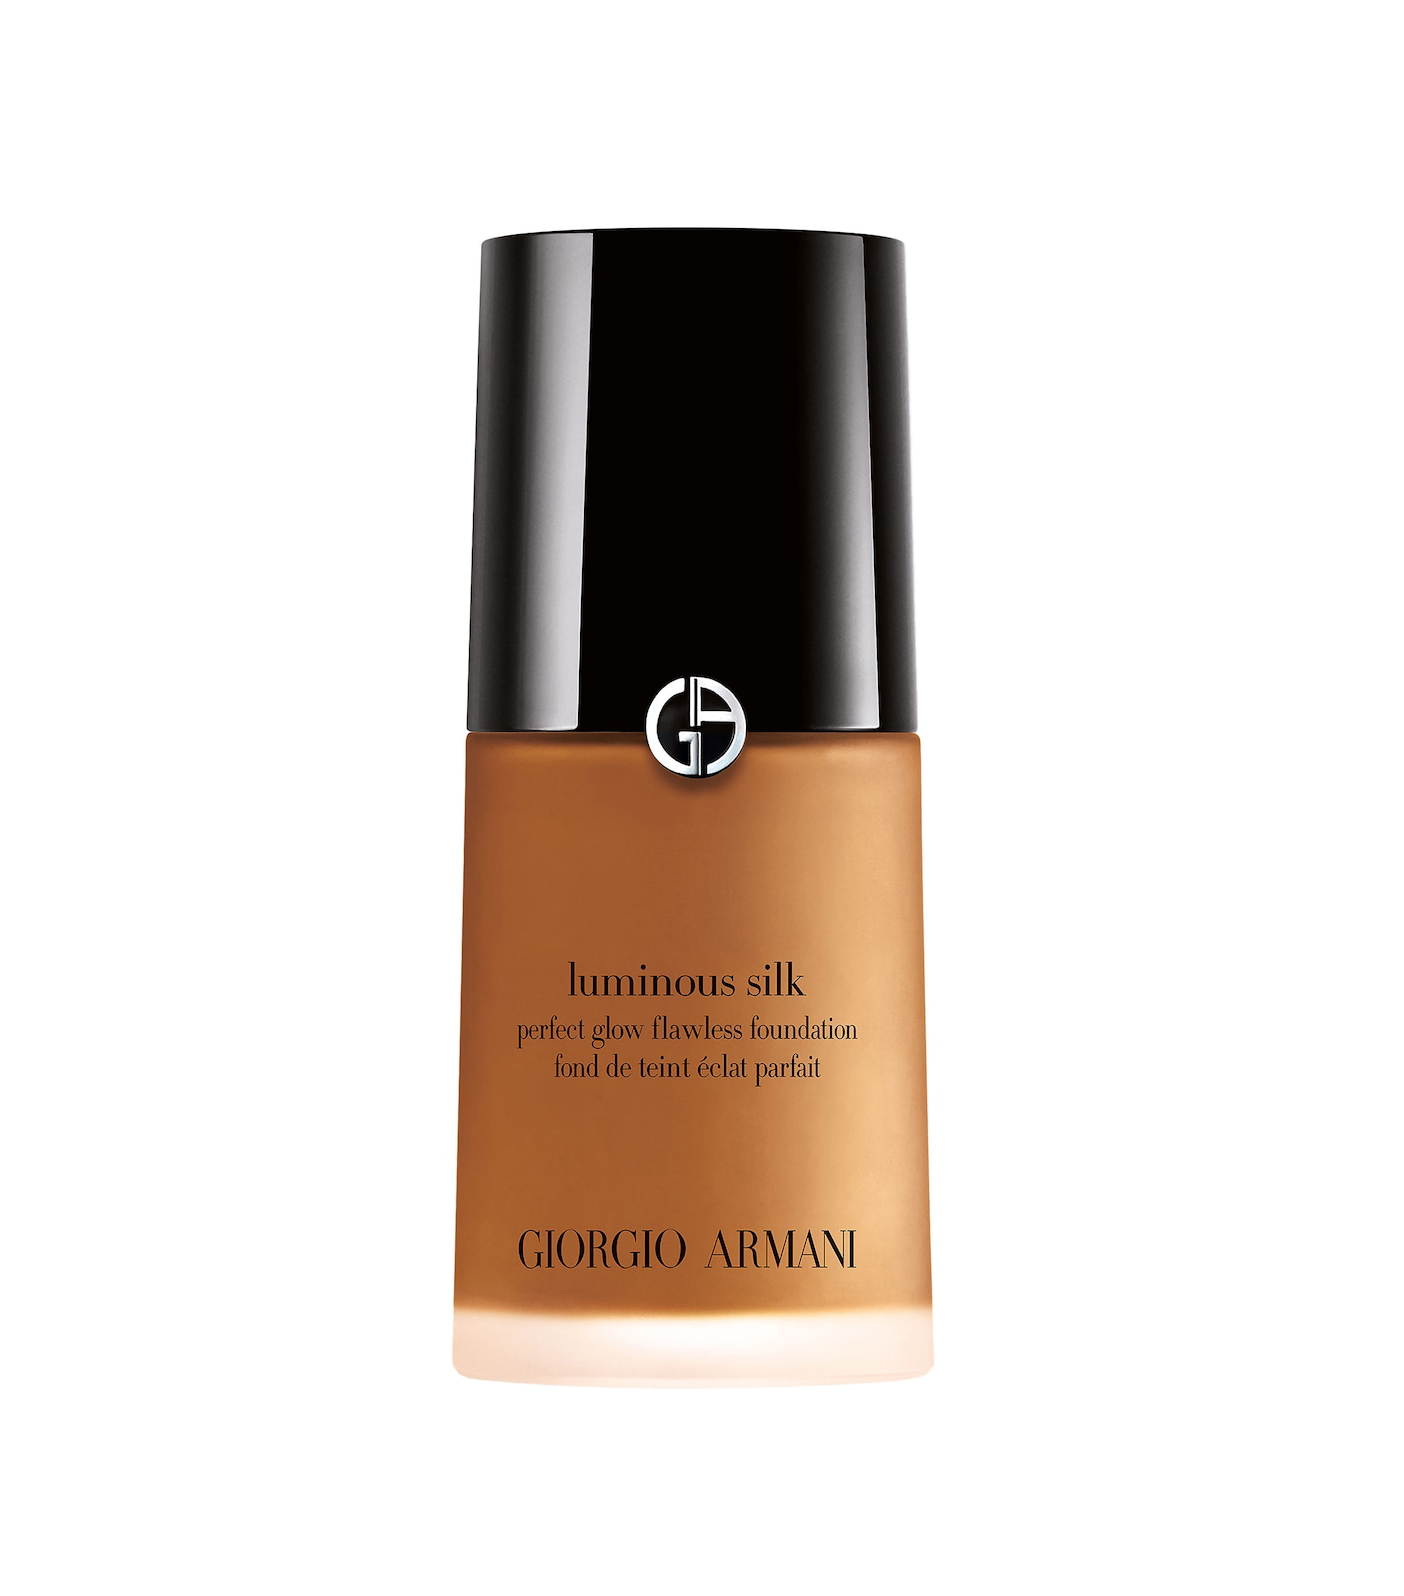
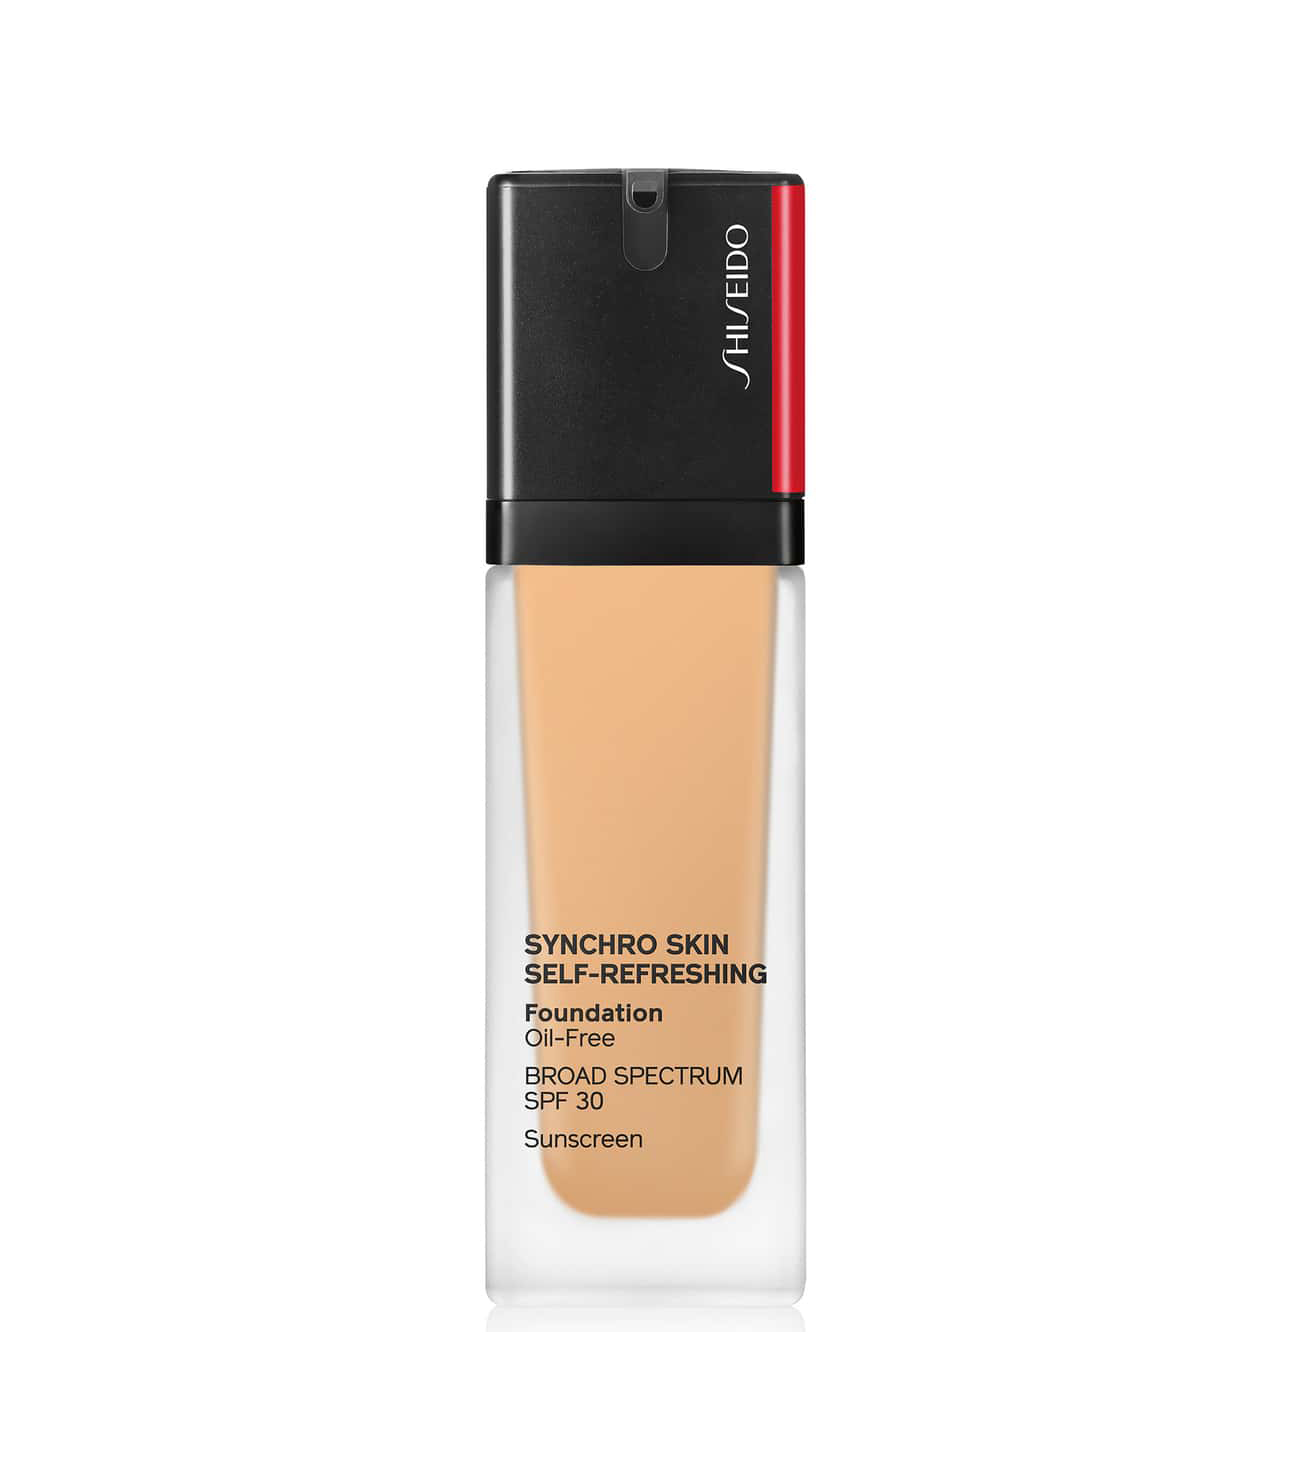
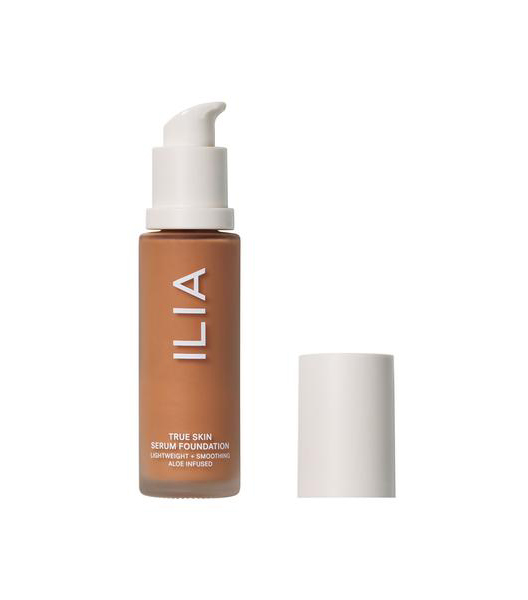
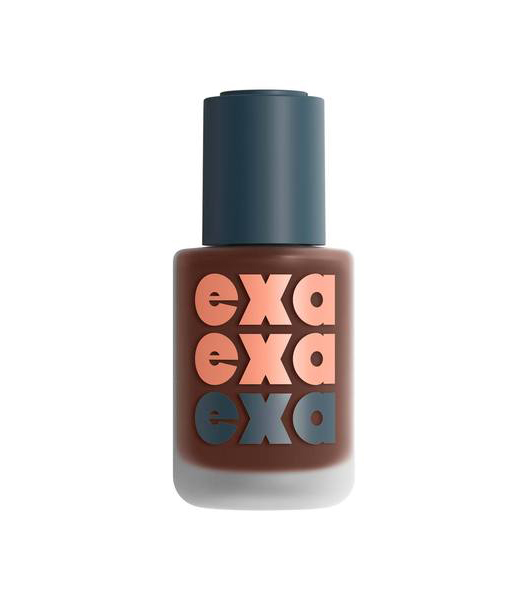
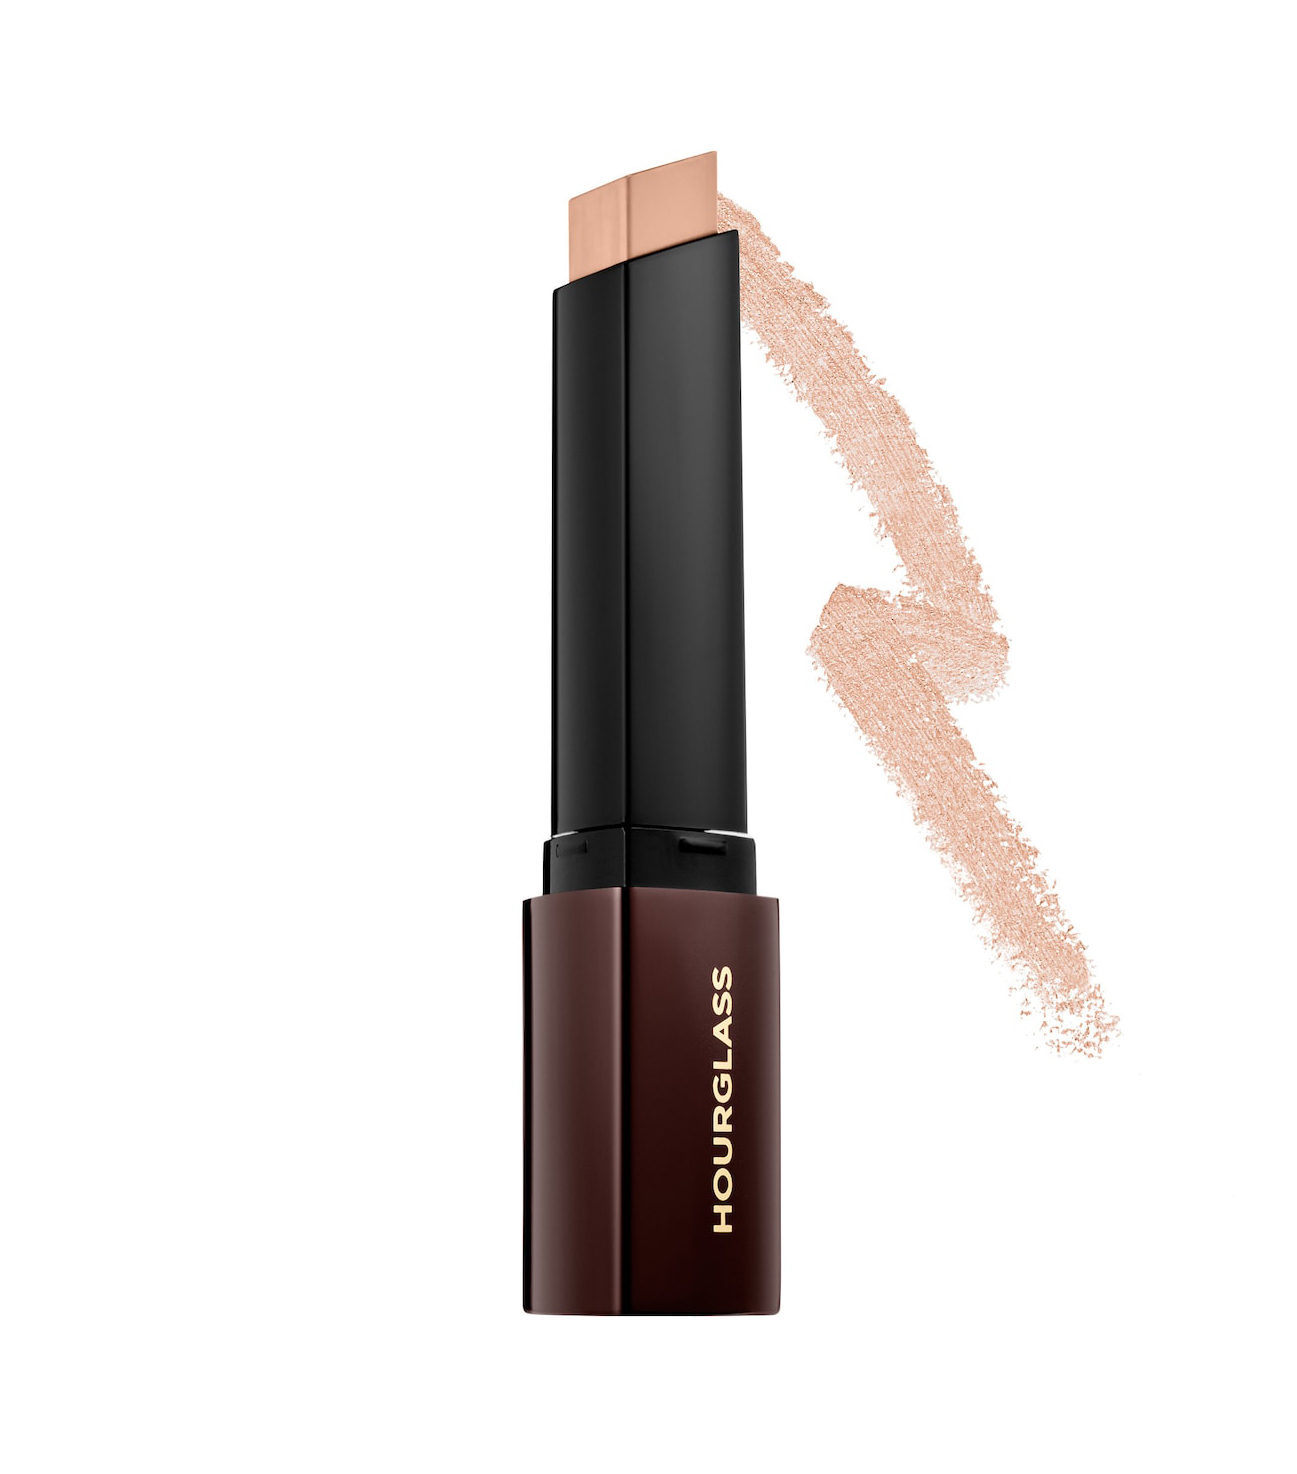
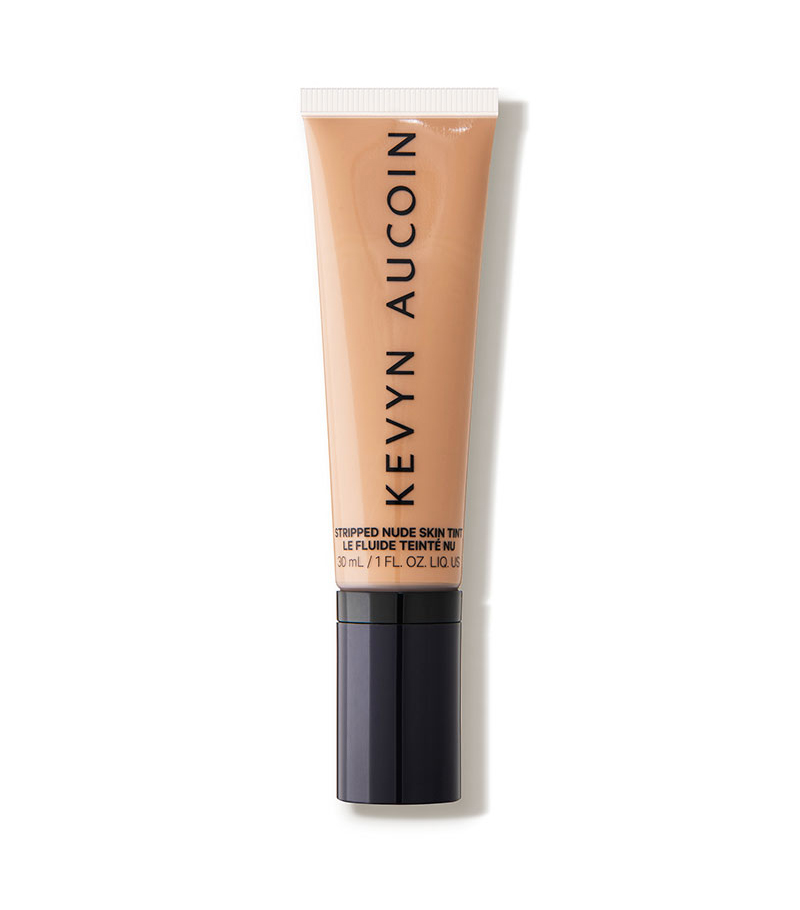
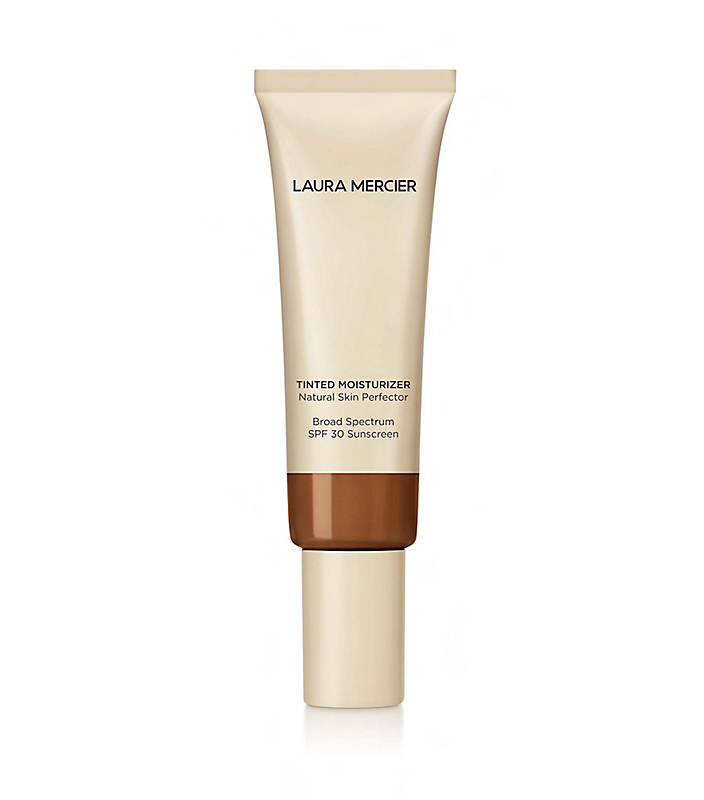
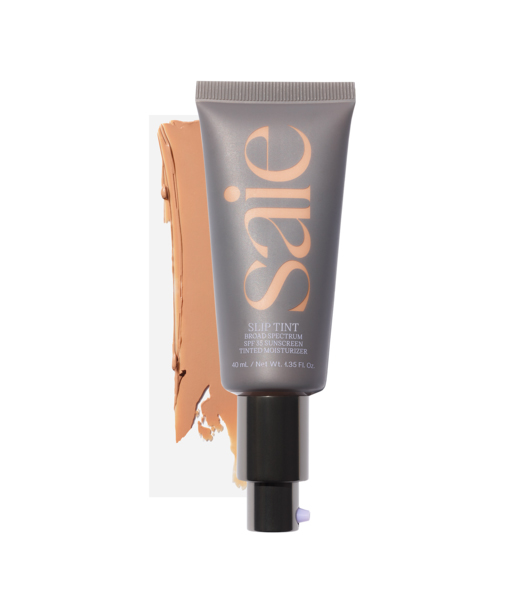
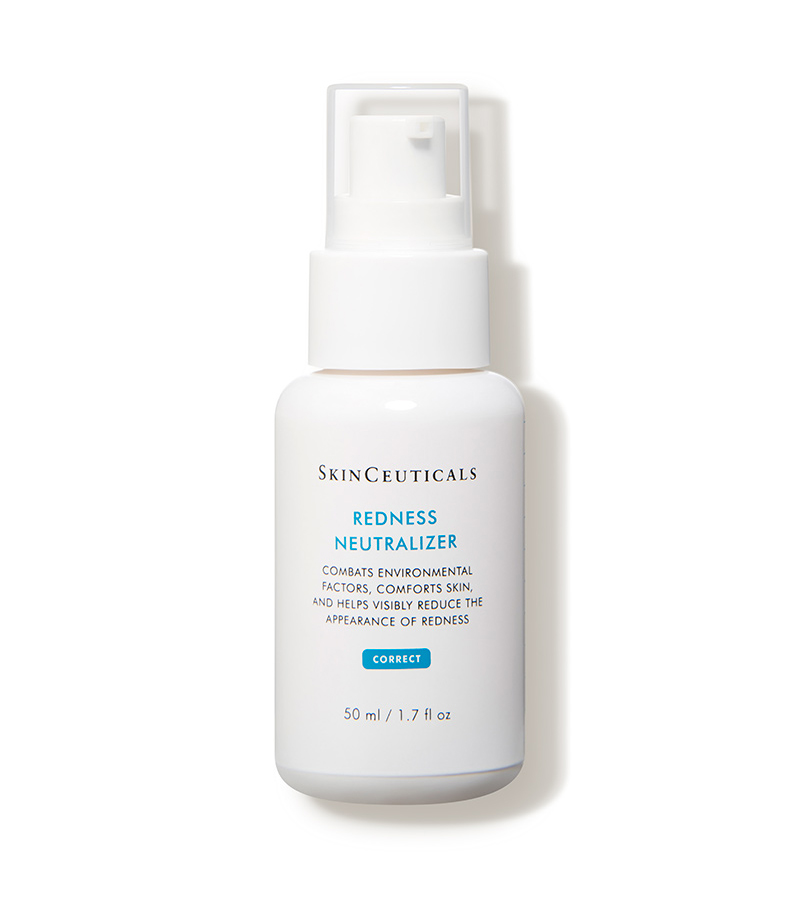
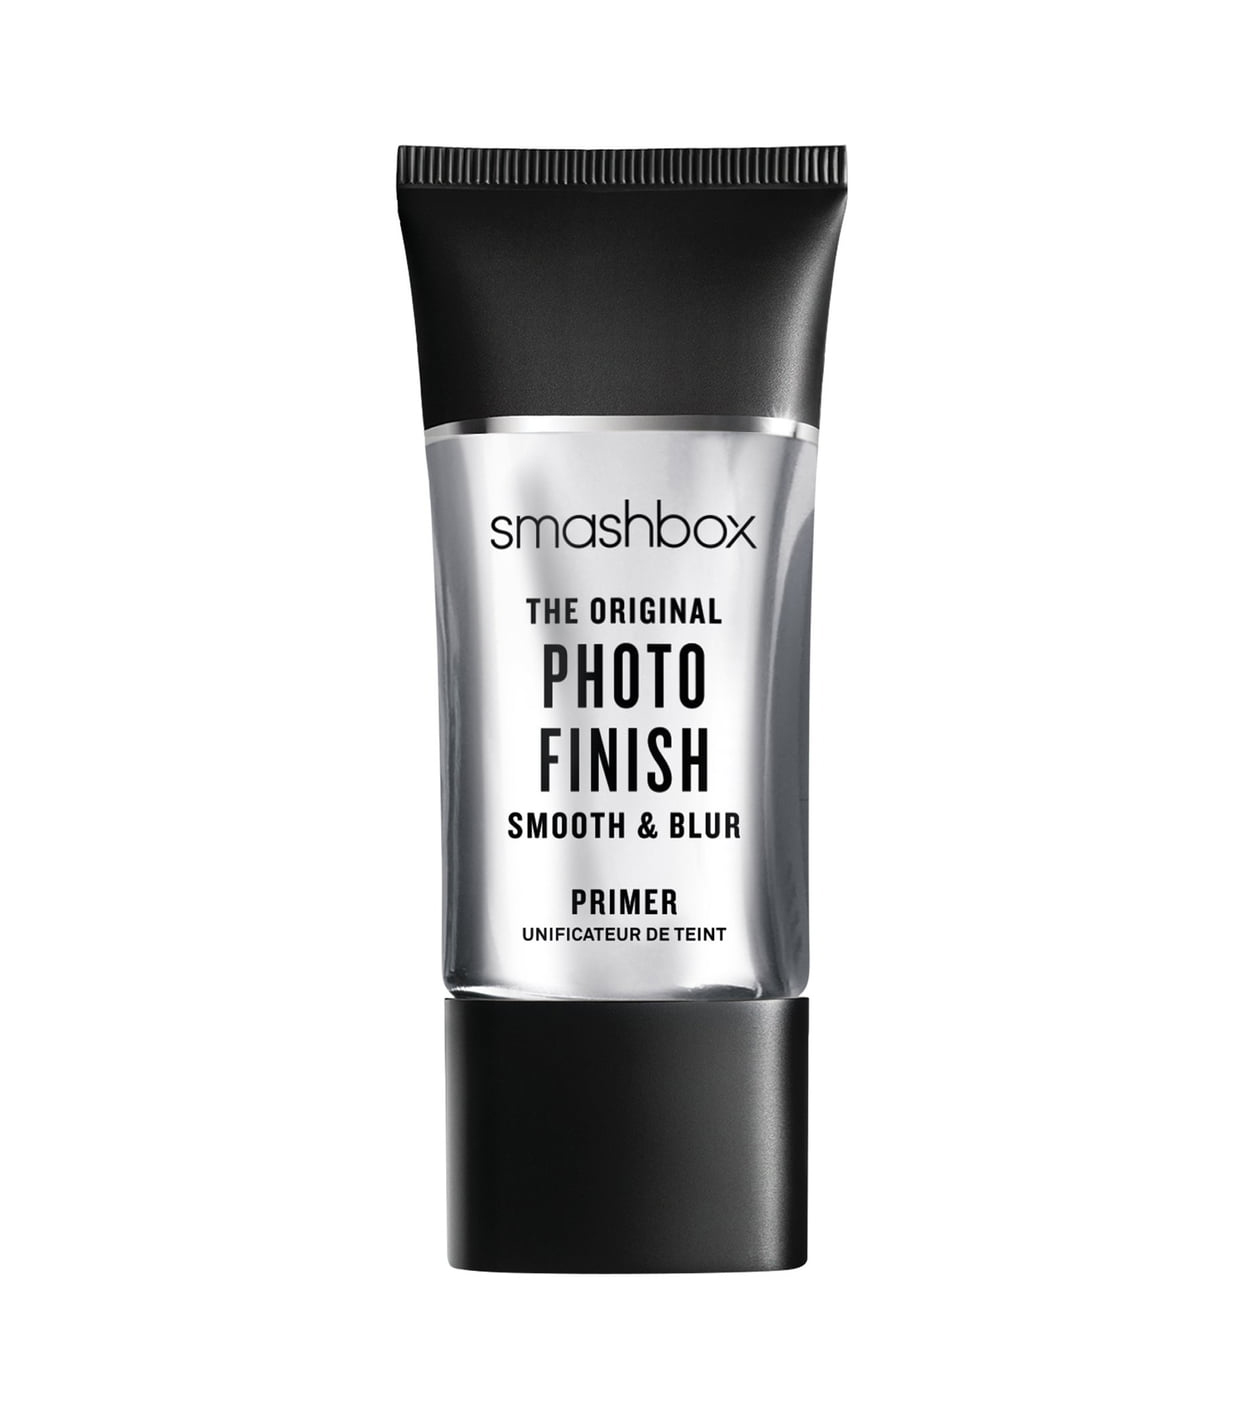
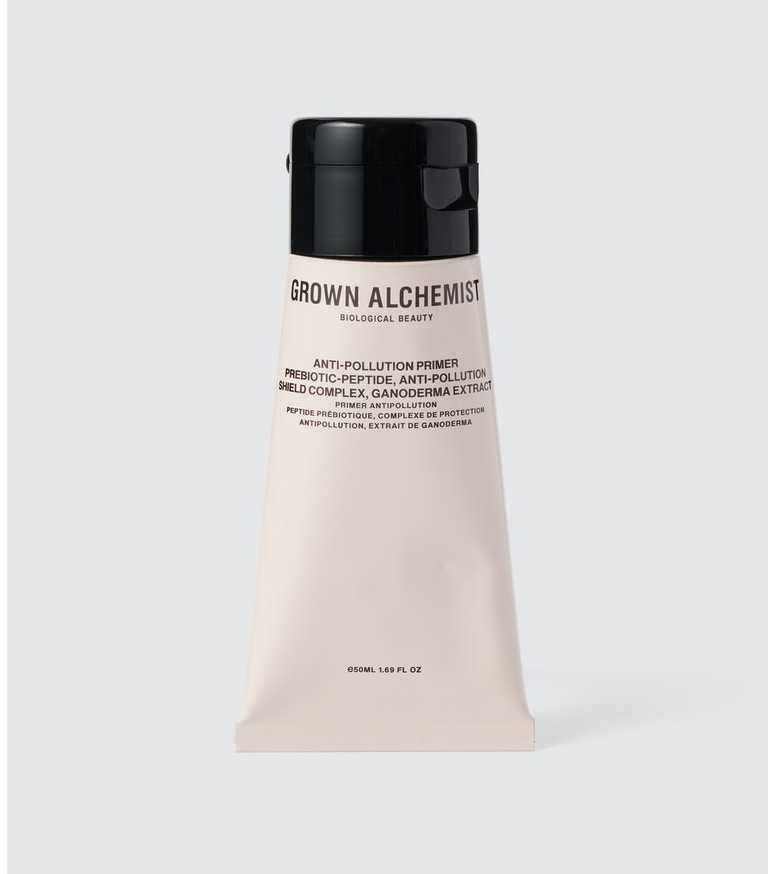
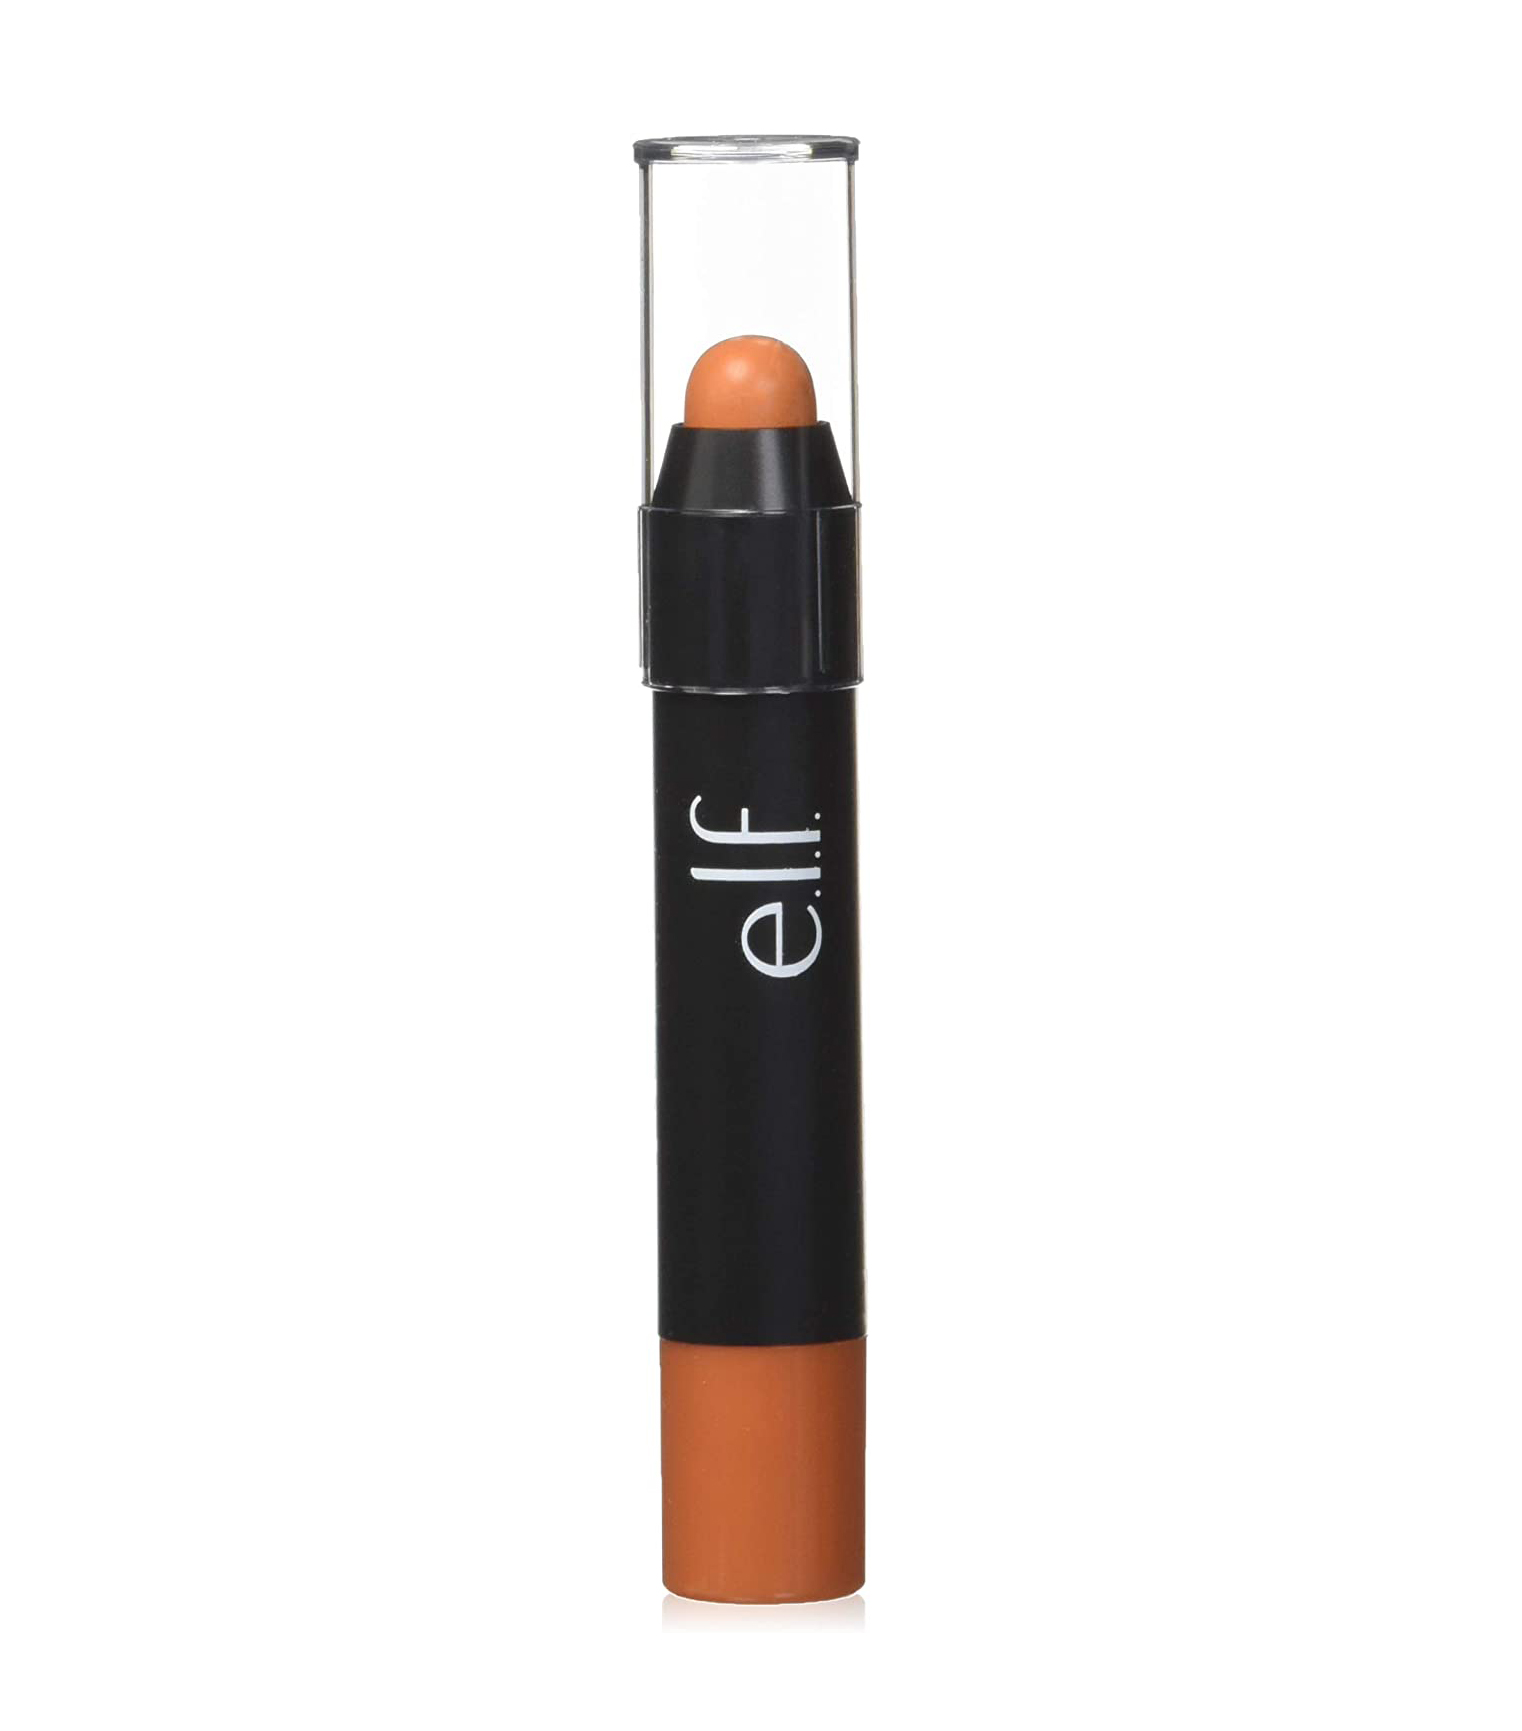
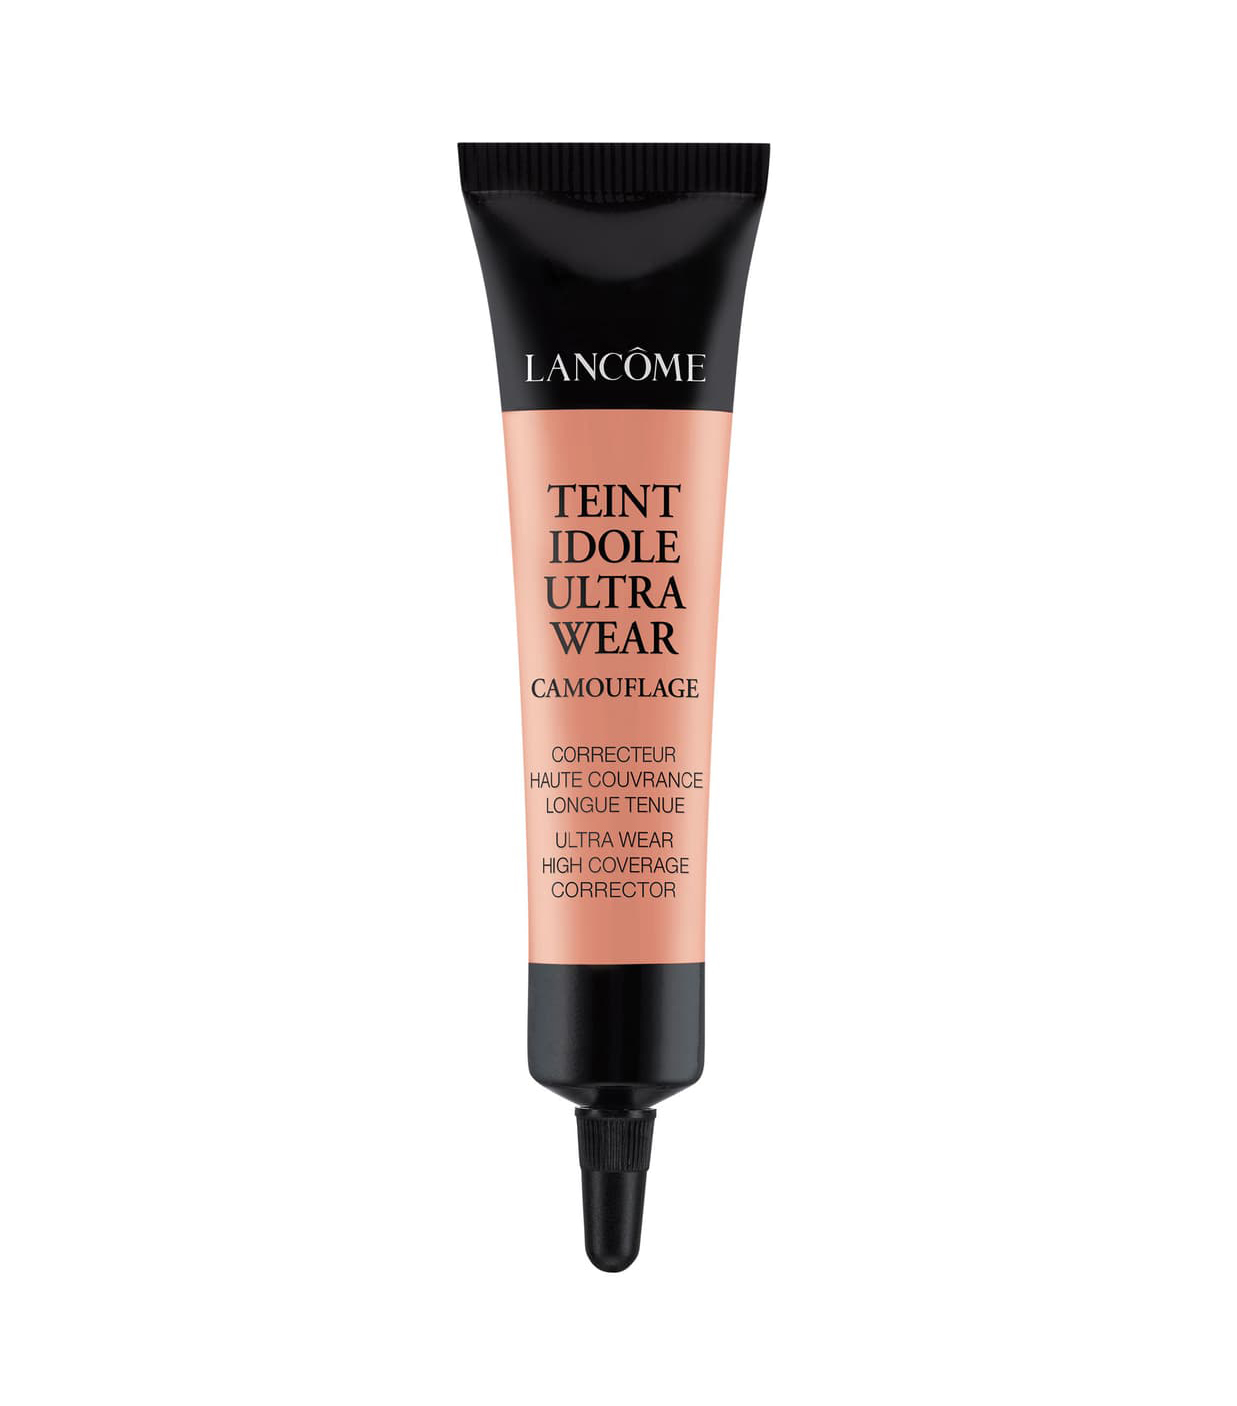
Vary your coverage: Aharon has redness on and around her cheeks and temples, but instead of using foundation, which can irritate it more, she uses concealer in the areas she needs it the most and blends out. “Most people require variable coverage throughout the face but apply the same amount everywhere—big mistake. A foundation brush works well for patting and blending concealer without pulling on the skin,” she explains.
Don’t pile on product: It’s tempting to keep layering on concealer or foundation, but that’s how you get that cakiness. This is a common mistake Eisdell notices “They tend to put too much of a base on to the point where it looks like you are trying to cover something,” she says.
Have different concealer shades: Cheng says using a concealer that actually matches your skintone will likely not offset the red, so you’ll need a couple of shades.
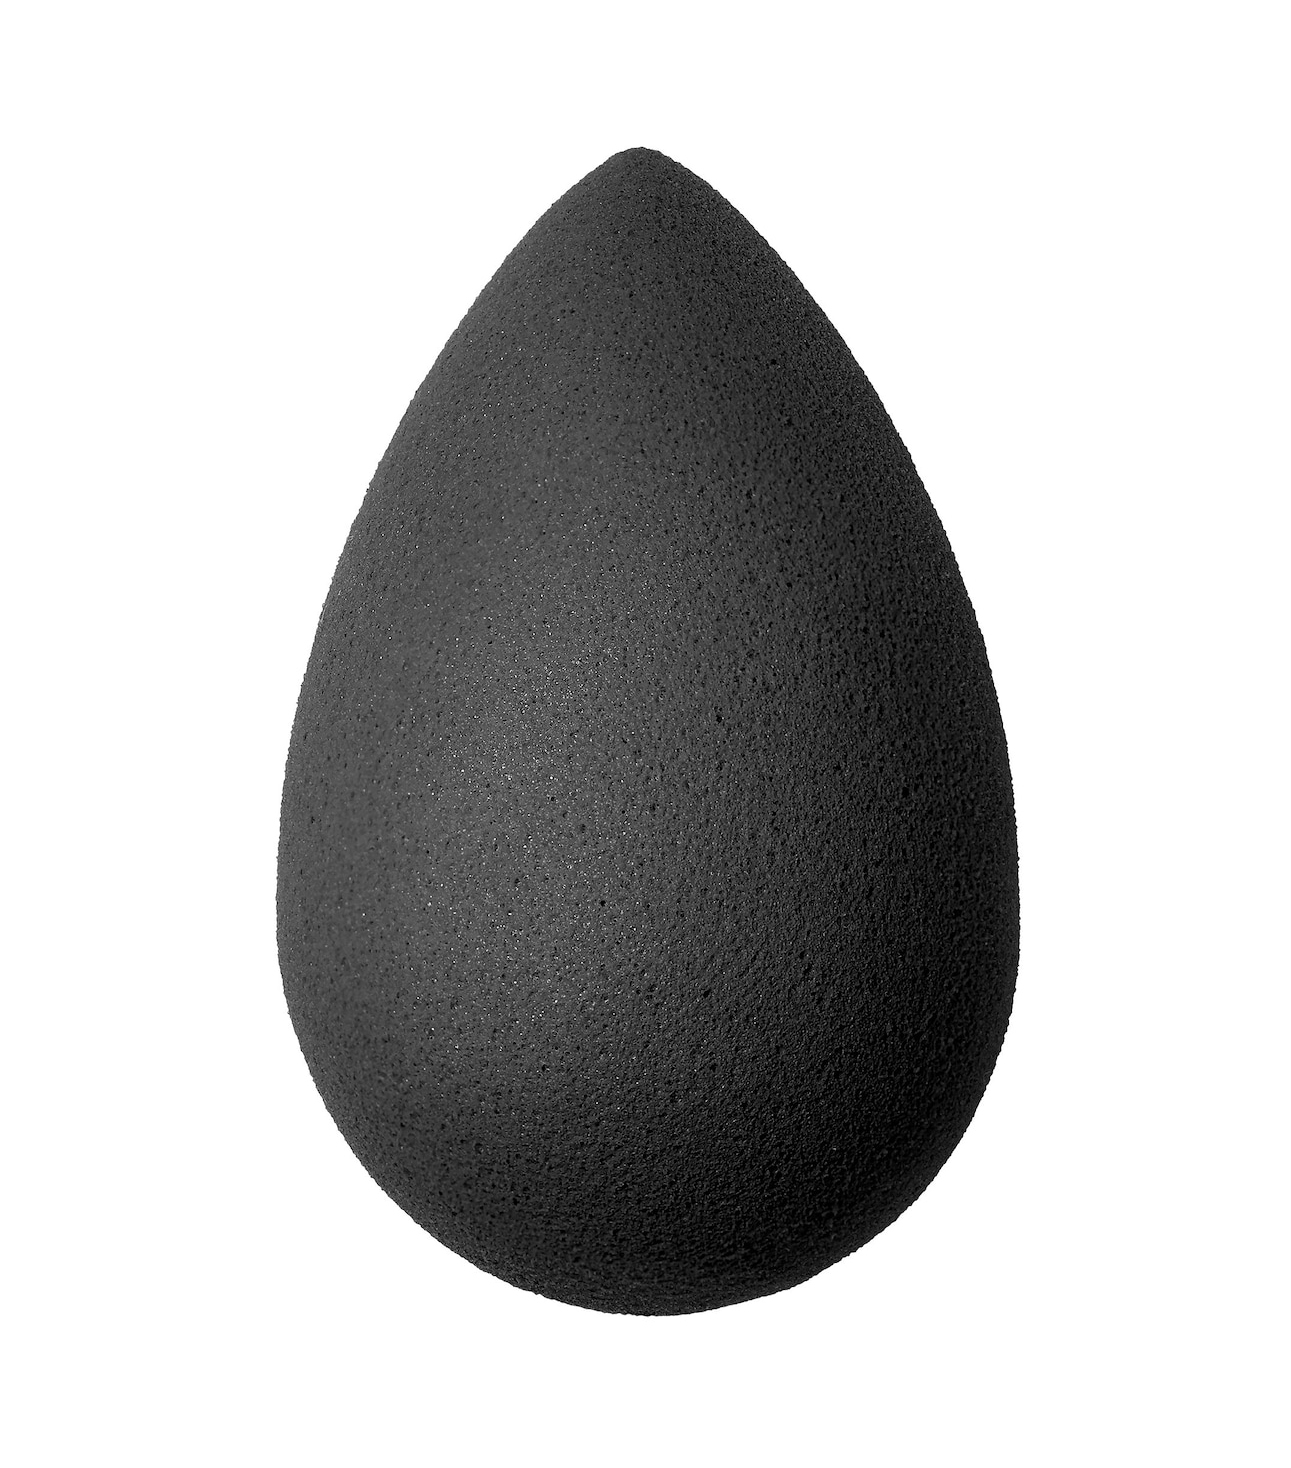
Use your fingers or a Beautyblender: Eisdell says this will give you the smoothest and most even coverage.
Blend down your neck: “Often, redness will run down the neck and onto the ears, so make sure you diffuse all the way through,” Cheng adds.
Reconsider green-tinted products: “There are a lot of green products out there that are marketed for redness, but I usually steer clear of those,” Cheng says. “I’ll usually go for a foundation that has more of an olive/yellow base that will help cancel out the redness without a gray cast.”
Next up, I tried the so-called best redness-reducing products—here are my honest reviews.
Powered by WPeMatico


