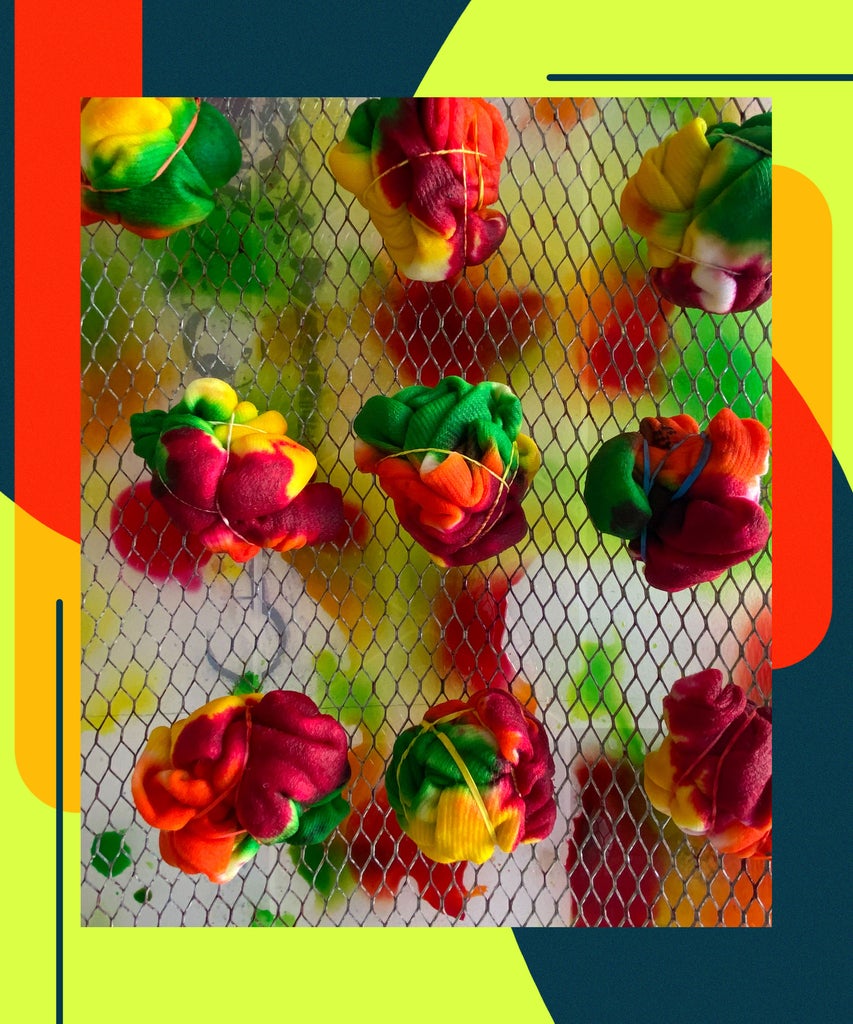
The process of at-home tie-dyeing is far from new. In fact, we’ve been doing it since we were kids — at sleepovers, summer camps, and oh-so-many birthday parties. But as adults, upon feeling the need to add a ‘70s-inspired punch to our wardrobes, we often choose to purchase something pre-dyed rather than doing the work ourselves. Now though, with more time on our hands, what’s stopping us from returning to our former DIY glory days? Even better, you don’t need to buy any new clothing — just use whatever’s at home.
“I love the transformative nature of dyeing: taking something you’ve had and giving it a second life,” says Christina Tung, the founder of SVNR, a DIY jewellery and ready-to-wear brand that specialises in tie-dyed slip dresses. Abacaxi designer Scheena Sood agrees, assuring that the process is hard to mess up. “With tie-dye, I really love that you basically can never go wrong,” she says. “I always enjoy seeing the surprise as the design is revealed.”
While, both designers agree that there’s beauty in the resulting design, no matter how it turns out, there is some technique that goes into making sure that the greens don’t mix with the yellows to form a not-so-flattering brown hue you’ll never want to wear.
With that in mind, the designers behind our favourite tie-dye fashions were more than happy to share how they get the perfect at-home spiral every time. Ahead, their tips.
Step 1: Pick your materials
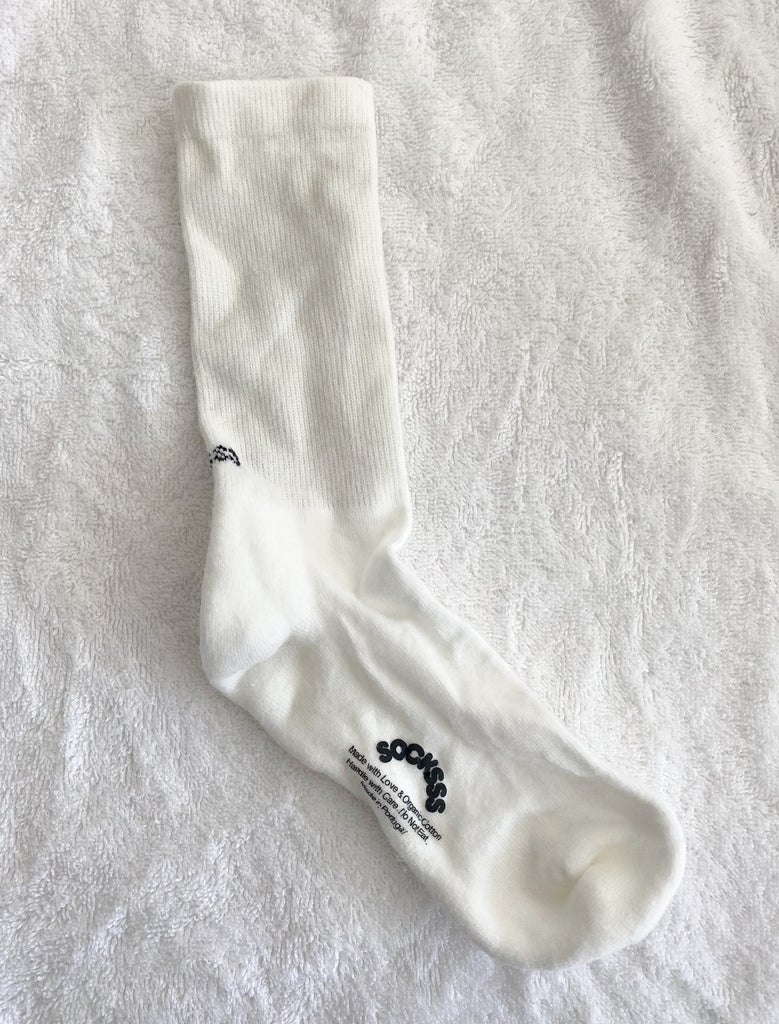
Before any dyeing can commence, you have to pick out what exactly it is that you’re going to tie-dye (sweatshirts, T-shirts, tube socks, and cotton underwear are easy to come by and perfect for at-home wear), and what materials you’re going to use to do it.
According to Hillary Taymour, the designer behind cult sustainable brand Collina Strada, all you need are some brightly coloured vegetables, her favourites being beets and turmeric. Tung, on the other hand, prefers using Dharma Trading dye powders. You’ll also need soap (if using used clothing), buckets or pots for your dye (Sood warns against using kitchen pots, FYI), a squirt bottle (if you prefer to apply the dye rather than dunk the clothing in it), rubber bands or clamps depending on your preferred method (more on that below), gloves, and a place to dry your finished products (a clothing line or drying rack will work).
Step 2: Mix your dye with warm water
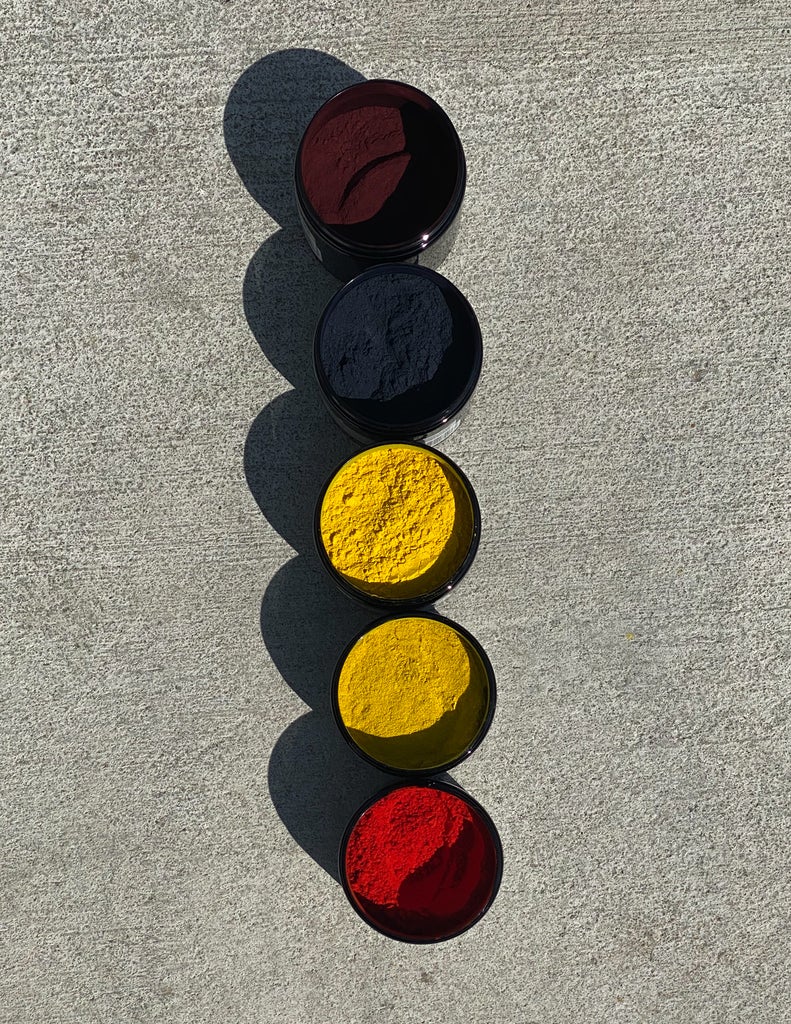
Once you’ve chosen what dyes to use, just add them to a squirt bottle or pot/bucket with warm water and mix together. “I like the colours to be a bit uneven and complex so I’ll mix the red with a bit of green and other colours so that results are a bit earthier, unexpected, and not so bright and perfect,” Tung says.
Sood goes a step further: “Add some salt as a mordant for cotton or vinegar if dyeing wool, and then stir until completely mixed,” she says. “You don’t want any chunks of dye sitting at the bottom or flecks sitting at the top.”
Step 3: Create a tie-dye pattern of your choice with rubber bands
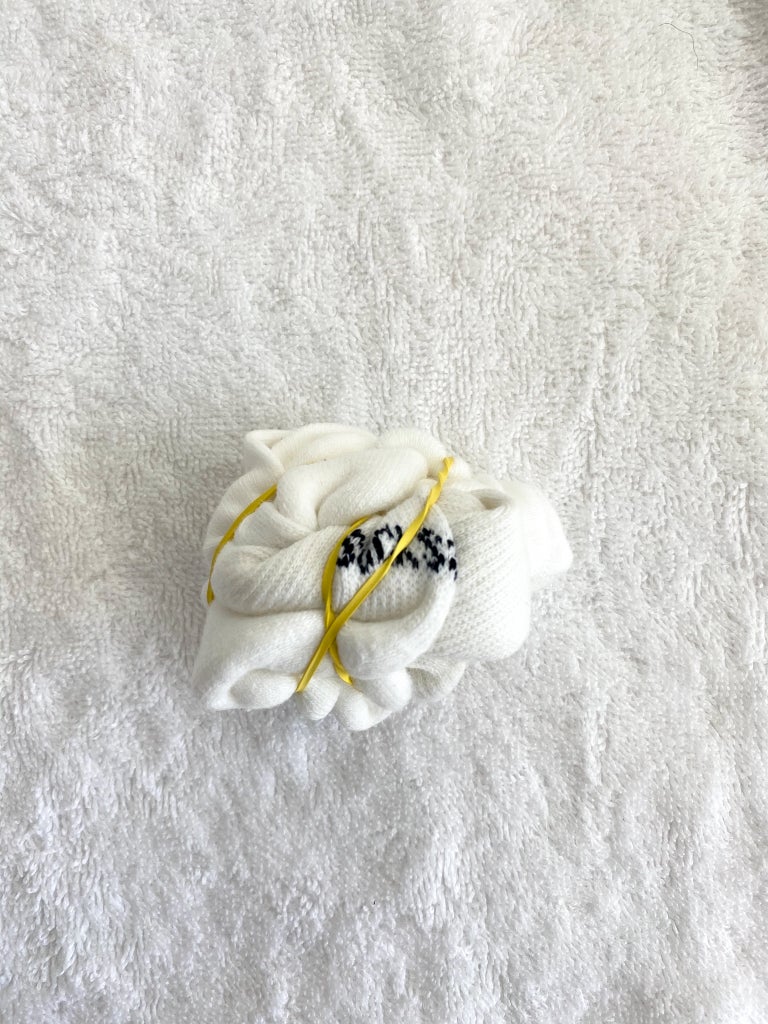
There are tons of different patterns to choose from when tie-dyeing. According to Sood, you can scrunch and tie your garment with rubber bands, fold your garment and clamp it together, or even stitch your garment together to create various effects.
“I love experimenting with Shibori, the Japanese art of tie-dyeing, to create motifs and different patterns,” she says. “It can become very intricate and detailed or abstract depending on how much time you have on your hands.” She also uses a technique called Tegumo, which “involves creating circular pleats and tying them with rubber bands to create either circular-, diamond-, or square-shaped motifs.” She also suggests tying a marble or di inside of the aforementioned circular pleats and using an Indian technique called Leheriya, which involves twisting fabric diagonally and wrapping it with a rope to create stripes.
Kara Jubin, the designer behind up-and-coming indie label KkCo, prefers a more natural tie-dye method. “I have been really into a ‘watercolour’ finish lately, so I do a light twist, but tie and knot lightly so the colours could bleed into the knots and blend into each other.” So, too, does Taymour, who has an affinity for the more traditional spiral method. “You pinch the middle of a garment and spin it into a pizza shape,” she says. “From there, you rubber-band it into pizza slices and add any colour you want in all the pizza wedges.” In addition to tie-dyeing, you can now add pizza-ordering to the night’s list of activities.
Step 4: Soak your rubber-banded garment in water to prepare it for dyeing
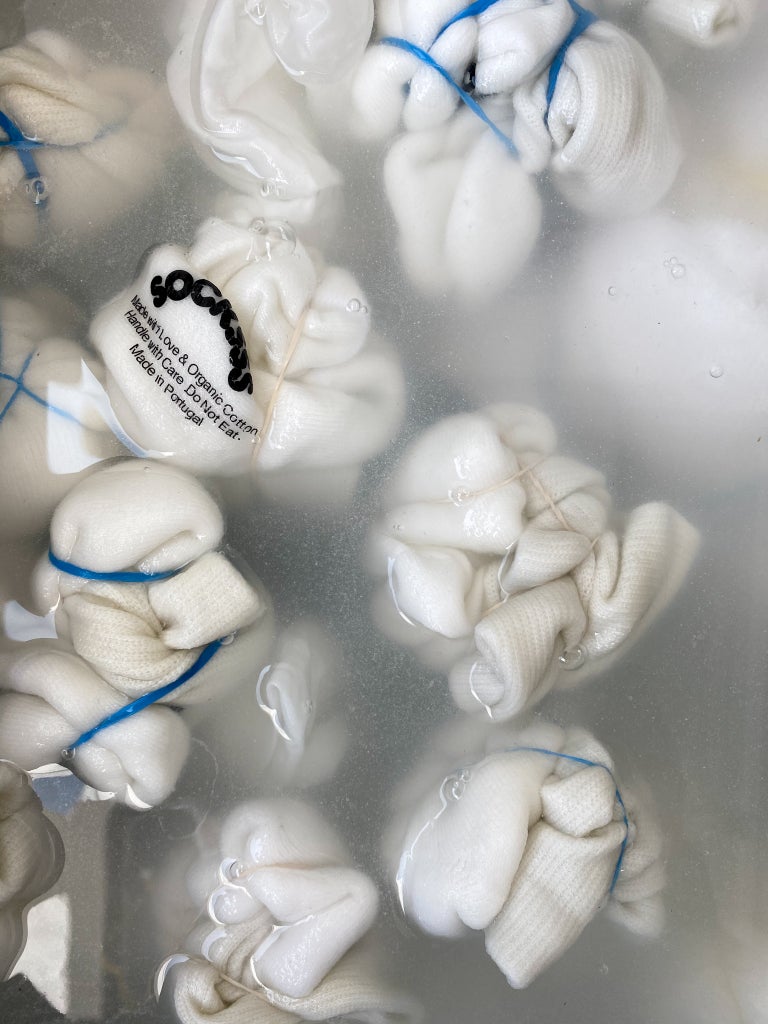
Before dyeing, it’s important to soak your garment in warm water to get the fibres ready to take in the dye. Sood suggests adding a little bit of soap and some synthrapol — a laundry soap designed specifically to be used before dyeing fabrics — to the warm water mixture. “If it’s a used garment rather than new, you’ll want to make sure it’s been thoroughly washed beforehand. The fibres need to be clean and rid of any other chemicals before dyeing,” she says. Jubin suggests a 20-minute soak.
Step 4: Put on gloves. Add your tie-dye to the desired area.
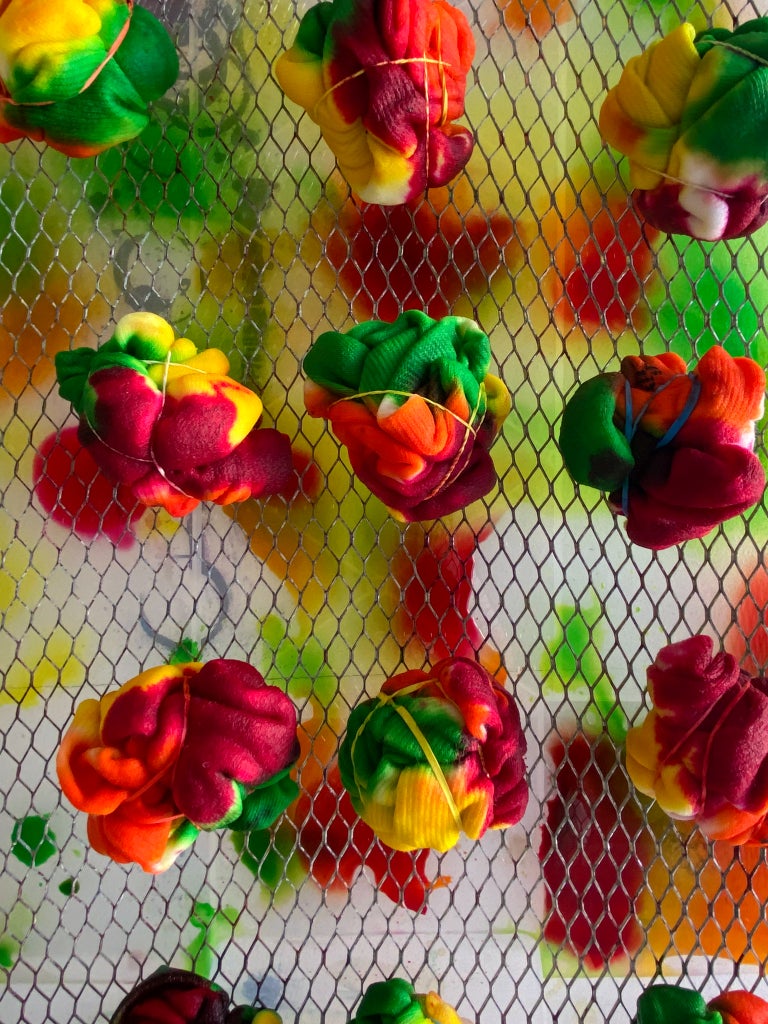
“I always get lazy and don’t wear gloves, so my hands constantly look radioactive,” says Tung. Noted! Once your gloves are on, start dipping your garment or pouring the dye mixture onto it. For darker shades, you can soak your garment in a bath of dye. The longer you let it soak, the darker your garment will become.
Step 5: Wrap in cling wrap and let sit
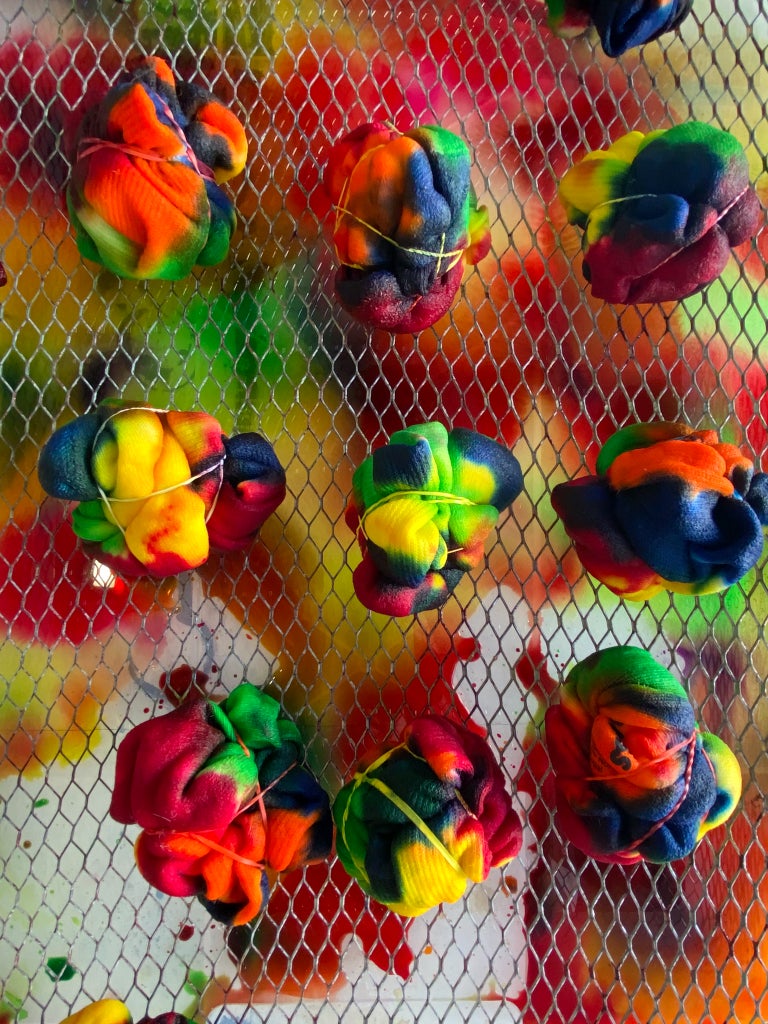
Once you feel like your design is finished, take it out of the dye and wrap it in plastic wrap to keep the moisture locked in. As for how long to let it sit, it’s up to you. “I like to let my dyed pieces sit for 6 to 8 hours,” says Taymour, while Jubin suggests 12-plus hours. “24 hours is usually a sweet spot for me, but I’ve let some things sit for up to 48 hours before,” she says. “While tie-dyeing, I never have an empty cup,” Jubin jokes. “I’m currently drinking a Muller Thurgau from the Schmitt winery in Germany.”
Step 6: Rinse out until the water runs clear
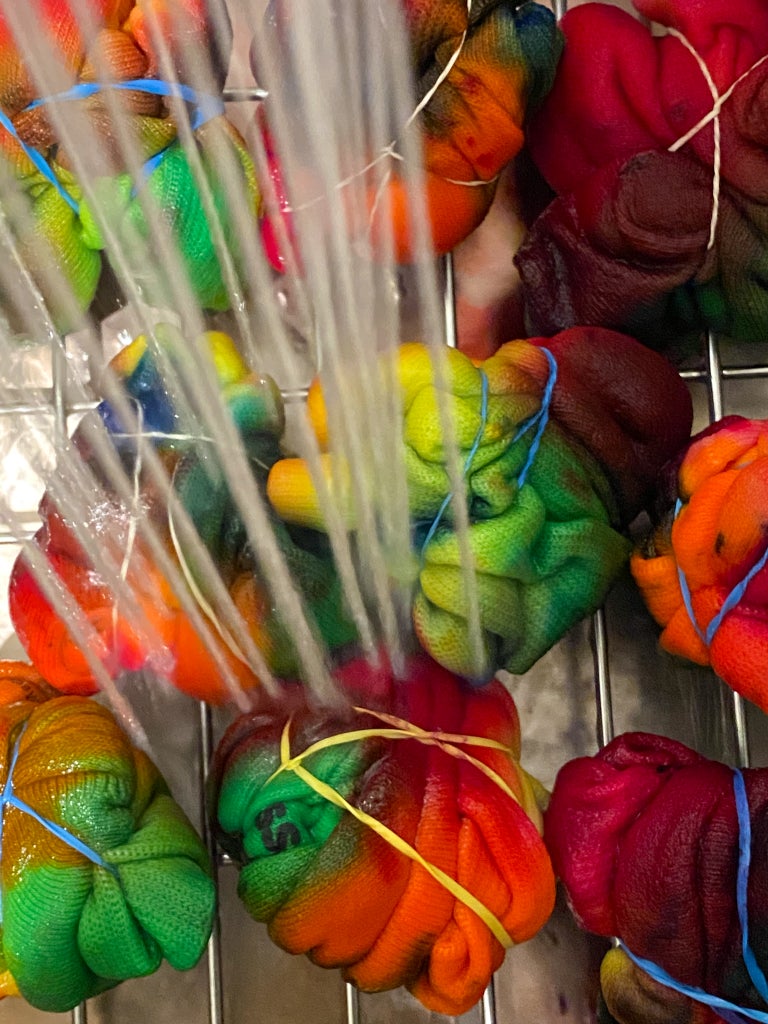
Whether you chose to soak your design for 6 or 48 hours, once the buzzer buzzes, you need to then rinse out all of the dye using cold water. Take out the garment once the water runs clear.
Step 7: Wash (alone) on a cold cycle
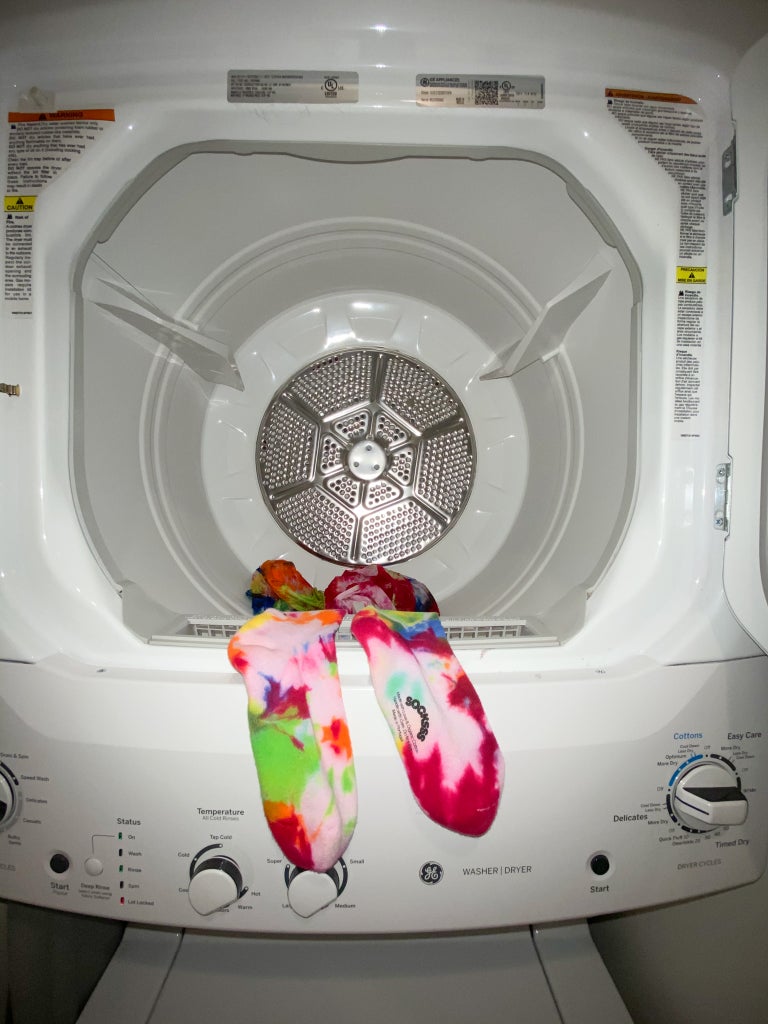
The last step in the tie-dye process is to wash your newly technicolor garment in the washing machine using cold water. Important: wash it alone. Dyeing one item of clothing every colour of the rainbow is one thing, dyeing an entire load is a whole other story. Jubin also recommends washing the garment while it’s still knotted. “This helps preserve any excess dye from bleeding into any tighter knots. I then unknot and wash again with cold water,” she says.
Now it’s your turn. Grab a cocktail, switch on your favourite playlist, and get to work.
Like what you see? How about some more R29 goodness, right here?
Amp Up The Joy Of Loungewear With Tie Dye Print
Powered by WPeMatico


